WINWING
Unboxing my Combat Ready and Takeoff Panels
July 2021
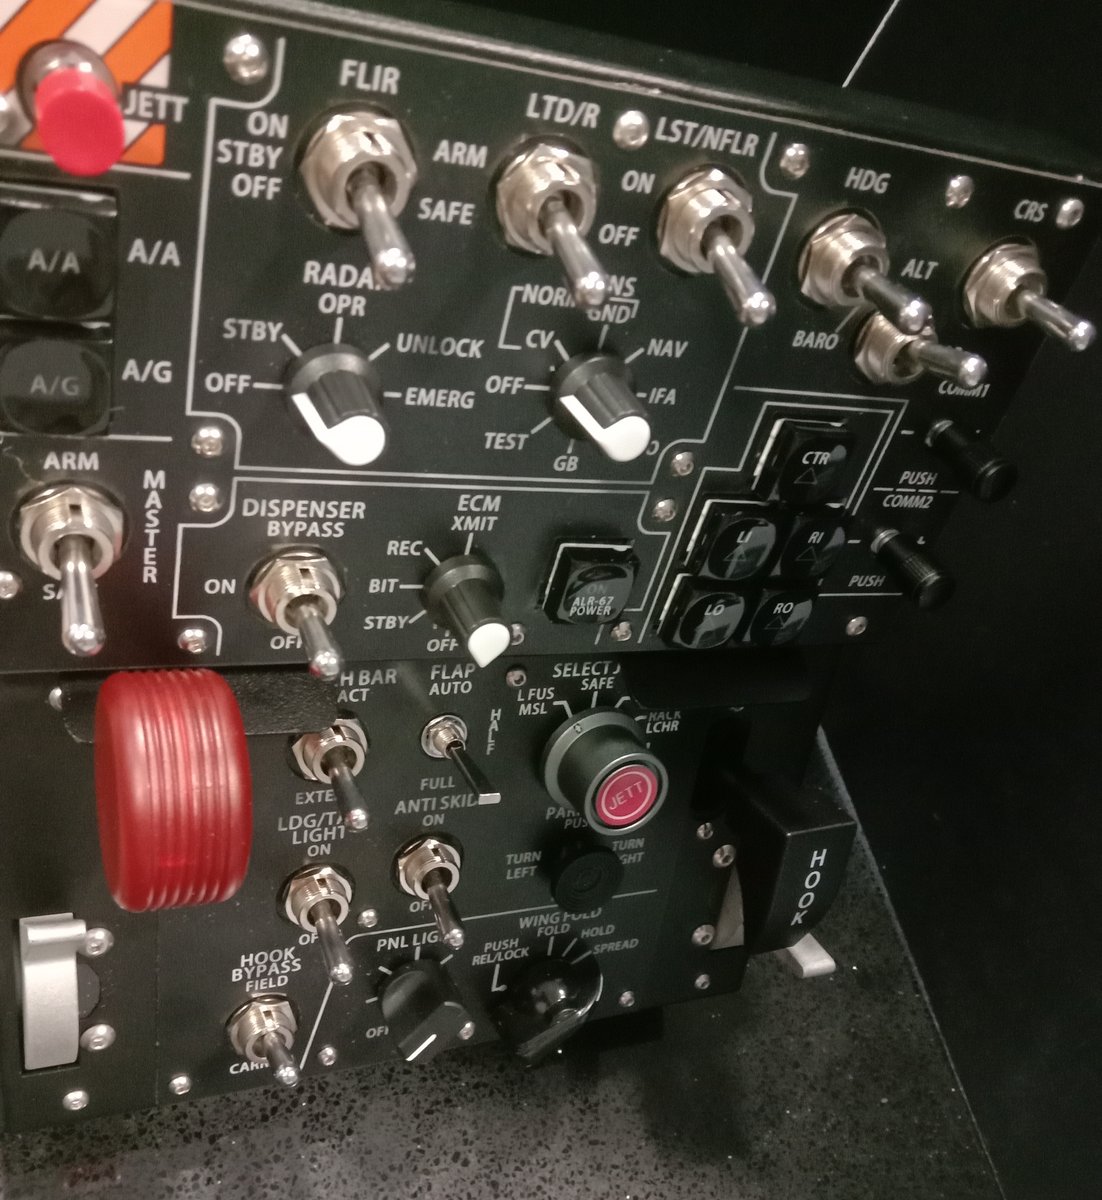
The products immediately speak to the hard-core sim fan just by the functional labelling on the boxes.
The next layer in presents as you would expect to see in a retail environment.
After assembly I left the two panels on my kitchen bench for 3 days before installing them. Every time I walked past I had to pinch myself to believe I had possession of such high quality and specialised equipment for such a low price.
Bear in mind that I have owned all the mainstream flight gear since the late 1980’s with the Thrustmaster Phantom replic stick and their rudder system. And I had operated the Thrustmaster Cougar (F-16) gear since 2002 and the Warthog gear from 2020 to 2023.
Next phase - try them in the sim.
After that - download the software.
In the sim
In Microsoft Flight Sim 2020 they show up as:
- WINWING F18 Combat Ready Panel
- WINWING F18 Takeoff Panel
Brilliant!
Not every switch is active, so the next step will be to intall the SIMAPP PRO software, which will give me control of the panel lighting and, I'm sure, many other programming features.
Believe it or not I like to keep this process as simple as is possible as a cockpit contains many moving parts, so I like to introduce one variable at a time.
WINWINGMy HW assignments for MSFS 2020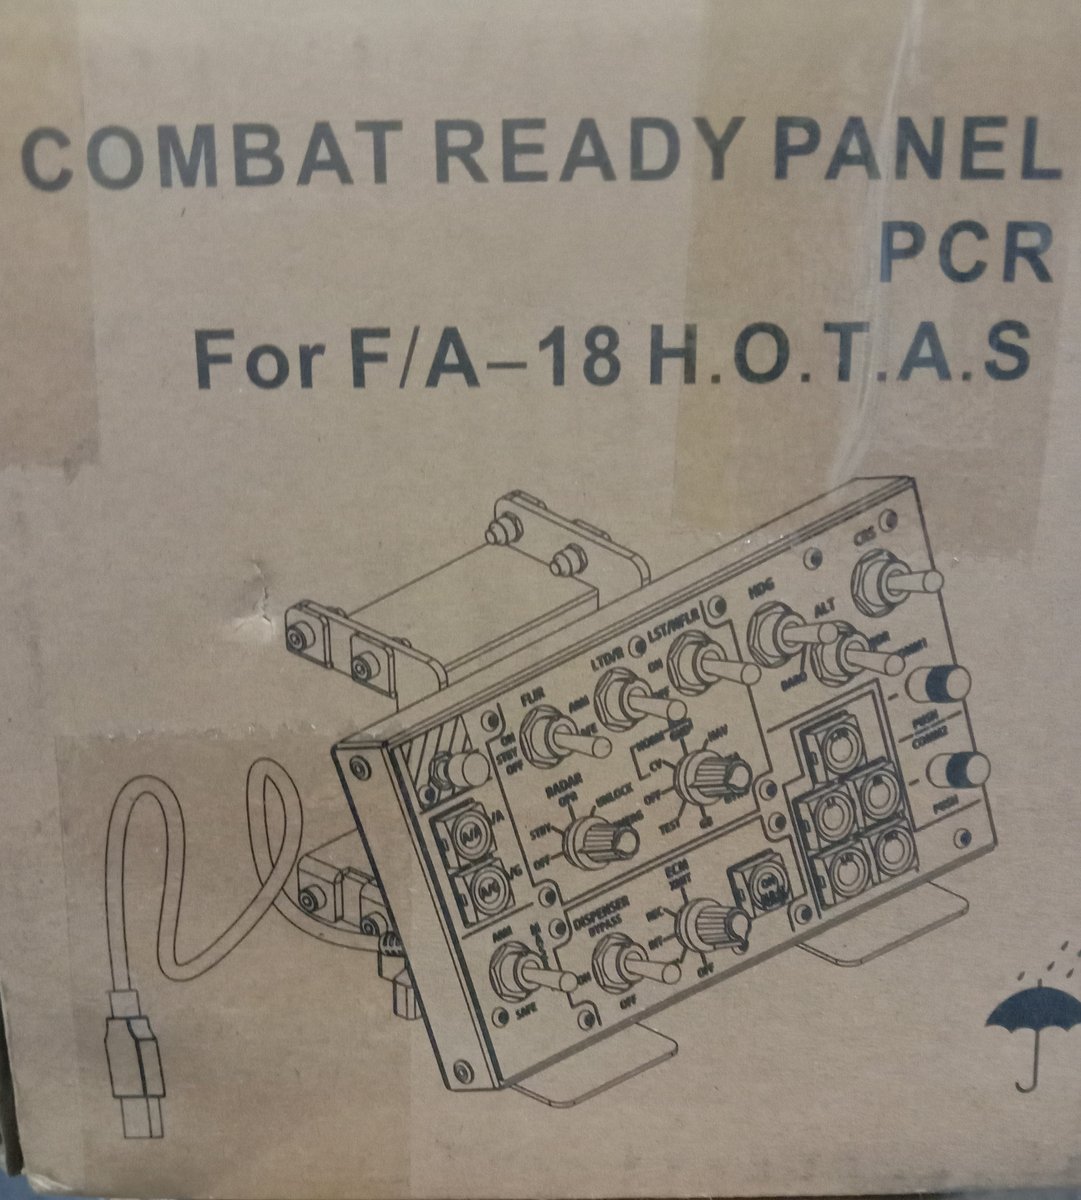
A a couple of weeks after I placed an order, two boxes were delivered by Fedex, with a courtesy phone call to make sure I would be there to receive them
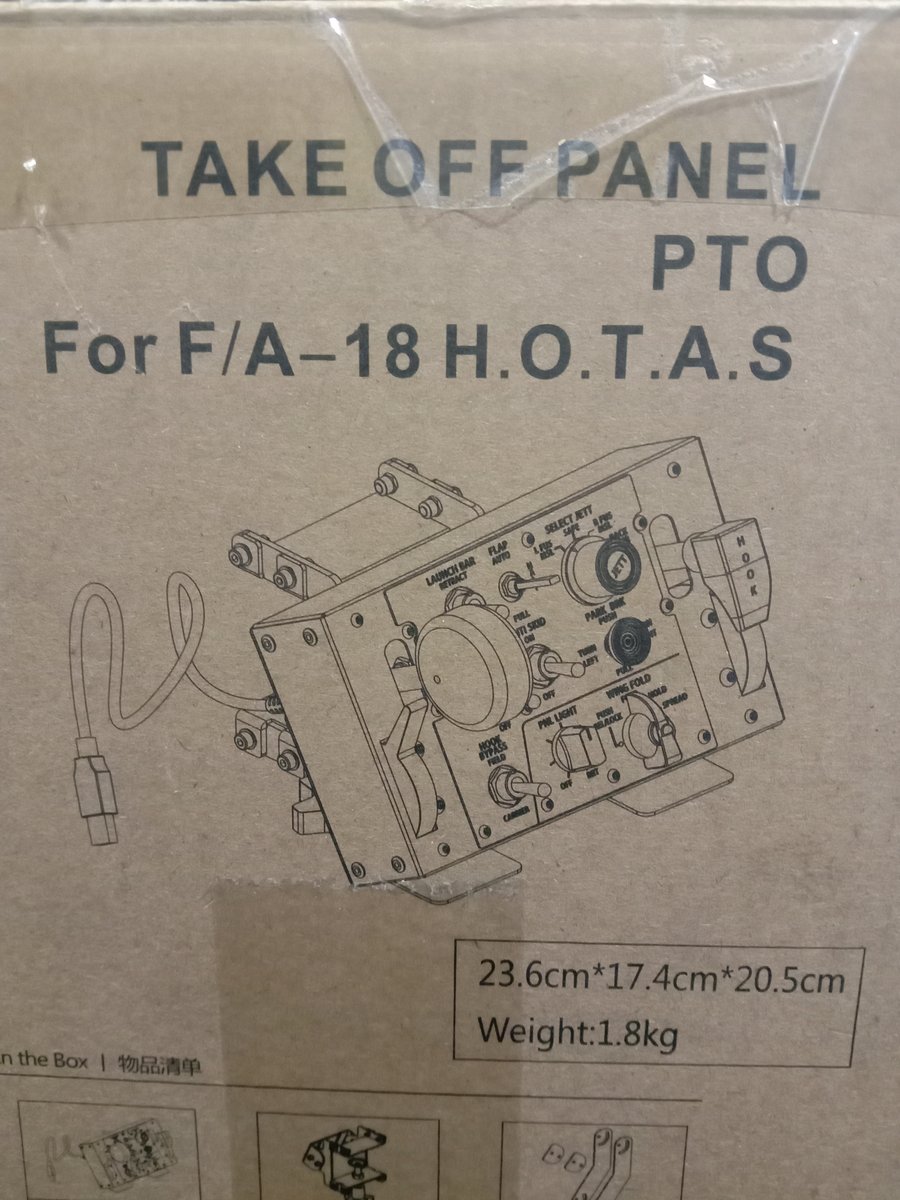
The products immediately speak to the hard-core sim fan just by the functional labelling on the boxes.
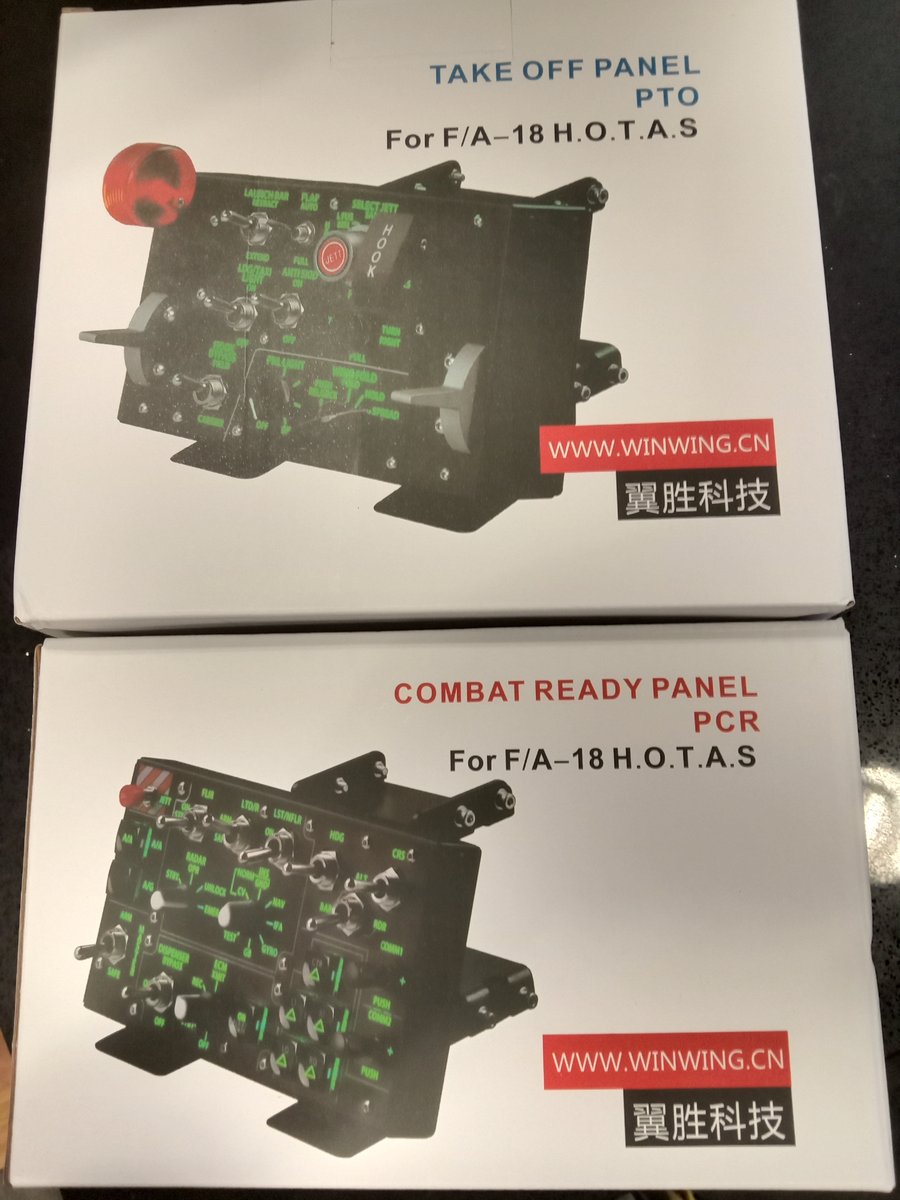
And lo and behold, within the Takeoff panel was a separate retail pack, colourfully labelled. This is top notch presentation, which I'd expect to see in any high street store.
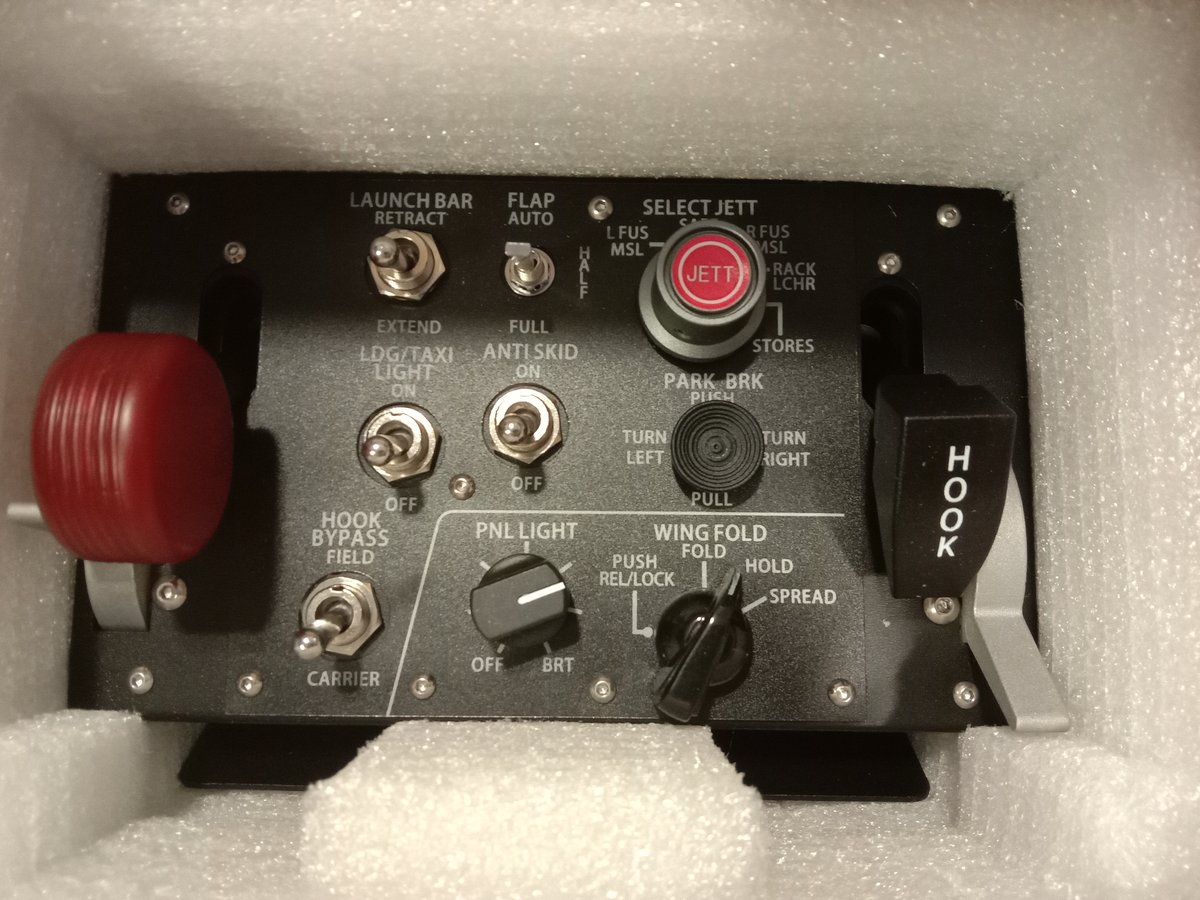
And, in those packs were form-fitting foam, snugly encasing full metal panels.
Wow.
Brilliant.


The Combat Ready panel was similarly well protected. Full marks to the loadmaster!

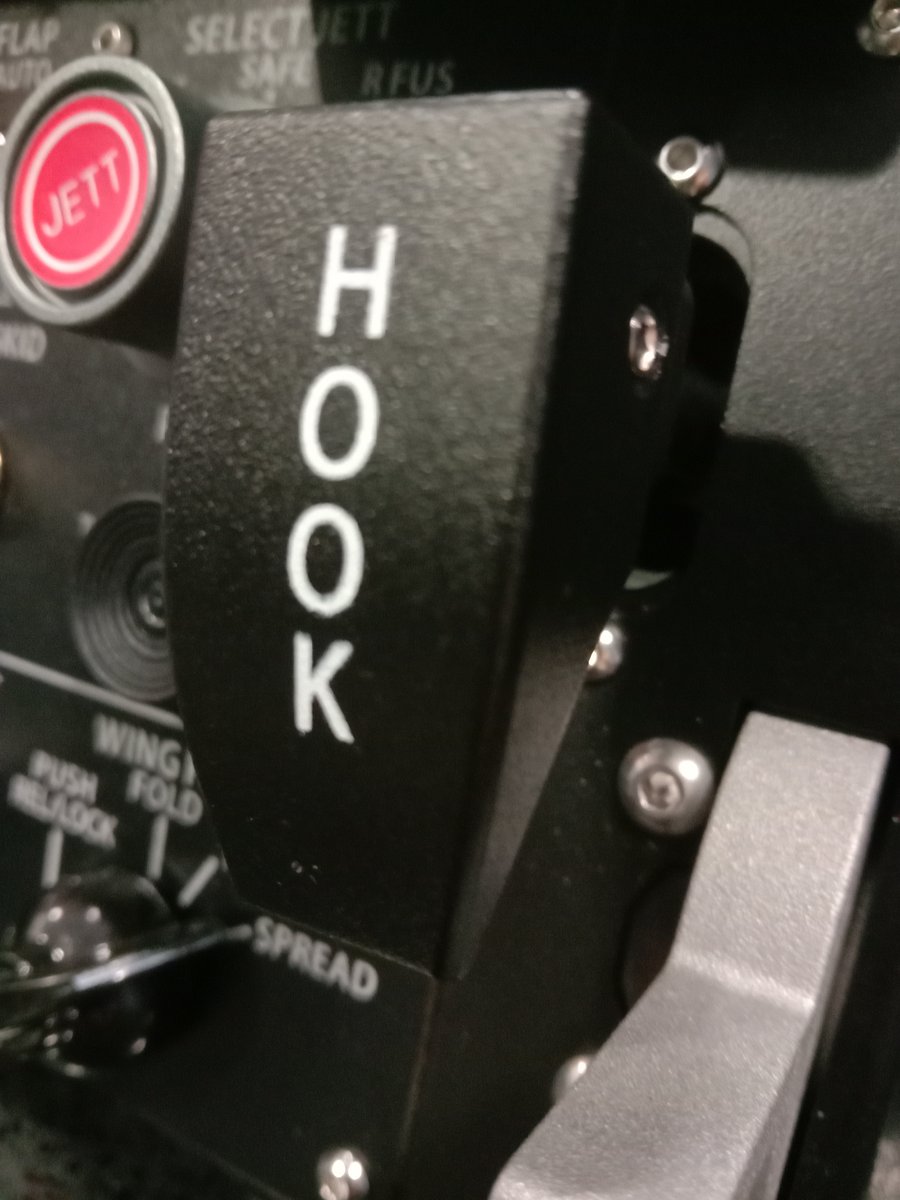
It could have been lifted straight from the aircraft. I haven't seen anything this suitably mean since I spent 1/2 a day sitting in an F-111.

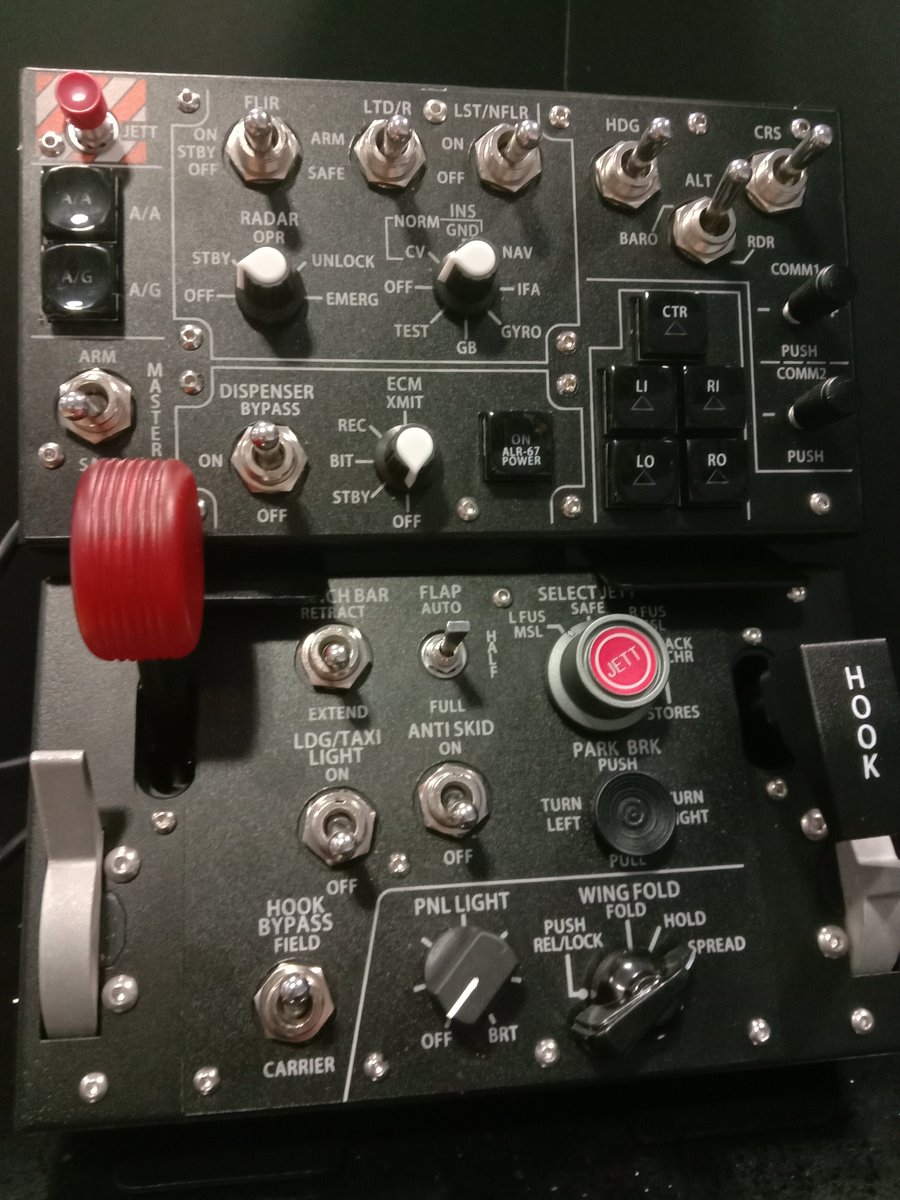
Several hours later I had the two units connected. Not that it's inherently difficult, but rather that WINWING gives you so many options for the setup.
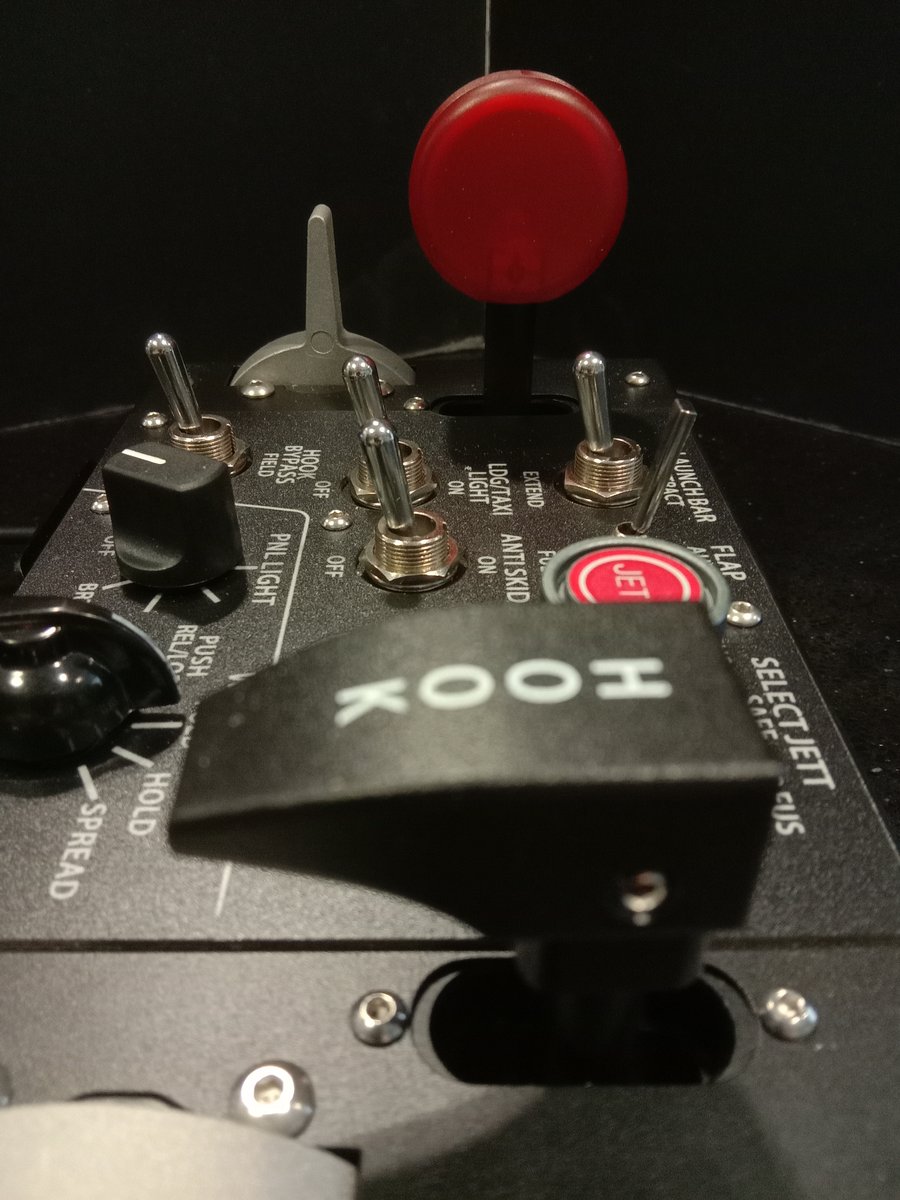
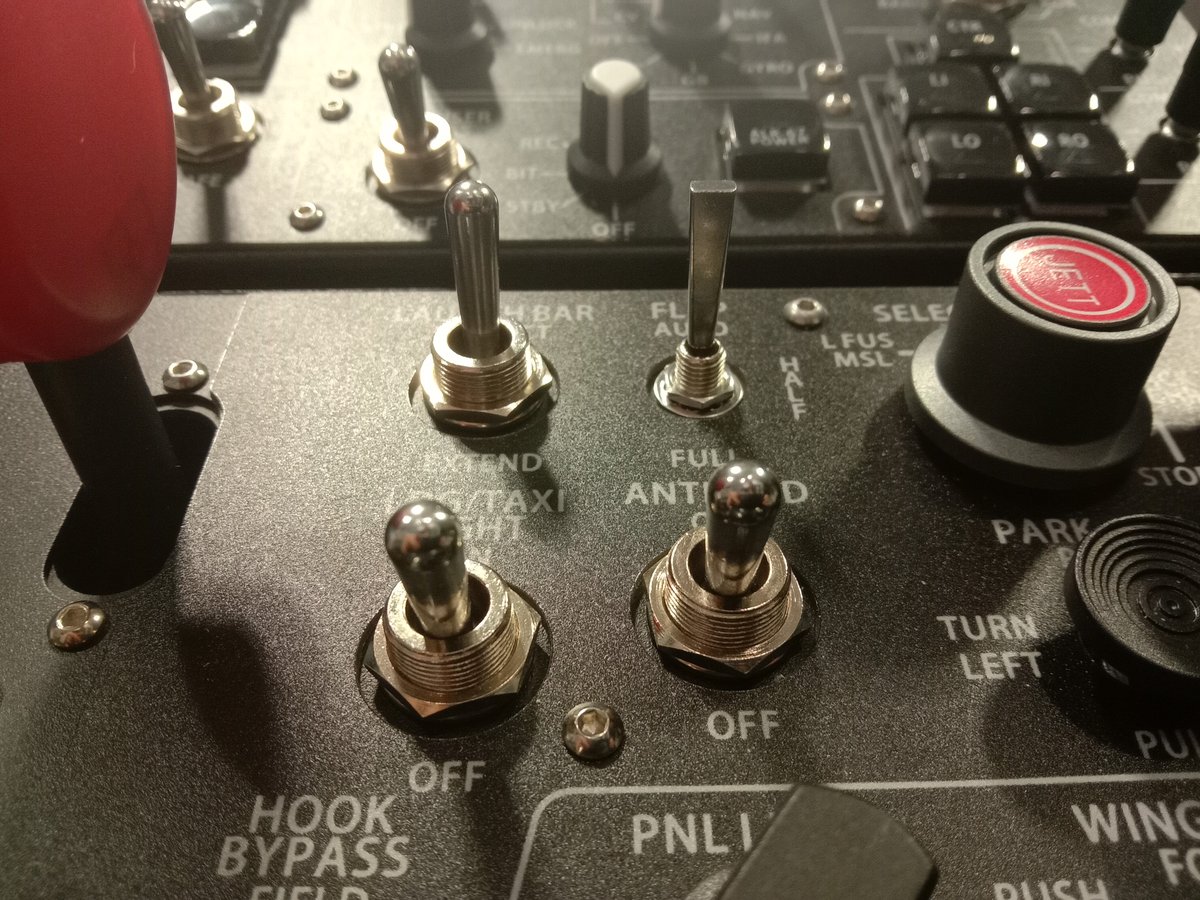
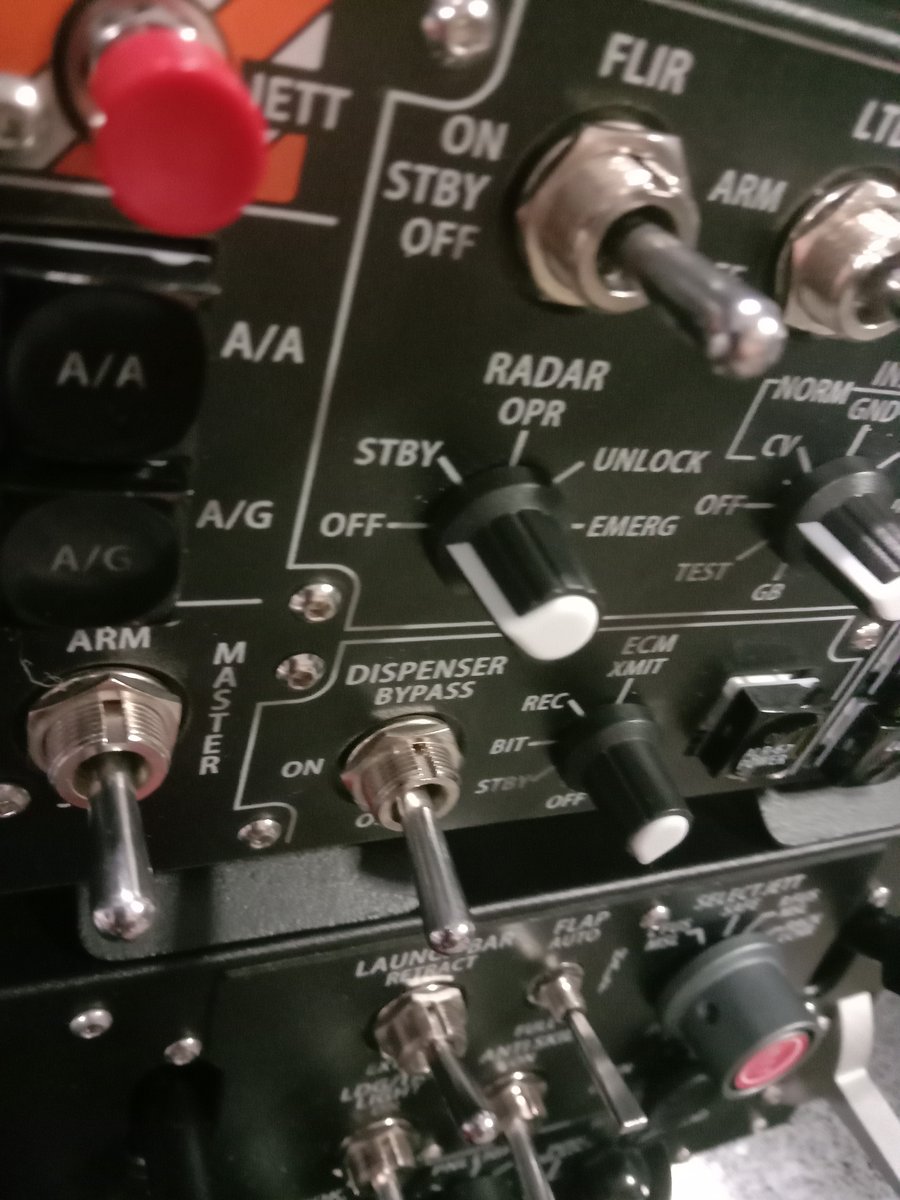
The surface texture is great.
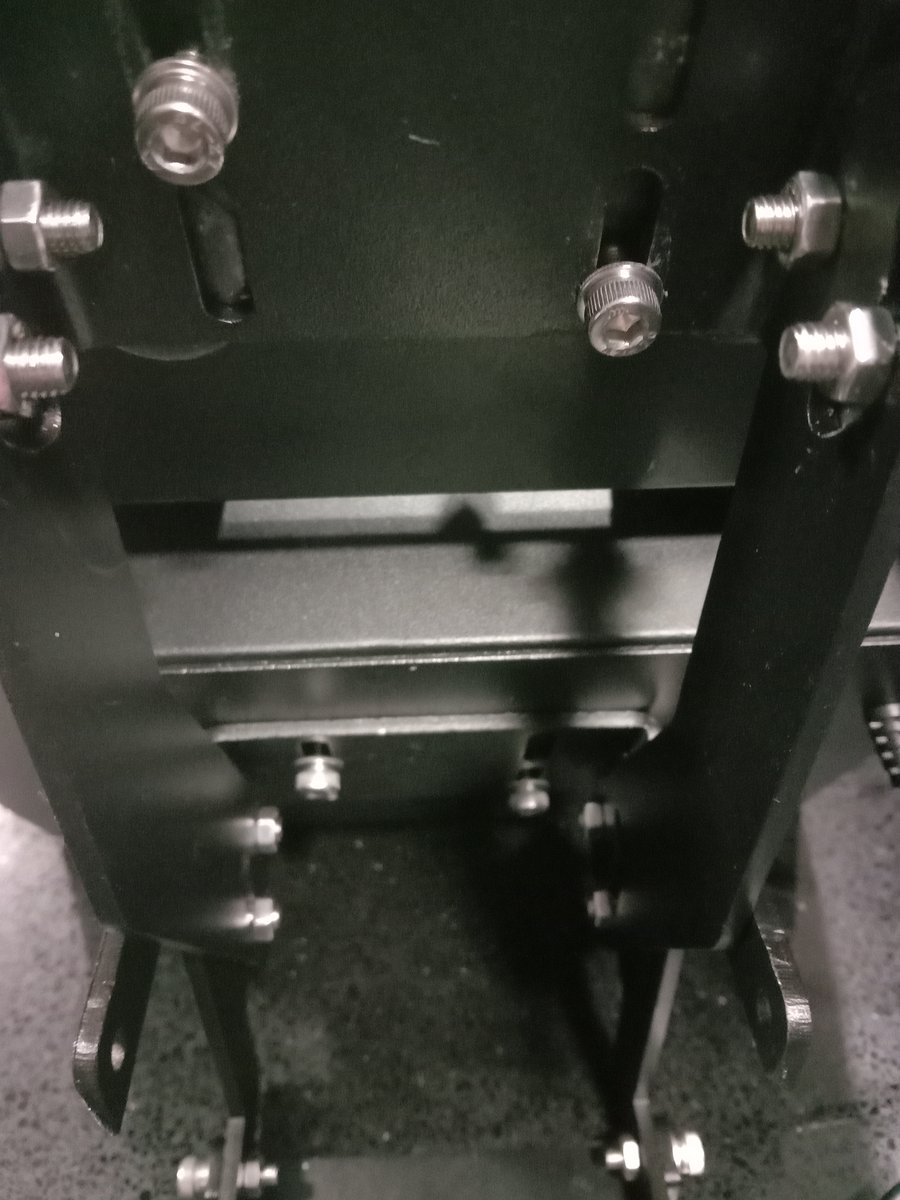
After this assembly I had plenty of leftover brackets, nuts, washers and bolts. This had me stumped for a while because the usual drill with assembling kit like this is - you are given the absolute mininum. Not so here.
I had a few things on, and I also rewrote my MB-339 checklists to integrate these two panels. So the kit sat on my kitchen bench for three days. Each time I walked past I ran a mental checklist.
Each time I walked past I ran a mental checklist and flipped the switches.
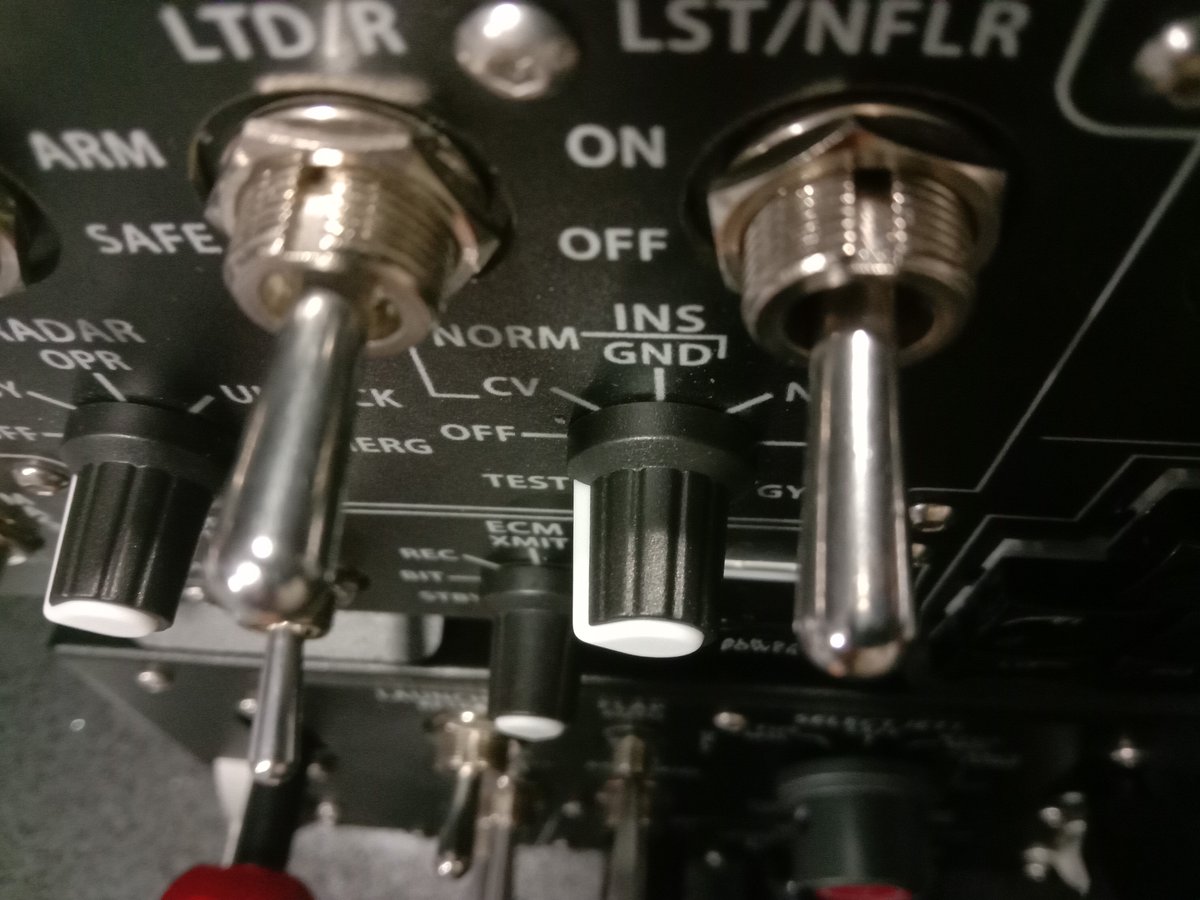
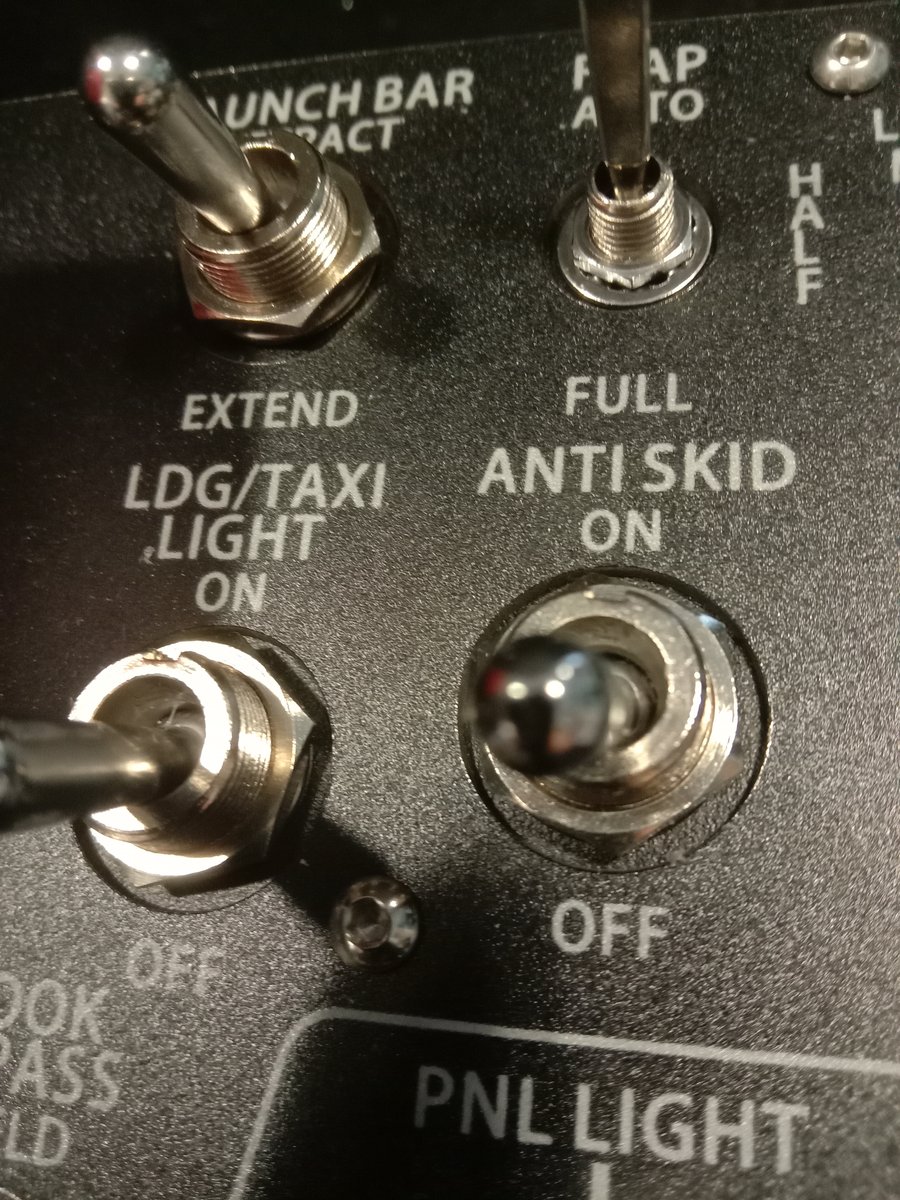
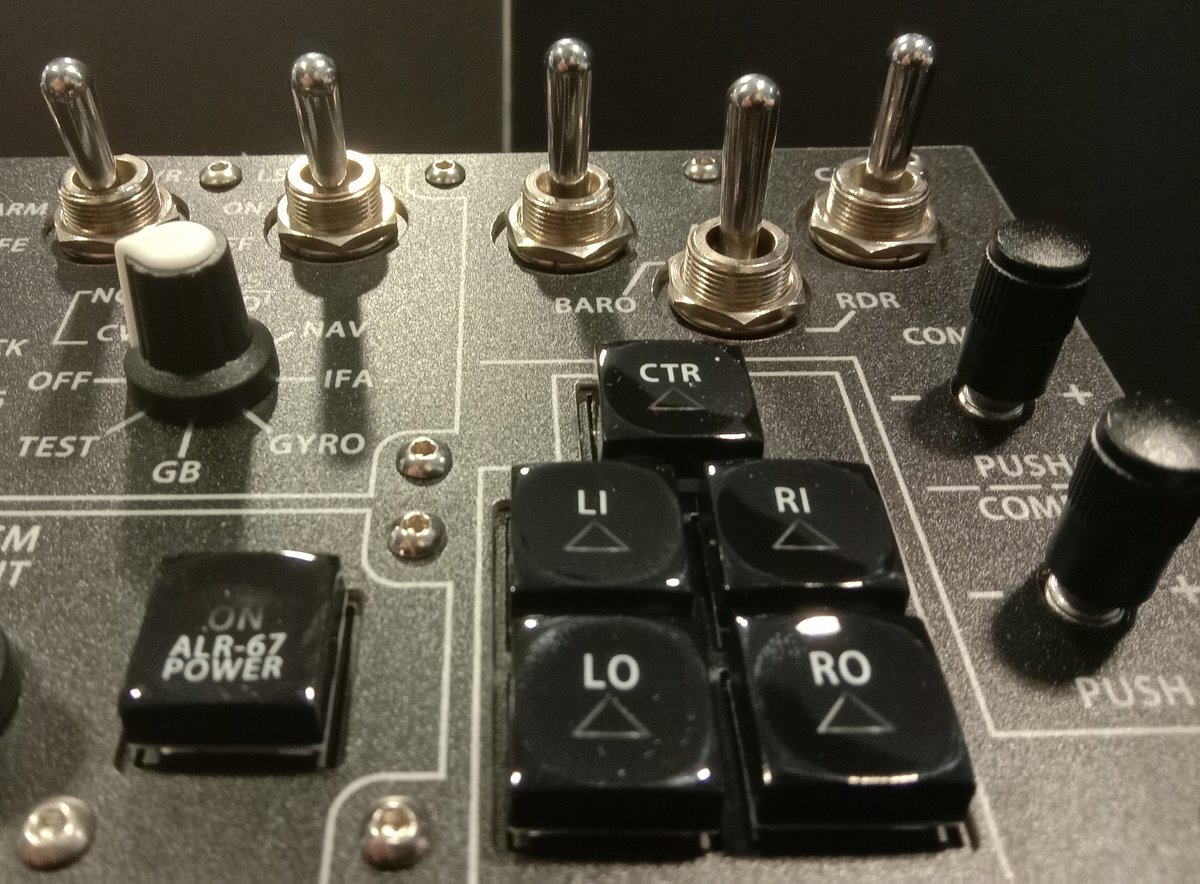
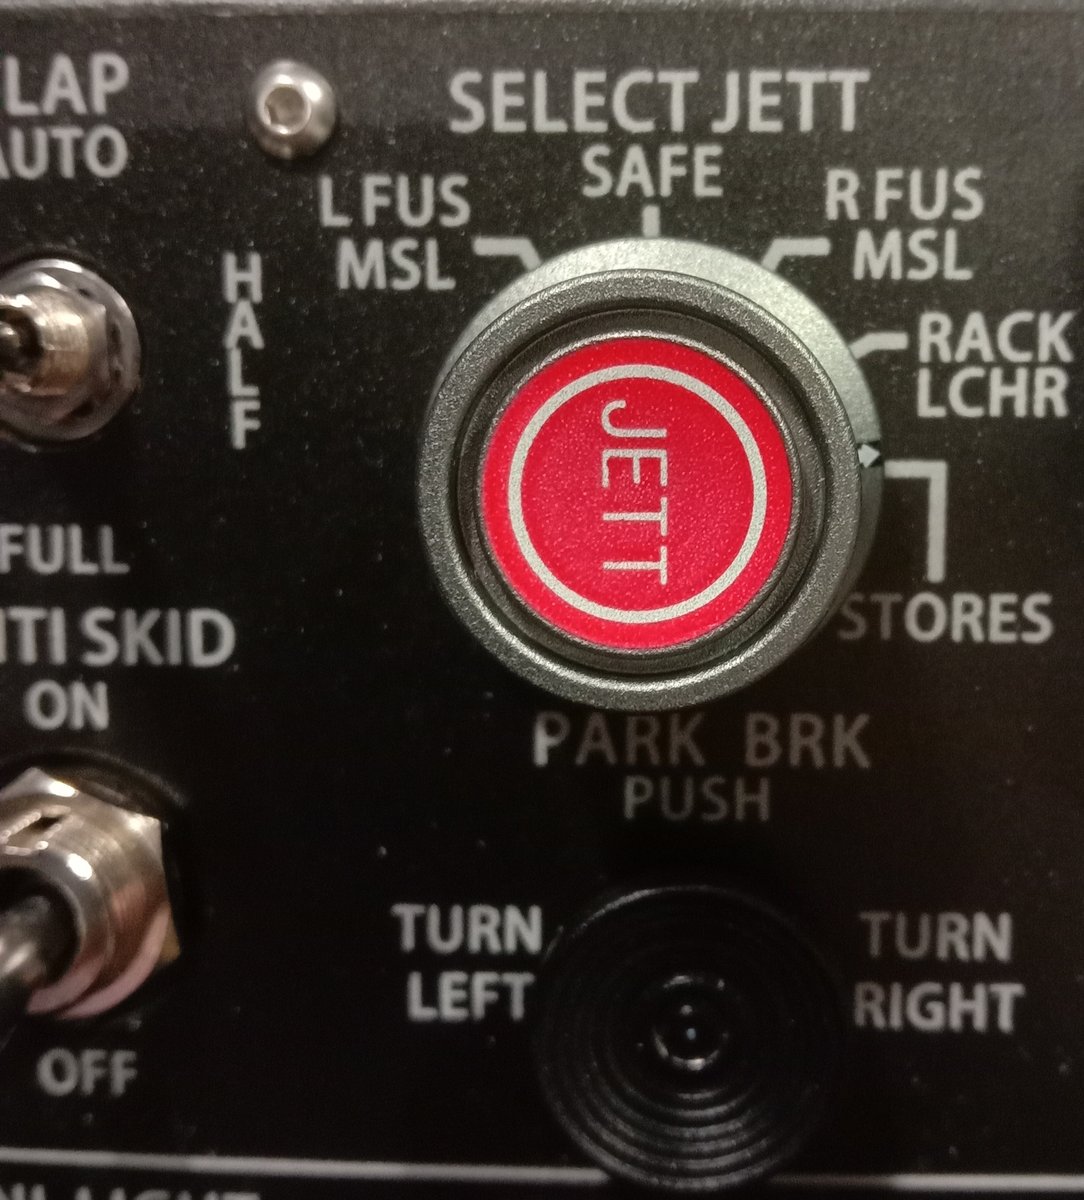
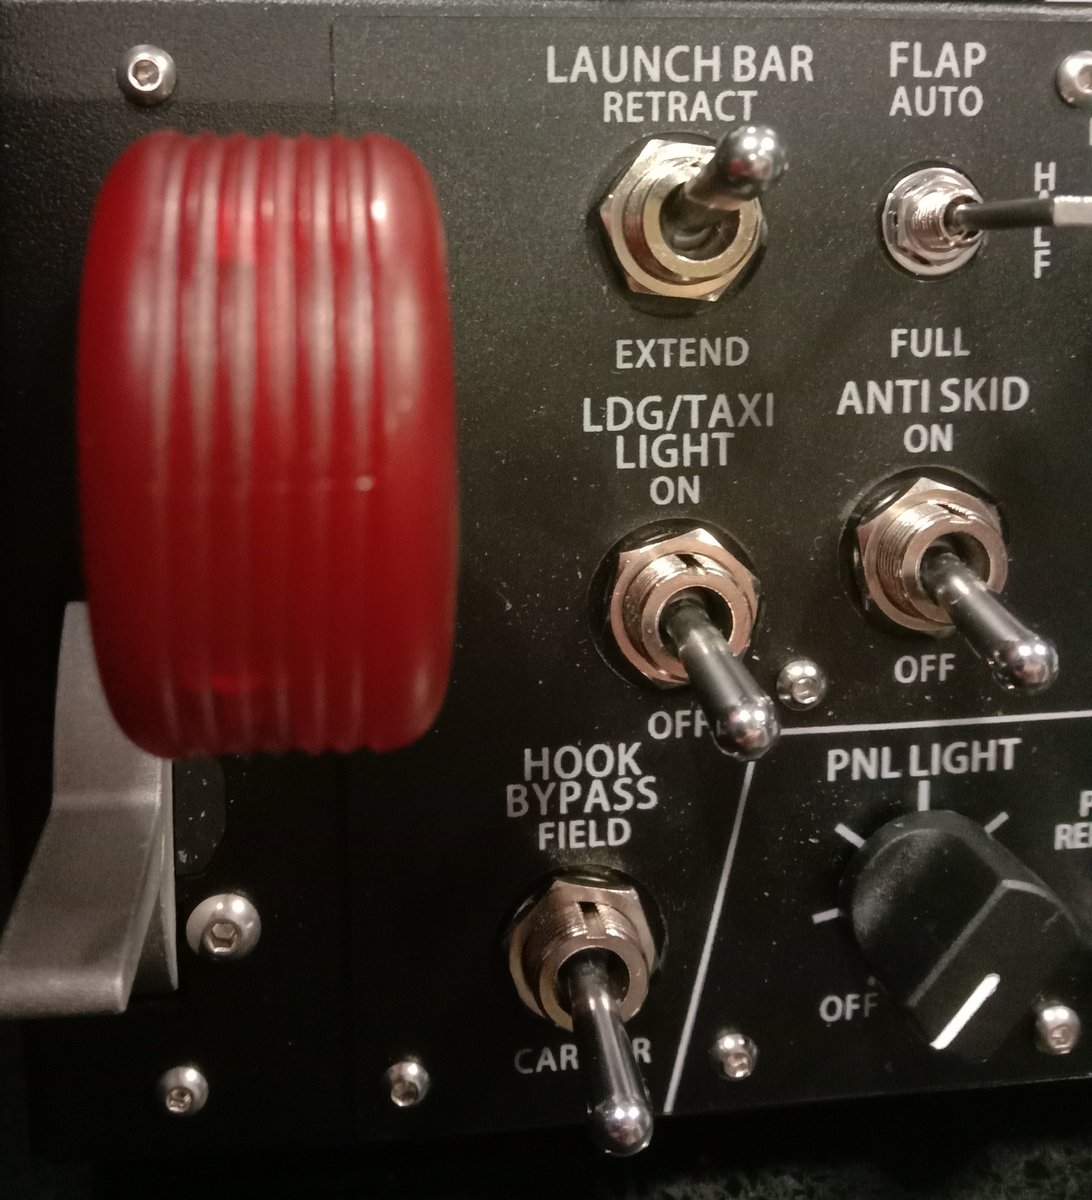
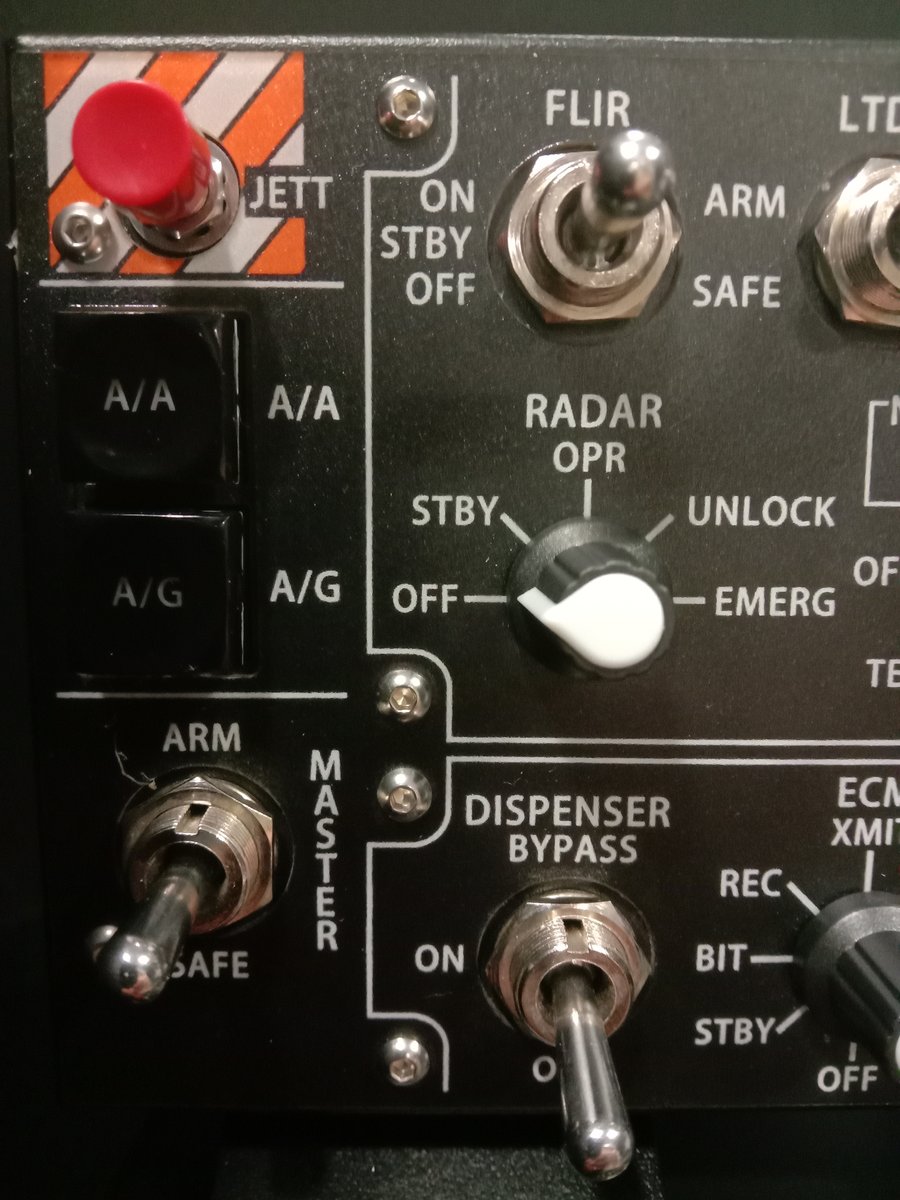
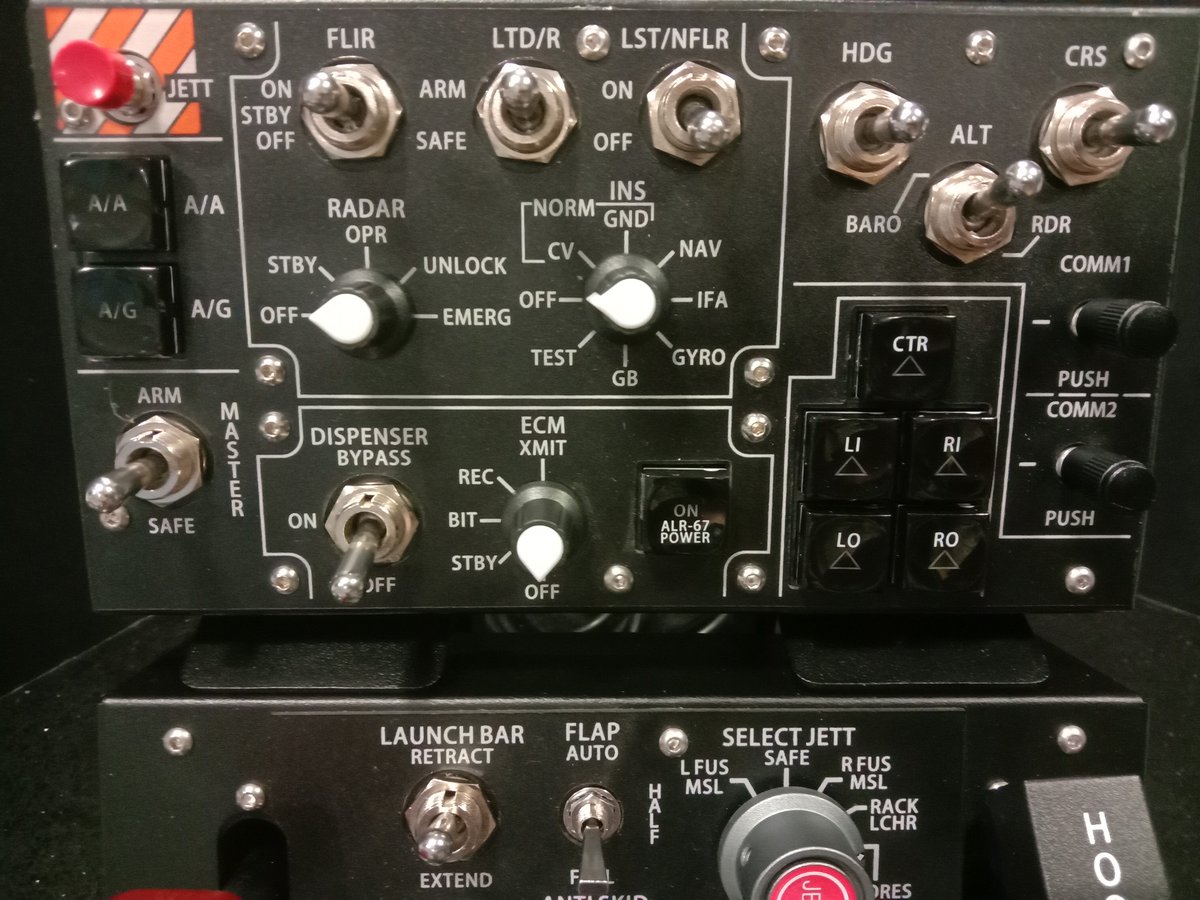
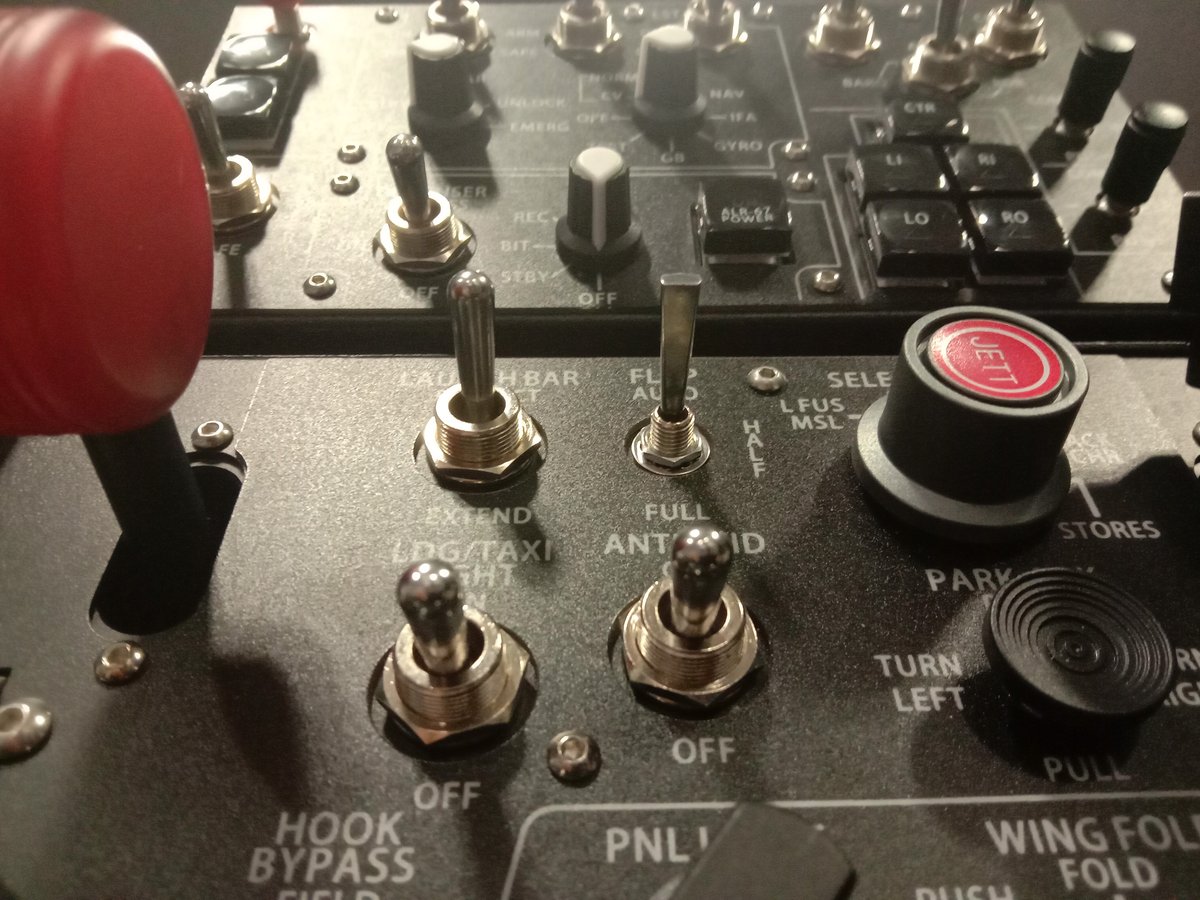
I was really enjoying the tactile response of these switches, and their slightly longer than standard throw. The upper panel gives a particularly satisfying 'thunk' due the acoustic amplification provided by the framework.
Then, I plugged the unit in.

OMG. Lights on and they look spectacular.
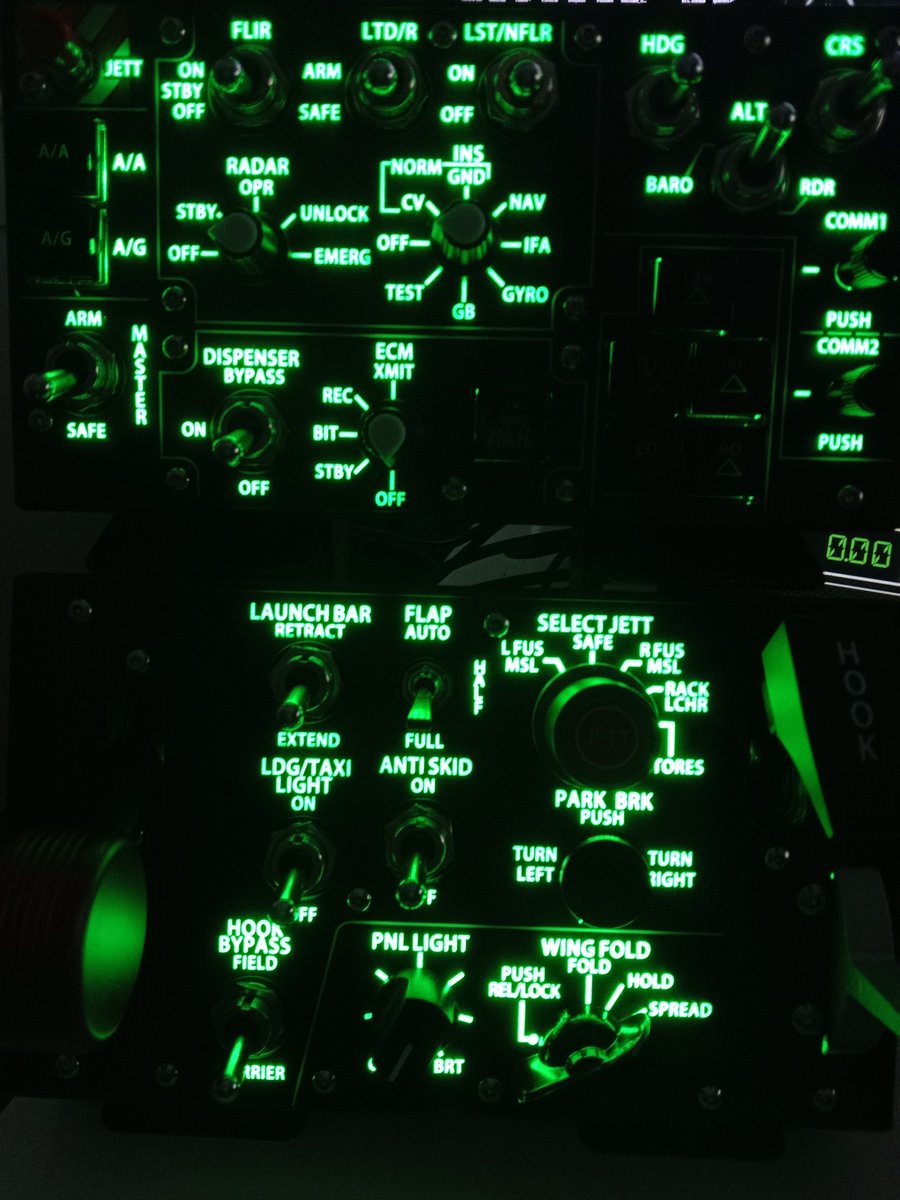
Room lights out and it's swoon-worthy.