MiG Alley
Campaign
You are supporting a ground battle that is being fought on the Korean peninsula.

As the peninsula runs north-south you will find that the front line generally lies east-west. Although your specific objectives will vary from campaign to campaign, the overall objective is to support the UN ground forces in their effort to move the front line up to the Chinese border.
It is possible to support the ground forces by flying Close Air Support missions. This may be necessary when UN Forces are in danger of being over-run. However this is not necessarily the best use of your resources.
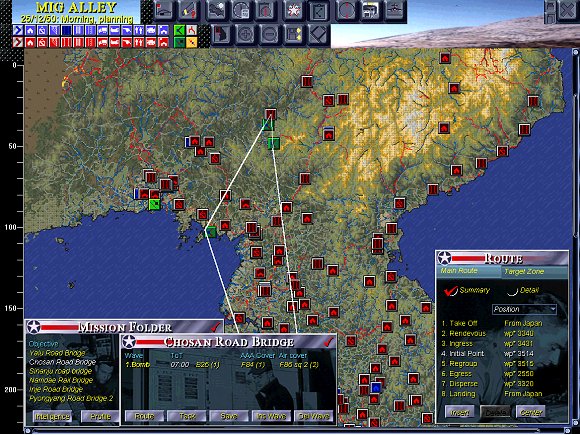
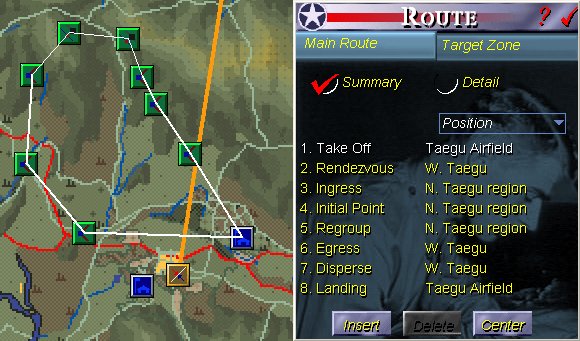
A Typical mission planning screen. There is a host of information which can be called up as needed in smaller windows. This is a model of good interface design.
The Communist ground threat depends on getting supplies to the front line. Successful Interdiction missions can therefore delay a Communist advance and even force a retreat.
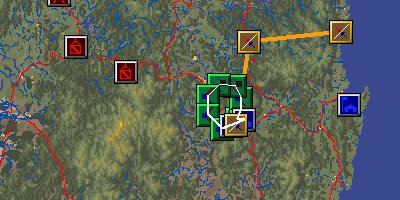
For the sake of convenience, three Main Supply Routes (MSR) have been identified. There is one on the West Coast, one in the Central Region and one on the East. Each Communist asset has been allocated to a route so that during briefings you will be able to determine its sphere of influence. Often the sphere of influence is obvious; sometimes though, because of the mountainous landscape, the connection is not immediately apparent.
It should be noted that the Supply Routes do not operate independently. There are many cross-links that the Communists use to bypass destroyed bridges etc.
Command Briefing
You are in command of a force of 112 aircraft arranged into seven squadrons.
In pursuit of your campaign objectives, you will design missions using this map screen.
The day is organized into three sessions: Morning, Midday and Afternoon. Missions should be arranged for each session. Up to 96 aircraft can be used in each session.
Some sessions will be lost due to bad weather.
The full range of Mission Types can be designed. You can either design a mission from scratch personally or just set the overall parameters and let your staff complete the details.
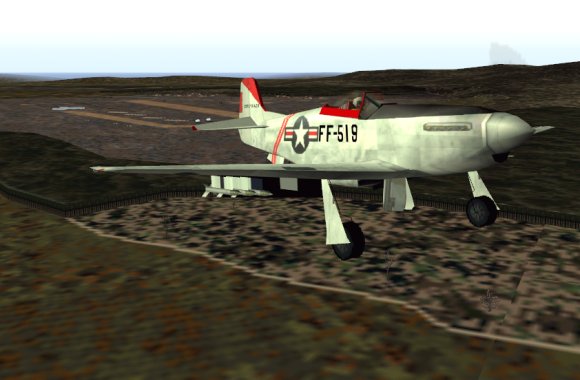
You are cleared to fly missions in the following aircraft: F86 Sabre, F80C Shooting Star, F84E Thunder Jet and the F51 Mustang.
Missions Generation
Missions can be generated in a number of ways:
By initiating Directives, the Mission Folder will be filled automatically.
Clicking on authorize on either the Target Dialogue or Dossier will produce the framework for a mission.
On the Mission Results Dialogue click on redo to carry the highlighted mission over to the next day.
If a mission is marked for Redo, then the aircraft required are automatically removed from the available set before the Directives automatically build the next session’s missions.
No matter what method is used for mission generation, the mission can be fine-tuned to an extraordinary level of detail. Use the:
Mission Profile Dialogue to insert and delete Waves.
Task Dialogue to change the aircraft types, numbers, duties and payloads.
Route Dialogue to make changes to the route for the mission.
Mission Profile
The Mission Profile Dialogue is used to display details about the mission highlighted in the Mission Folder. The main target for the mission is shown in the title bar.
A mission can consist of a number of Waves and each Wave can be made of up to three groups of aircraft.
Each Wave of aircraft is allocated a separate line on the Mission Dialogue. Here is a typical entry:
Wave | ToT | Main Duty | AAA Cover | Air Cover
1.Bomb | 07:00 | B26(2) | F84(2) | F86 sq 1(1)
1.Bomb
The 1 indicates that this is the first Wave of the mission. Bomb means that the Wave’s main duty is to bomb the main target. This is a Strike Wave.
ToT
This is the Time over Target. Actually it is the time that the Wave should reach the Initial Point. The Groups split at this point to perform their individual duties. Click on this entry to display the Route Dialogue for this Wave.
B26(1)
One flight of B26 Medium Bombers is tasked with the main duty. Click on this entry to display the Task Dialogue for this Wave.
F84(2)
Two flights of F84E Thunder Jets are on AAA cover. AAA or triple A stands for Anti-Aircraft Artillery. This duty is also called Flak Suppression and Wild Weasel. These aircraft can either be allocated targets or be given a free role to attack targets of opportunity. Click on this entry to display the Task Dialogue for this Wave.
F86 sq 1(1)
One flight of F86 Sabre Jets has been allocated the Air Cover Duty. This flight will provide an escort for the bombers when they are en route and returning from the target area. During the bombing phase, the Sabres will patrol the area defined in the Route Dialogue. Click on this entry to display the Task Dialogue for this Wave.
There are five buttons at the bottom of the Mission Dialogue:
Route - Display the Route Dialogue for the highlighted Wave.
Task - Display the Task Dialogue for the highlighted Wave.
Save - Save the Mission Profile.
Insert - Insert a Wave. If the Main Duty of the first Wave is to bomb the main target, then a Dialogue will be launched which will allow you to define the nature of the Wave.
Delete - Delete the highlighted Wave. It is not possible to delete the first Wave. Use the Delete Button on the Mission Folder to delete the mission.
Resources
Your have five fighter squadrons and two bomber squadrons under your command.
The fighter squadrons which are based in Korea, consist of:
Two squadrons of F86 Sabre Jet aircraft. These are the best air combat aircraft at your disposal. Sabres are only armed for air to air duties.
One squadron of F84E jets and one squadron of F80C jets. These aircraft are best suited to ground strike duties. The MiG15 in combat outclasses them.
One squadron of F51 prop aircraft. These aircraft are no match for the MiG15 in combat. However they are useful for Close Air Support and Interdiction Missions close to the front.
The bomber squadrons are based in Japan. On any particular day you will have either a squadron of B29 heavy bombers or B26 medium bomber aircraft available. B29s are preferable because they deliver a bigger punch. However if the attrition rate becomes too high they will be withheld.
Each squadron of pilots is organized into six flights of four. However, the maximum number of aircraft that can be launched at any session is sixteen and therefore only four flights can fly. This gives you the option of resting pilots.
Aircraft are allocated in units of four, i.e. in flights. So, for instance, if you have designed four Strike Missions it would be possible to allocate two flights of Sabres to each mission. Alternatively you could allocate one flight to each mission and the remaining four Sabre flights could be allocated together to form a MiGCAP over MiG Alley.
A flight consists of two elements of two aircraft. The leader/wingman element is the smallest fighting unit in MiG Alley. Although aircraft are allocated to missions in flights, it is possible to allocate duties to individual elements.
Routes Overview
A route is a set of waypoints. Initially, each route consists of the same standard set of waypoints:
Take-Off
Rendezvous - Flights from different airfields will join up here
Ingress - Entry into enemy airspace
Initial Point - The Groups split at this point to perform their individual duties
Regroup - The Groups join up again
Egress - Exit enemy air space
Disperse - Flights from different airfields split up
Landing
As it is possible to drag waypoints around the map, Ingress and Egress waypoints are not always strictly associated with the position of enemy airspace.
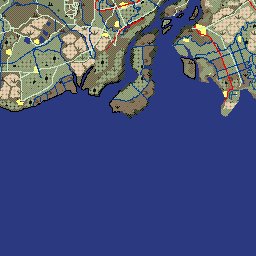
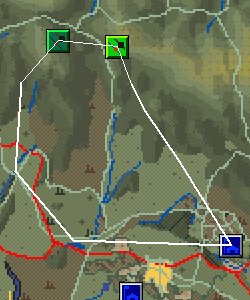
A typical planning map screen
Aircraft in the same Wave fly together from the Rendezvous to the Initial Point. Each Group then has its own set of waypoints to follow in the Target Zone.
It is possible to insert and delete additional waypoints. However it is not possible to delete any of the standard set. Additional waypoints can be added to both the main route and Target Zone.
Waypoints can be set for individual elements. If you had a mission with two flights of Flak Suppression aircraft, you could give the four elements different routes in the Target Zone. As it is possible to define Main and Secondary Targets, you could authorize eight different targets with just two flights of aircraft.
2nd August 1950.
Morning, planning.
I elected to fly as number 4 rather than flight leader. This gives me the opportunity to follow the others in the strafing runs and learn the patterns.

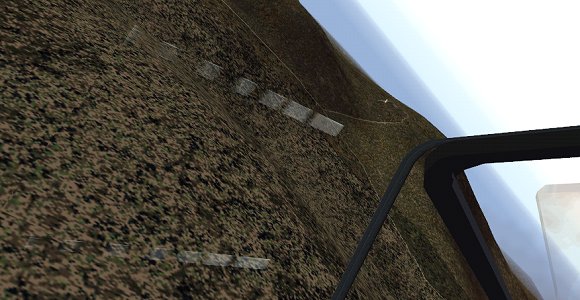
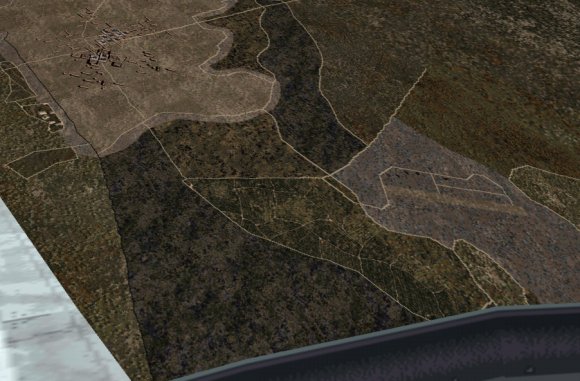
Route detail
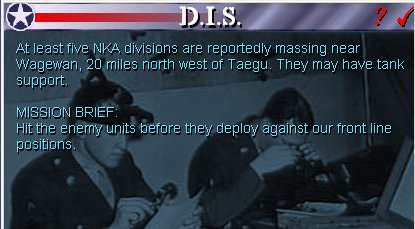
Hmmmm.... the enemy forces are almost on top of us - the flight plan shows a very short route across the FEBA- represented by the yellow line.
There is a FAC on the spot - he will direct us to the tanks and infantry.
This mission planner is amazingly user - friendly. Rowan have been good at this since Flight of the Intruder, back in the early 1990's.
Here I've decluttered the plan by toggling off all waypoints except the target run start and end.
Weather report? No problem:
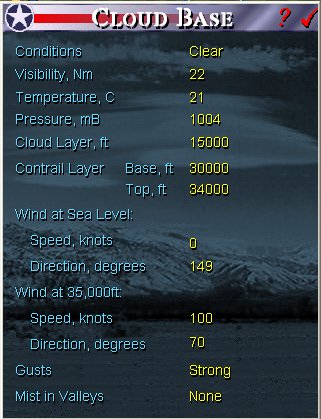
Strong wind gusts but no mist in the valleys which is good - it's hard enough to see these targets at the best of times.
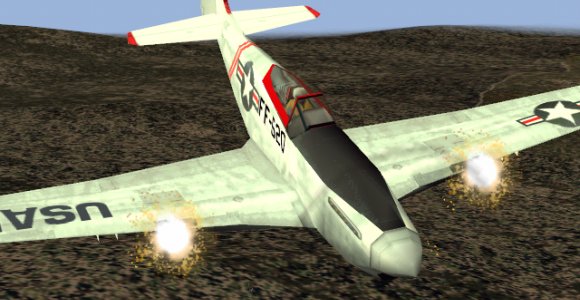
The flight
Lined up for take-off.
Just after take-off and no longer lined up !!!
I finally caught up with the flight and was struggling to formate.
Naturally the FAC chose this moment to tell us to test our guns !
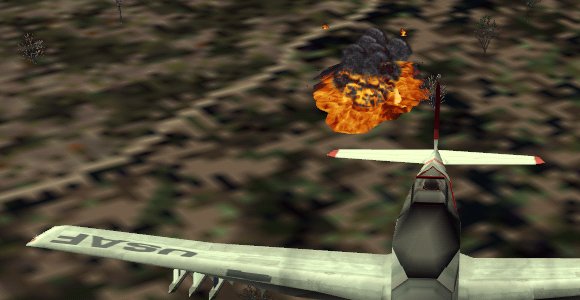
No - that's not the napalm I dropped !
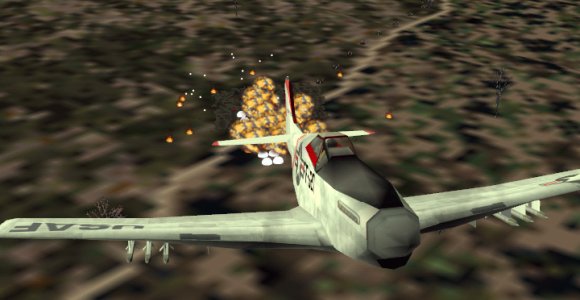
On the second pass the flight leader asked for rockets.
This time I was better able to follow the other aircraft in and the smoke from their rocket attacks made setting up the strafe easier. I still don't think I hit anything - it's difficult!
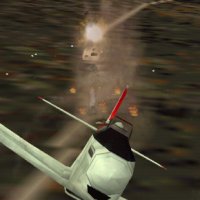
Then it was back to the action.
I actually saw the tank convoy this time.
and... now this is a little spooky ... I swear I heard people yelling in Korean as I flew past.
Back home - check out the terrain textures - the village - paddy fields - forested areas - the base itself.