Red Star over Korea
MiGMan’s Combat Diary 2002
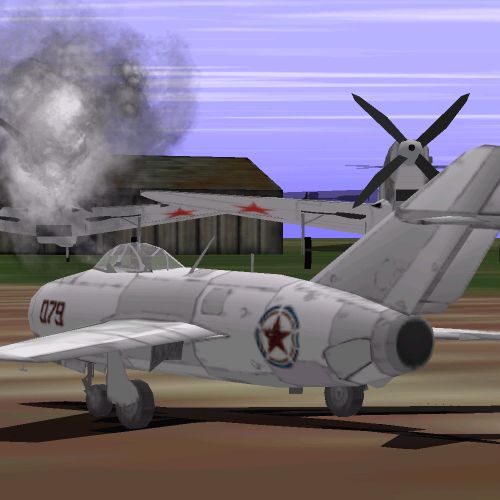
Sent back 40 years in a time machine to 1952, I was assigned to lead a flight of MiGs for the north.
❝
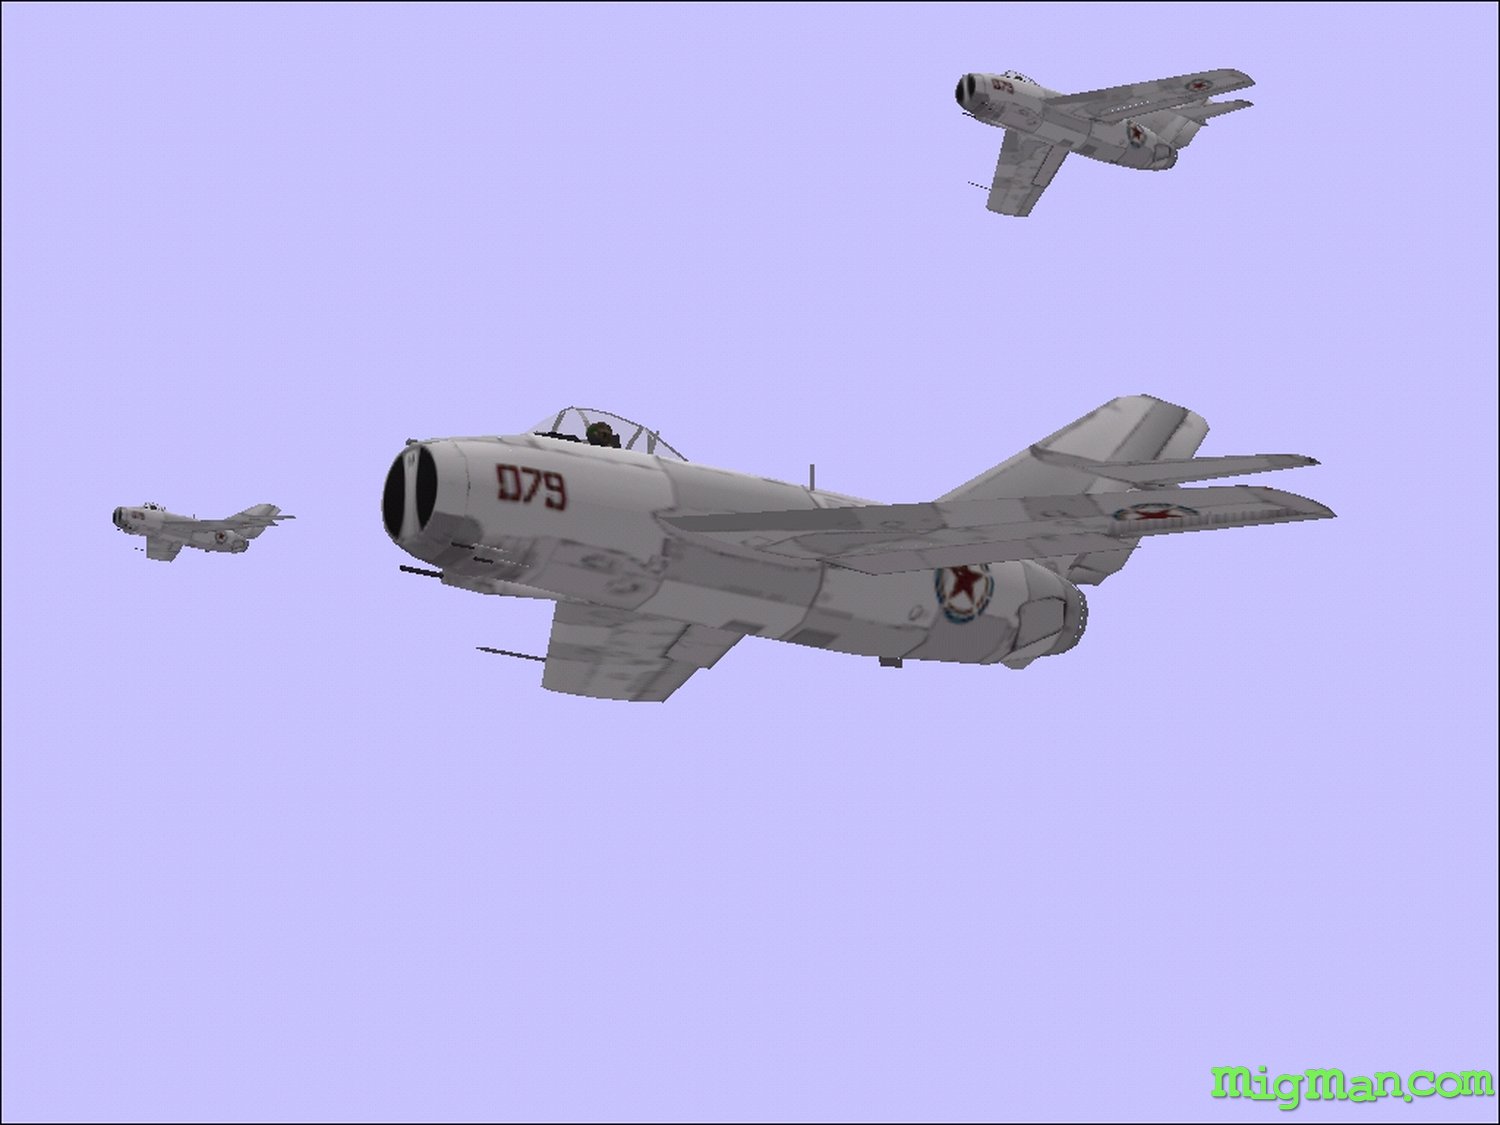
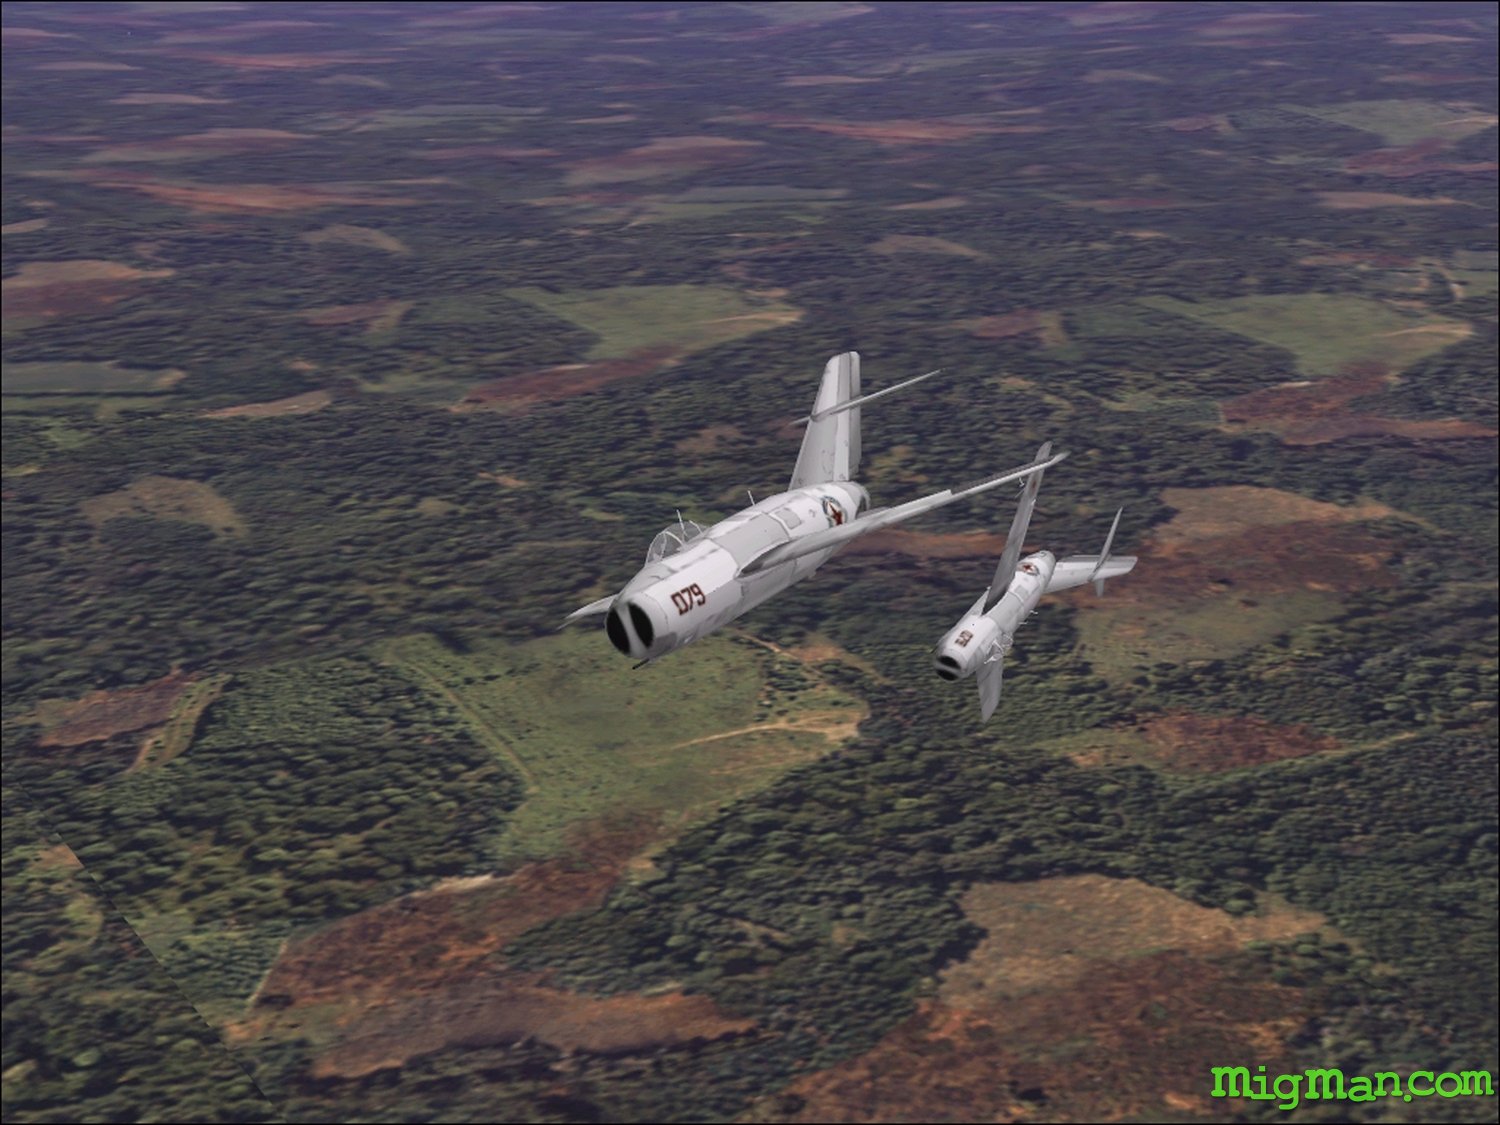
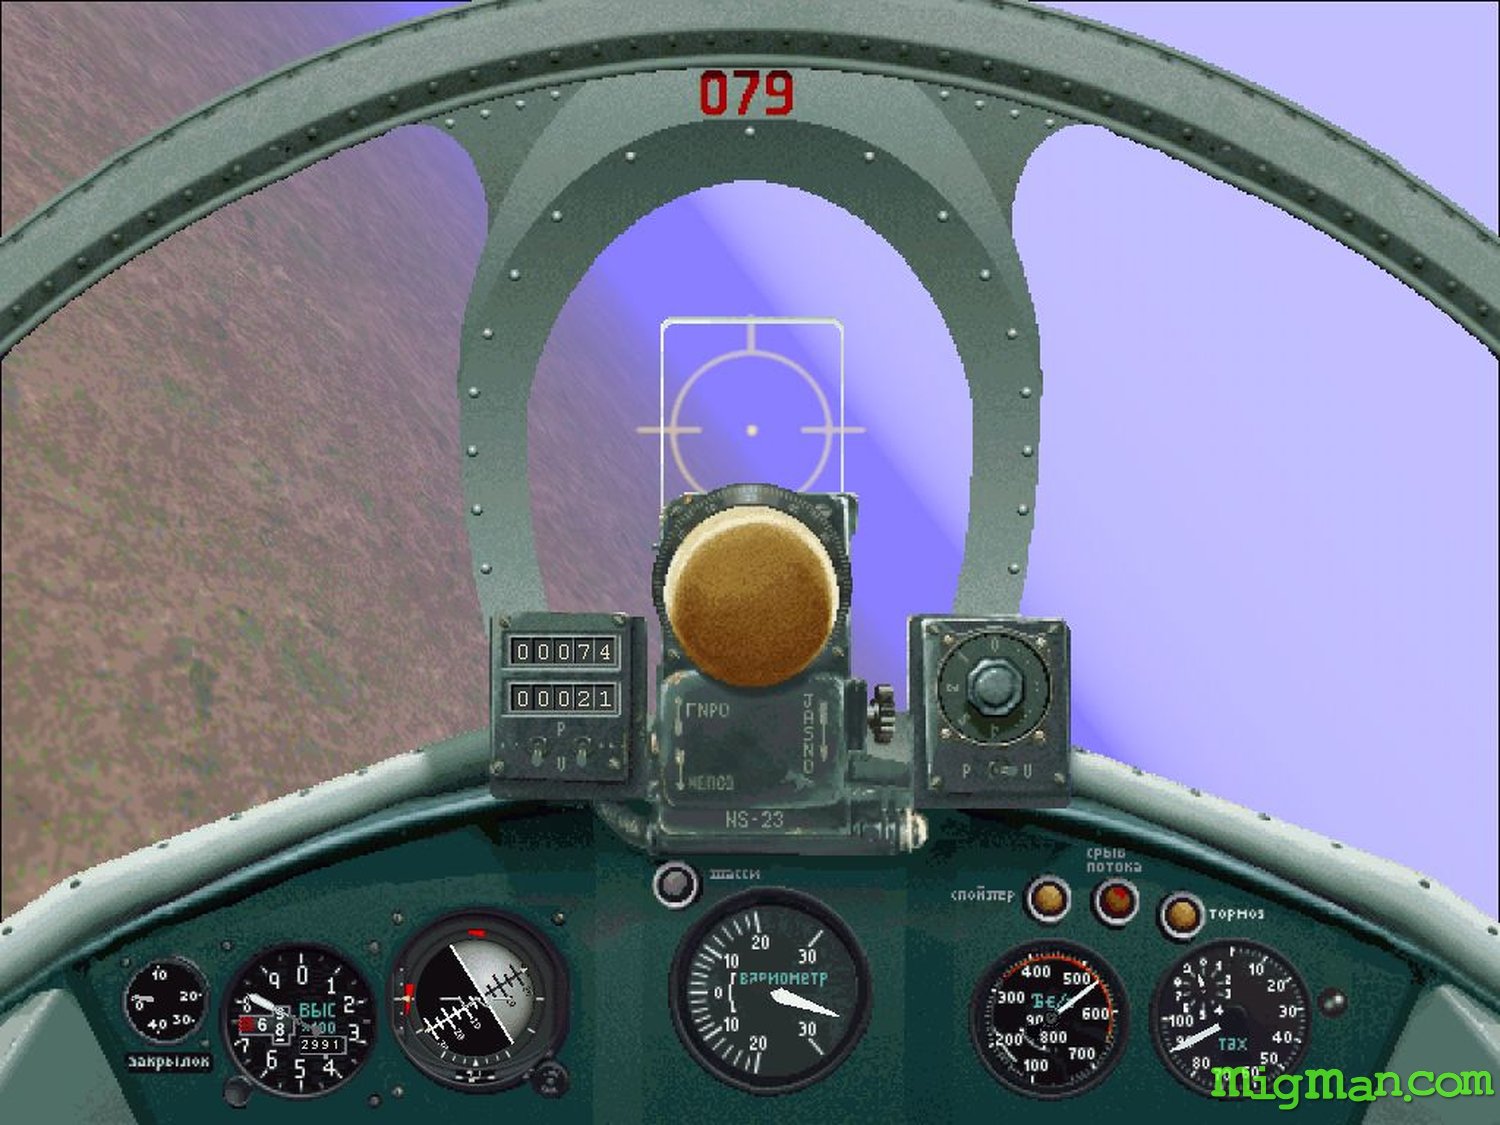
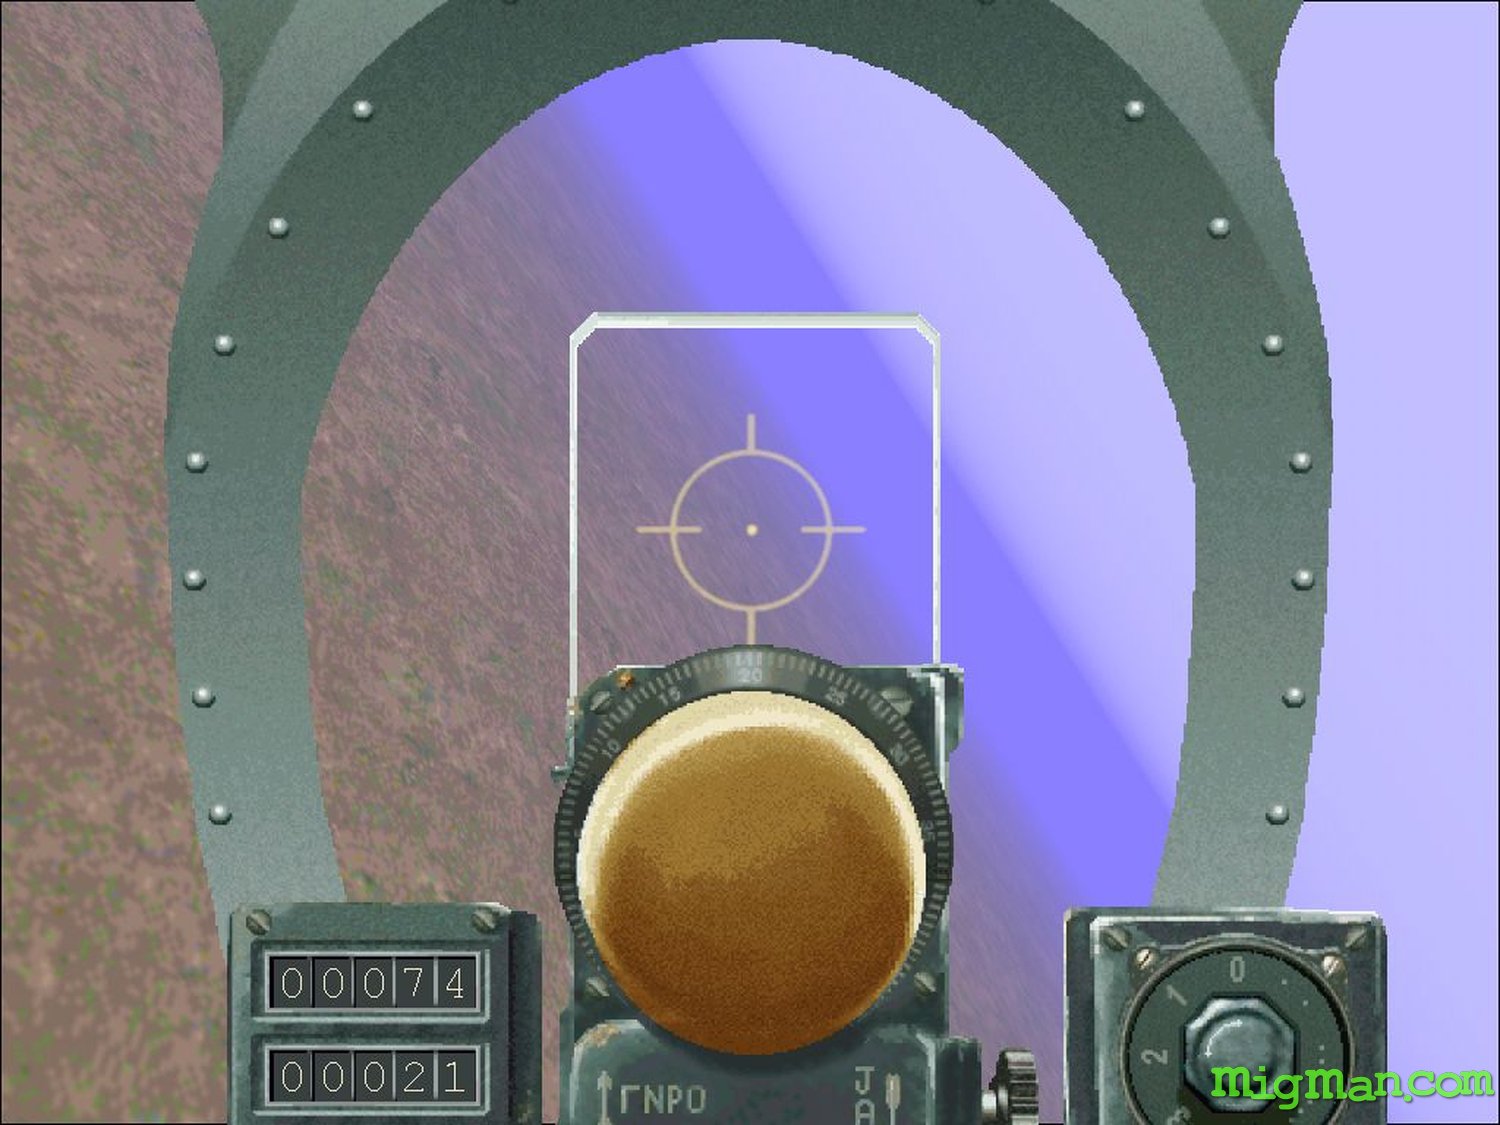
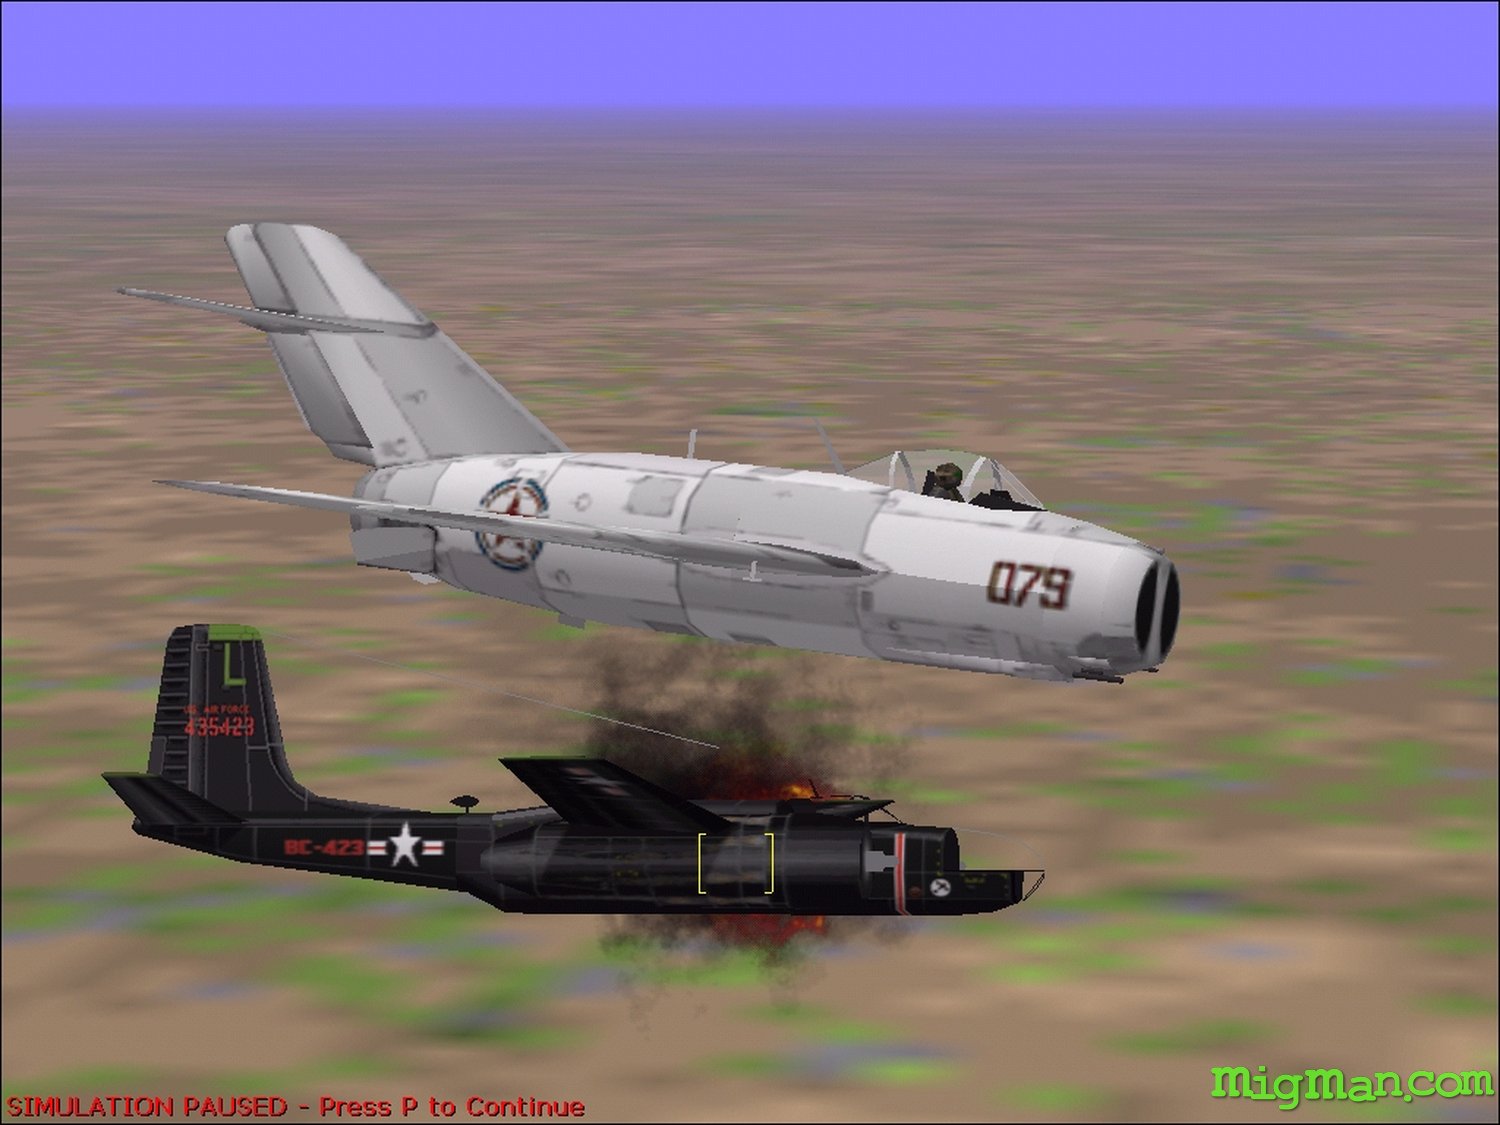
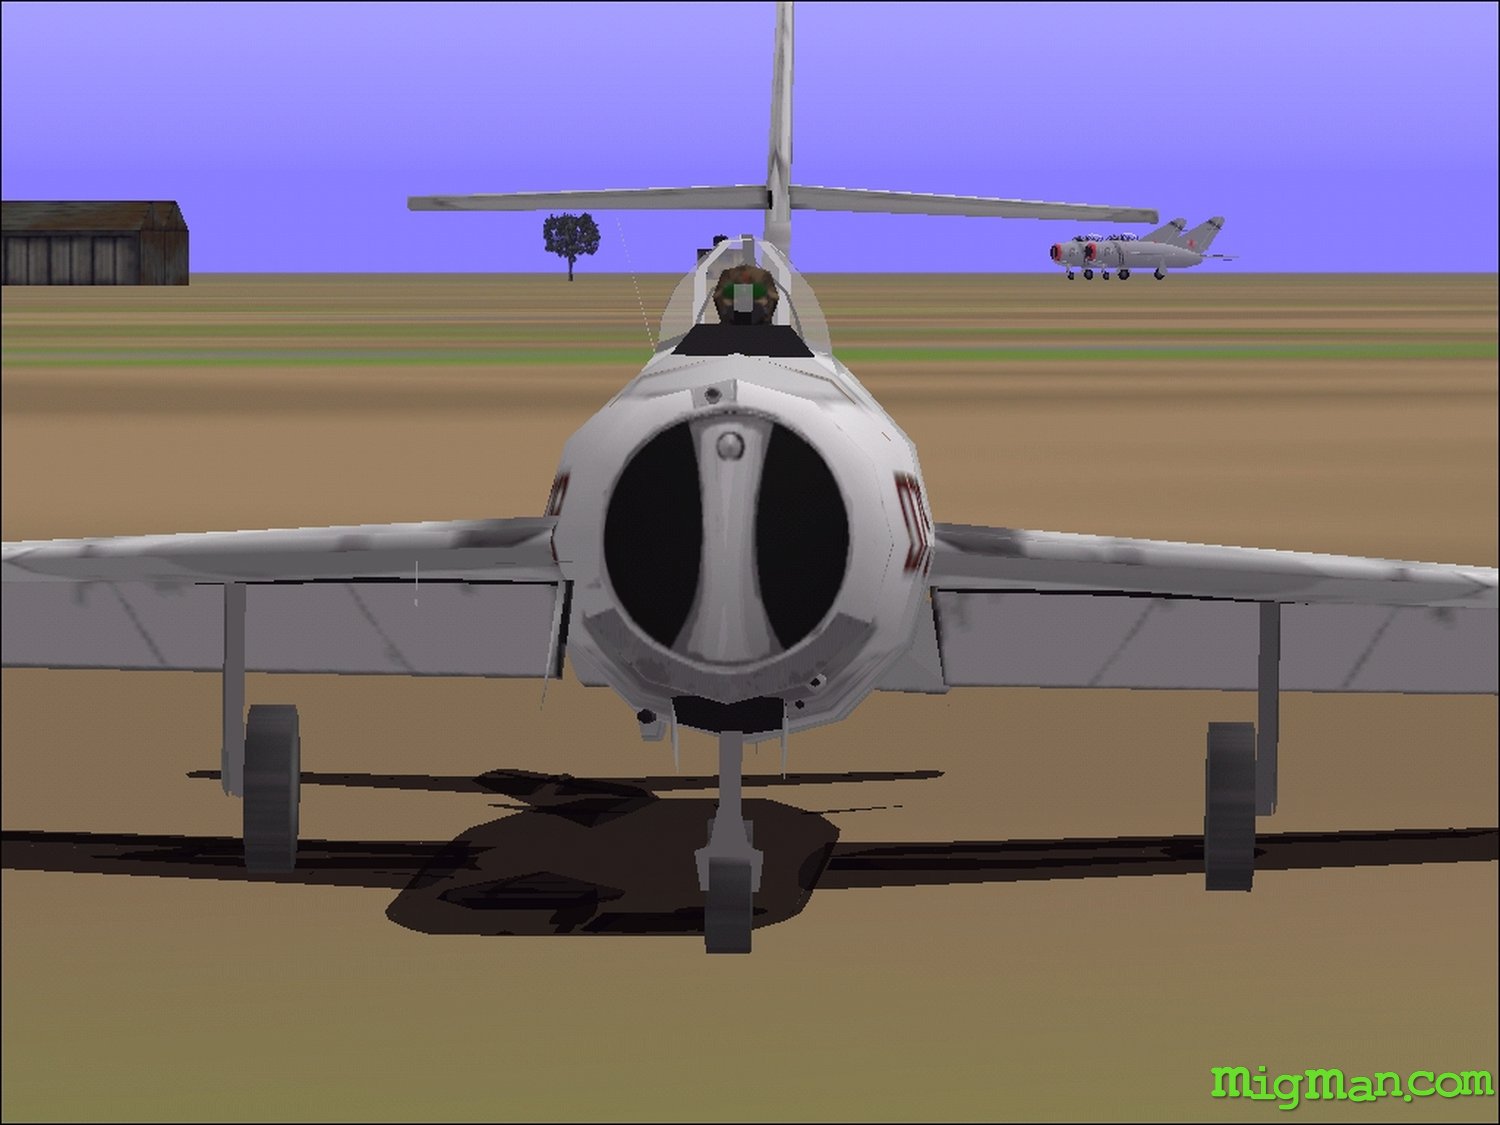
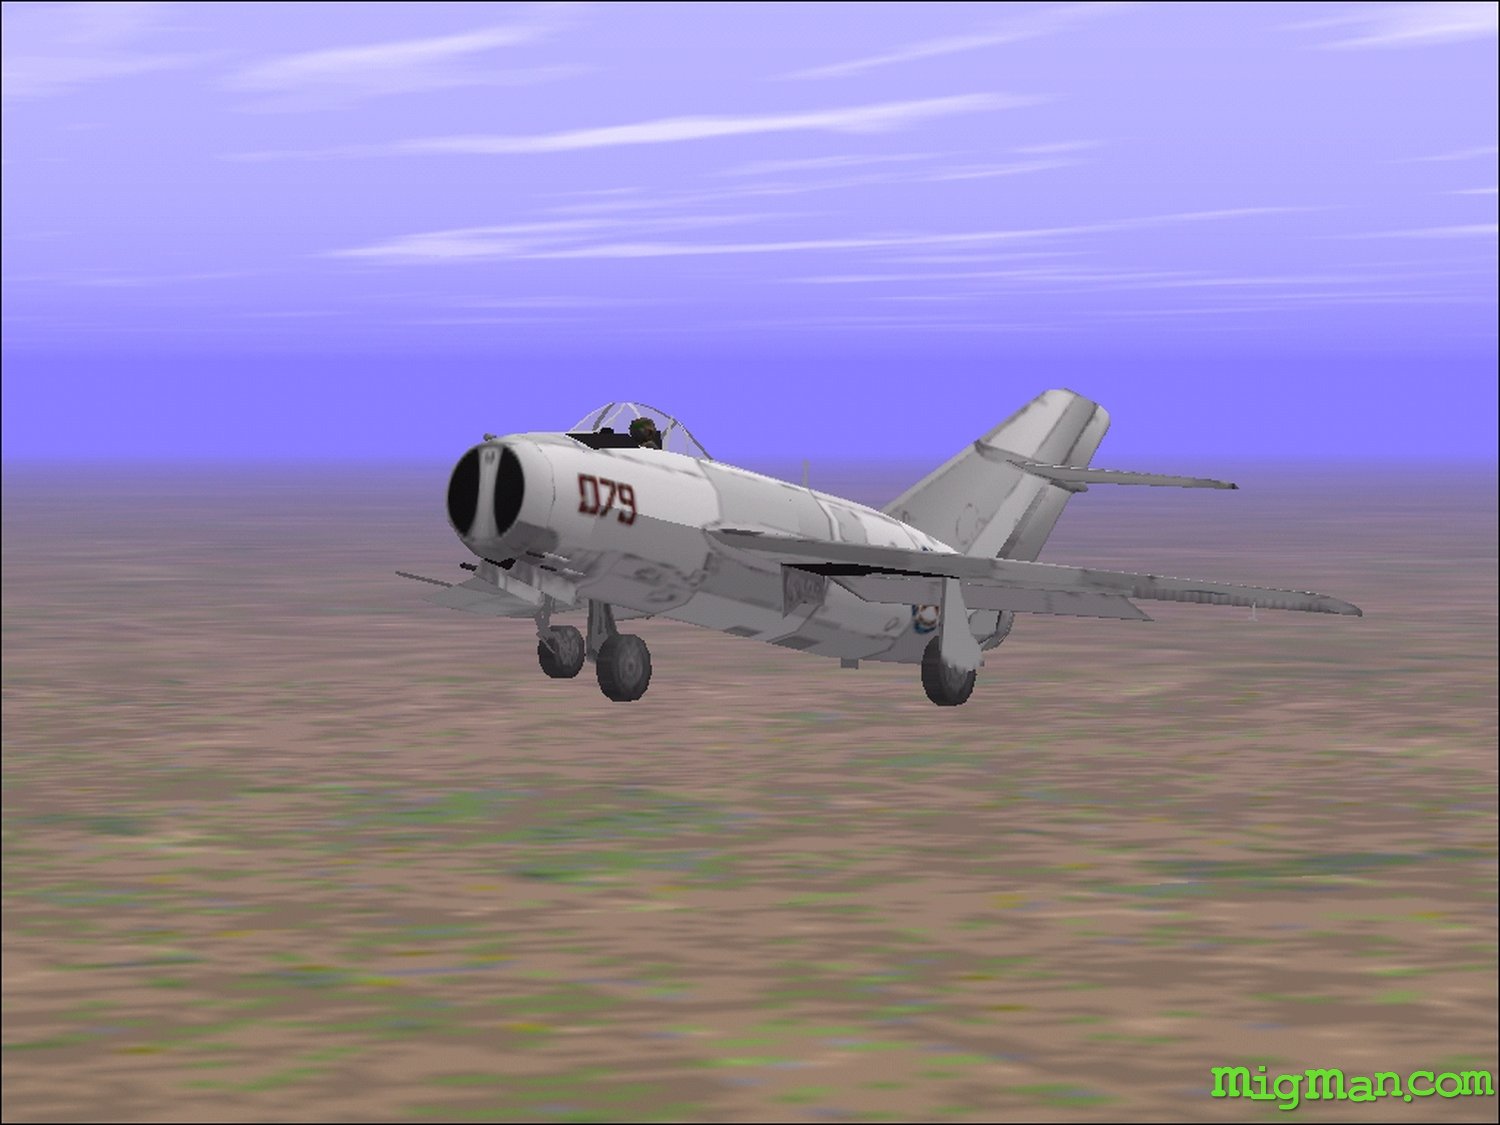
MiG-15 001: Dogfight
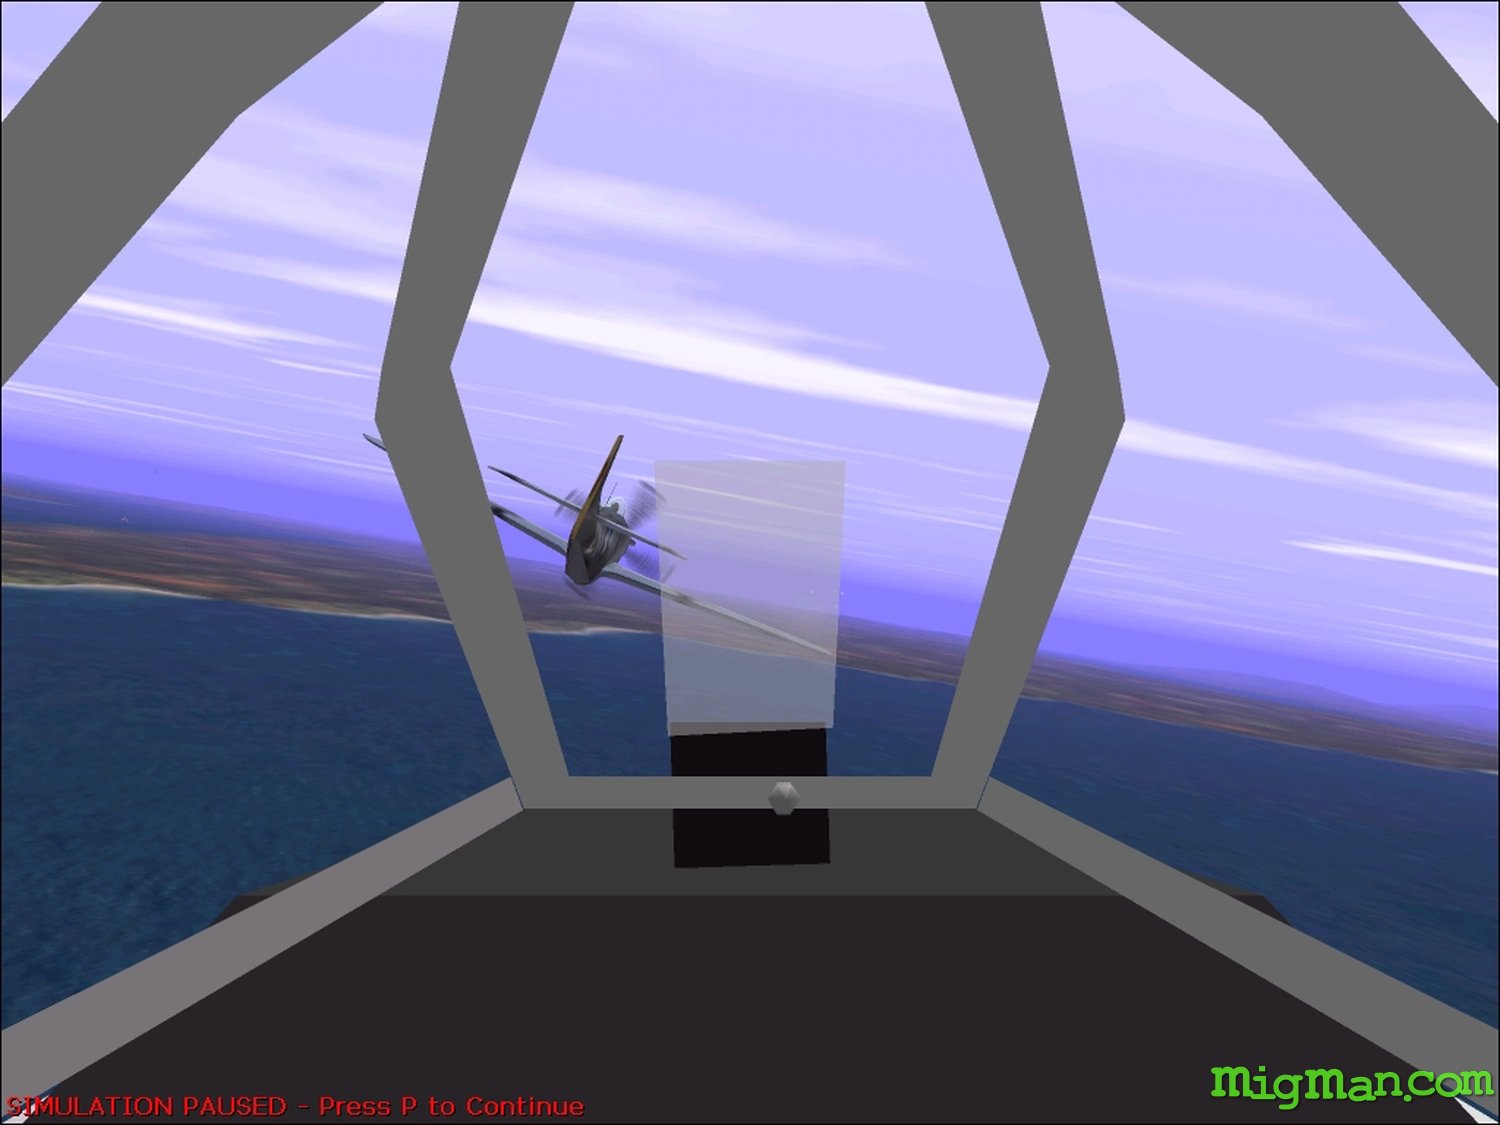
You are one of a team of four elite Russian Pilots sent to Korea to hone your fighting skills and get some first-hand experience of US tactics. You are on your way to P'Yonggang to join a squadron of North Korean MiG-15 Pilots, when you run into a flight of four US Navy Banshees.
You must destroy the Banshees and then continue to P'Yonggang.
As you aproach the airfield you will see two La-7s heading out on a ground attack mission - these are just for local colour.
If you intend to land, note that waypoint 3 is "Contact Tower". On reaching this point, you may be advised to:
- call up your ADF (Shift+5)
- click the ON switch
- click the minus key to tune in to P'Yonggang, ADF:95 - this will aid you to get the correct line-up for the runway
- Waypoint 4: Final Descent, puts you more or less on a straight route in to touchdown
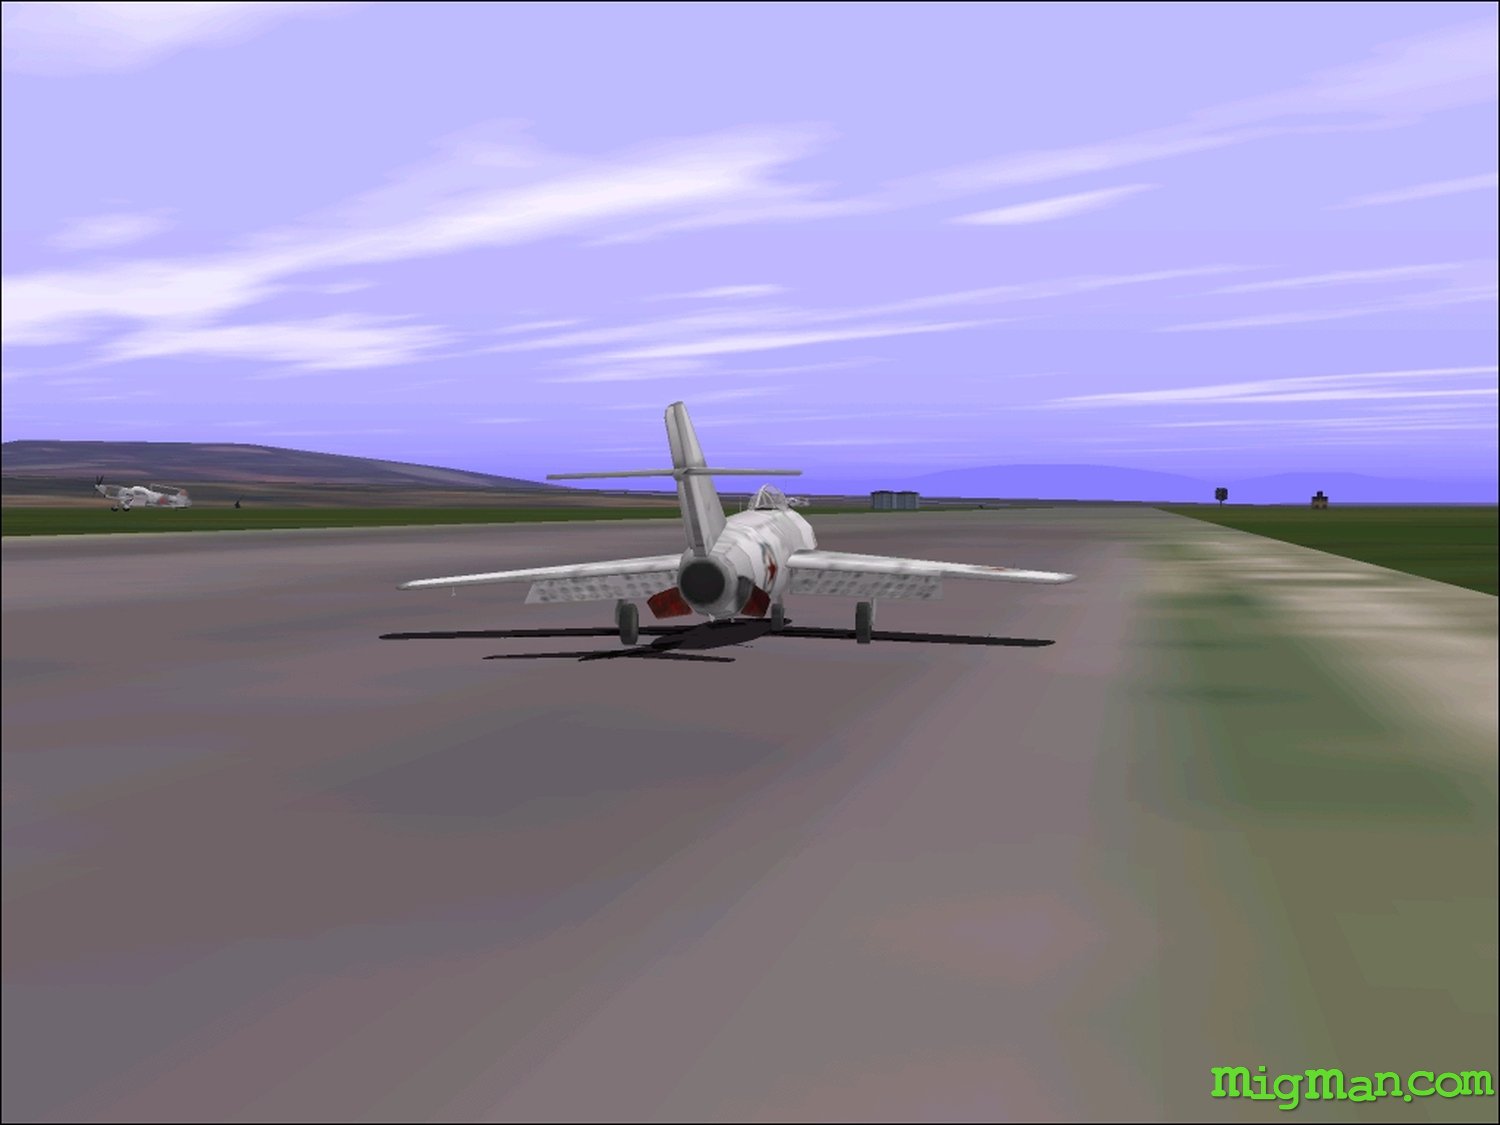
- The strip runs 147 degrees/327 degrees, and you may land from either end
- Once you have successfully landed and set your park brake, you must then press X to end the mission
- Alternatively, you may wish to press X repeatedly in order to warp through the waypoints and end the mission without landing
❝
MiG-15 002: Intercept
You and your Wingman are sent out on a routine patrol to familiarise yourself with the combat area.
On your way out you will pass two La-7s returning from a mission. You then receive a message from your air controller who vectors you towards a flight of four B-26 Bombers returning to their airfield, and tasks you with shooting them down.
Be careful how you approach these aircraft, as they have a deadly rotating dorsal turret.
Once the bombers are destroyed, you may either complete your waypoint path and land at P'Yonggang, or press X and warp through your waypoints as previously detailed.
❞
❝
MiG-15 003: Scramble
You are readying for patrol when a US Navy Photo-recon plane performs a low pass over the airfield. You are required to scramble immediately, and shoot it down.
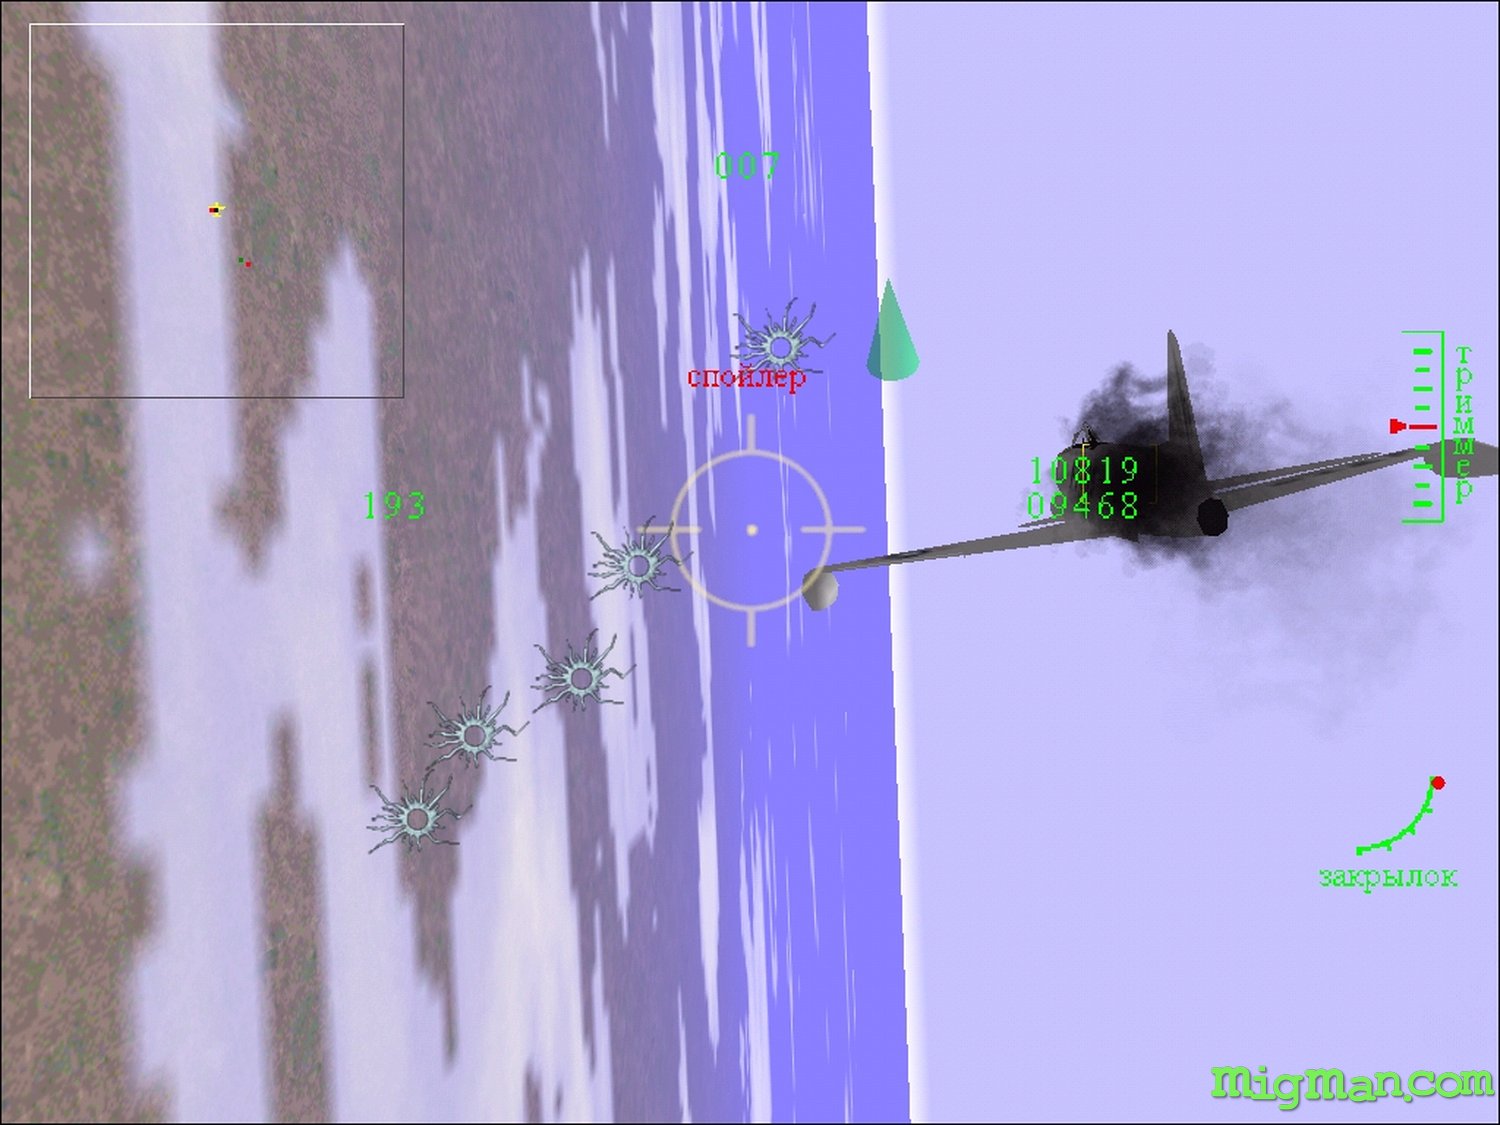
The Photo-Banshee is overflying at around 400Kts and 4000 ft altitude, but will then climb to 10,000 ft for the getaway. Once you've left the runway, the trick is to get as fast a climb rate as you can, but still maintain acceleration. If you build up speed too quickly, you'll overshoot before you've got to altitude, and you'll come up in front of him.
Fortunately, being the Photo-Banshee he has no guns, but you don't want to be circling around to try and get on his tail, when you already start off on his tail. Once you are behind him and at co-altitude, you'll have no trouble overtaking him with your capability for greater speed, but make sure to use your throttle and airbrake judiciously to prevent an overshoot before you get the chance to pump him full of lead.
You should catch up and kill him before you hit waypoint 1, but there's a sting in the tail, because two Banshees are waiting for their buddy at that point. Not only are they fully armed, they're mad as hell that you shot him down.
If your dogfight with these guys stretches too long, you'll get back-up from two of your own buddies, but you don't want them getting all the glory, do you?
Once these Banshees are downed, you may complete your waypoint path and land at P'Yonggang, or press X and warp through your waypoints as previously detailed. "
❞
❝
MiG-15 004: Intercept
You and your wingman take off on a patrol mission to the west of the airfield, but an urgent message diverts you towards Changyon Marshalling Yard, where a force of US Navy bombers and fighter escorts is expected to undertake a strike.
If you fly the waypoints, keeping your speed around the 380-400Kts mark, you'll get to Changyon Marshalling Yard slightly ahead of the strike force. However, if you warp your way there, you will probably have to circle the railyard for half a minute to let the enemy catch up. Whilst you're there, take a look down at all those neat lines of rolling stock, and marvel at how long it must have taken me to get it all properly in place, just so somebody can come along and blow it all up!
Actually, those of you who have the Valley Forge pack will have already been here in mission 308, so now you get to see it from the other side.
The Navy Bomber force consists of four Banshees, and they are escorted by two Panthers. Hit the bombers first, hoping to scatter them and spoil their bomb run, even if you don't manage an instant kill on your first pass. But be careful of those Panthers sneaking up behind and ripping you apart whilst you sweeten your line-up on the Banshees.
If the Navy force proves too skilful an opponent, and the dogfight becomes protracted, you will eventually be rescued by four MiGs that have been despatched to rescue you.
Once all enemy planes have been downed or have left the area, you may either complete your waypoint path and land at P'Yonggang, or press X and warp through your waypoints as previously detailed.
❞
❝
MiG-15 005: Reconnaisance
We have received intelligence regarding the possible location of the Valley Forge Carrier Fleet, and your job is to confirm the information for a possible strike.
You take off alone and fly west towards Changyon. Fly at 10,000 to 20,000 ft altitude to conserve fuel, as this is a long hop. On your way, you may be amused to spot two Po-2 biplanes returning from a mission.
When you get to Waypoint 1, just before Changyon, you turn south and head towards the suspected location of the fleet, and can slowly lose height to around 2000 ft over the sea.
On reaching waypoint 2, you must ignore further waypoint instructions and call up your ADF (Shift+4). Switch on (mouse-click on the left switch), and using the up/down arrows, tune in to CV-45, slot 99 which carries the co-ordinates for the suspected fleet location. (Once you are in range of the enemy, the Microsoft waypoint system goes T**s up, so using the ADF will get over this flaw)
Fly the needle until you spot the fleet. You may overfly, but be careful of flak and four enemy Panther fighters that head your way. DO NOT ENGAGE: your job is now to get home in one piece with your valuable information. So quickly tune your ADF to P'yonggang, slot 95, and fly the needle at full throttle. The Panthers should fall behind you, unless you get too close to them, and once they are out of range, your waypoint instructions will return, and you can follow them to waypoint 3, which is directly over your airfield.
On the way back, you will pass six MiG-15s on their way out to spring a little trap on those Panthers. If you fancy a little action, then drop in behind them and help them win the dogfight, but be careful you don't run out of fuel.
When you get to waypoint 3, you can either press X to end the mission, or you can circle the airfield to line up for a perfect landing. By now you should be pretty familiar with the orientation of the runway, so landing should be a snip. Then press X to finish the mission.
❞
❝
MiG-15 006: Scramble
Your airfield has just been hit by the first wave of a Navy strike force. Some planes have scrambled to chase the attackers, but just as you prepare to take off after them, a second wave of bombers swoops low over the airfield.
You'll not see anything of that first wave, or the pursuers, they're just a piece of dramatic fiction to explain why some of the buildings and aircraft at your airfield are on fire, and give you some impetus to get into the air before the same happens to you.
If you scramble quickly, and turn 180 degrees, you'll meet six Navy Tigercats head-on before they get a chance to drop their bombs. Try and cause some havoc in amongst them, and you'll hopefully spoil their aim. Once they are past the airfield, you can slip in behind them at your leisure and pump them full of lead. You are accompanied by your three wingmen who are good enough to get the Tigercats on their own, and may drop in front of you to take your kill away, so don't be too laid back.
Now this mission can play lots of different ways, because as you head south chasing the Tigercats, you'll meet a couple of La-7's heading back to the airfield. If they don't get shot down helping you duel the Tigercats, they'll reach the airfield and bump into two Panthers who otherwise could eventually sneak up on your six. Also depending on how strung out your wingmen are, some of them may be far enough back to spot the Panthers and decide to take them on.
You may also spot the Panthers, (or, since you now know they are there, you might like to head back to the airfield and make sure you spot them) but if not, your waypoint message will direct you south in pursuit of that fictional first wave of attackers, and you'll bump head-on into two Banshees.
If all your wingmen have headed towards the Panthers, then I'm afraid you're on your own.
You have to kill the Banshees, and regain that waypoint, and then you'll be allowed to press X and end the mission.
If you'd rather land at P'Yonggang, then call up the ADF, tune in slot 95, and fly back. Depending on how well your comrades did, you may still have a couple of Panthers to face on the return journey.
❞
❝
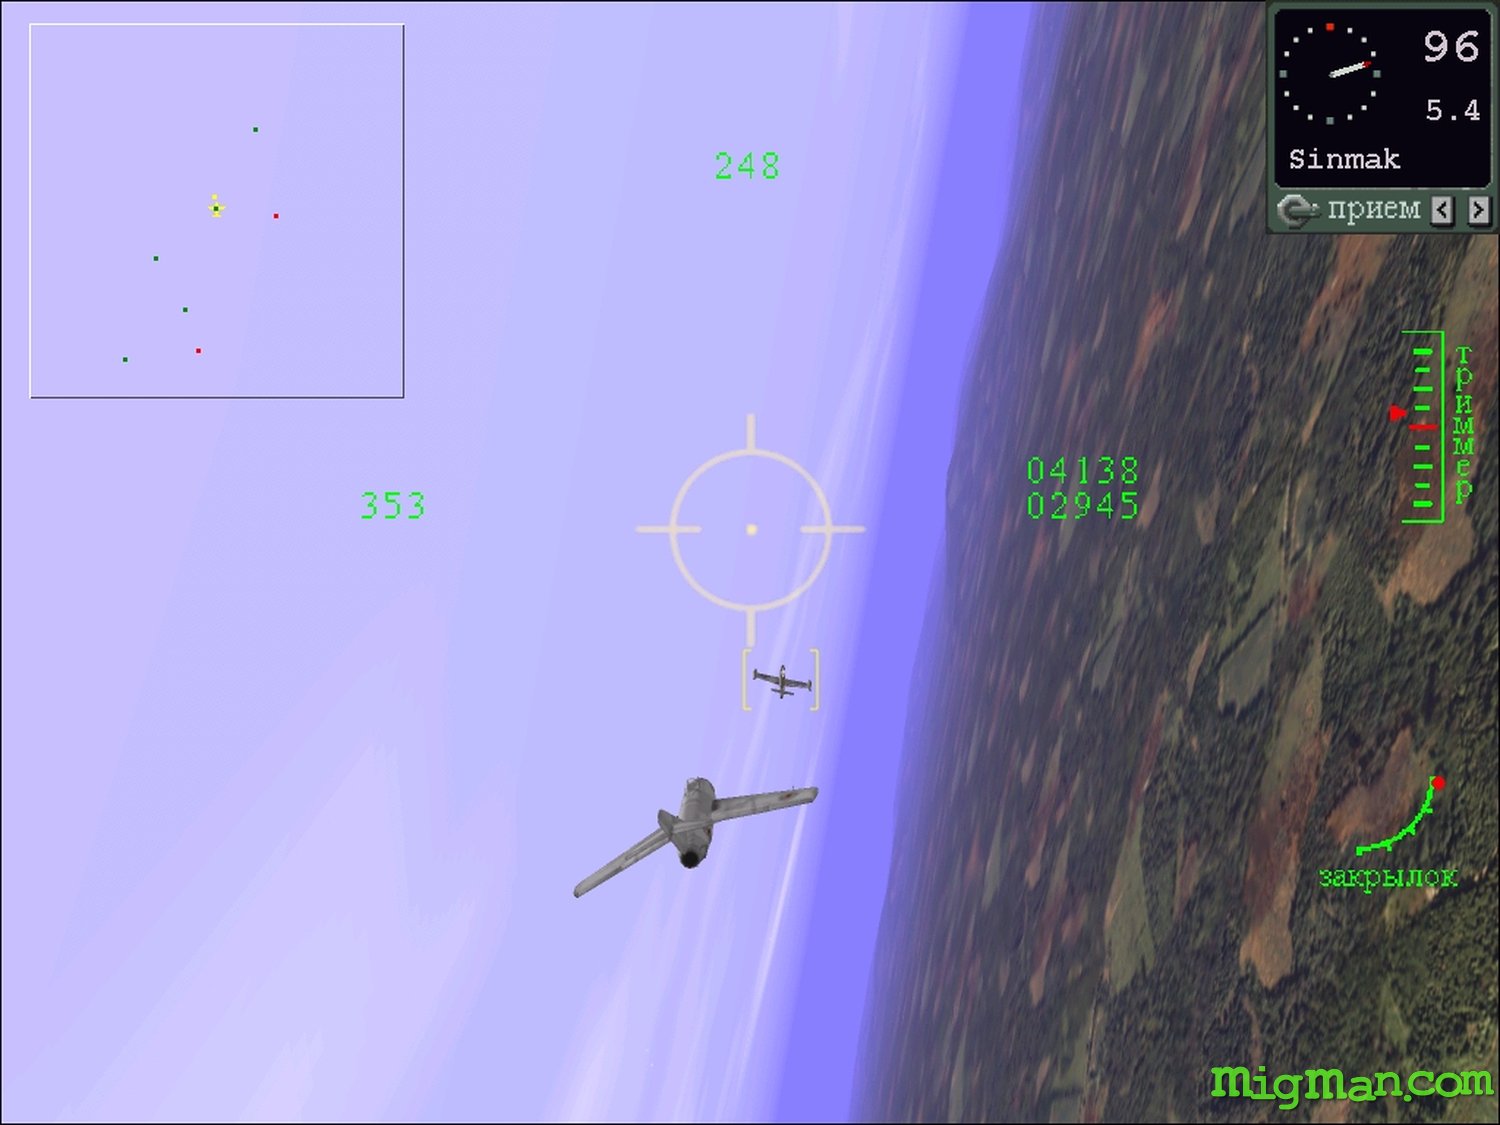
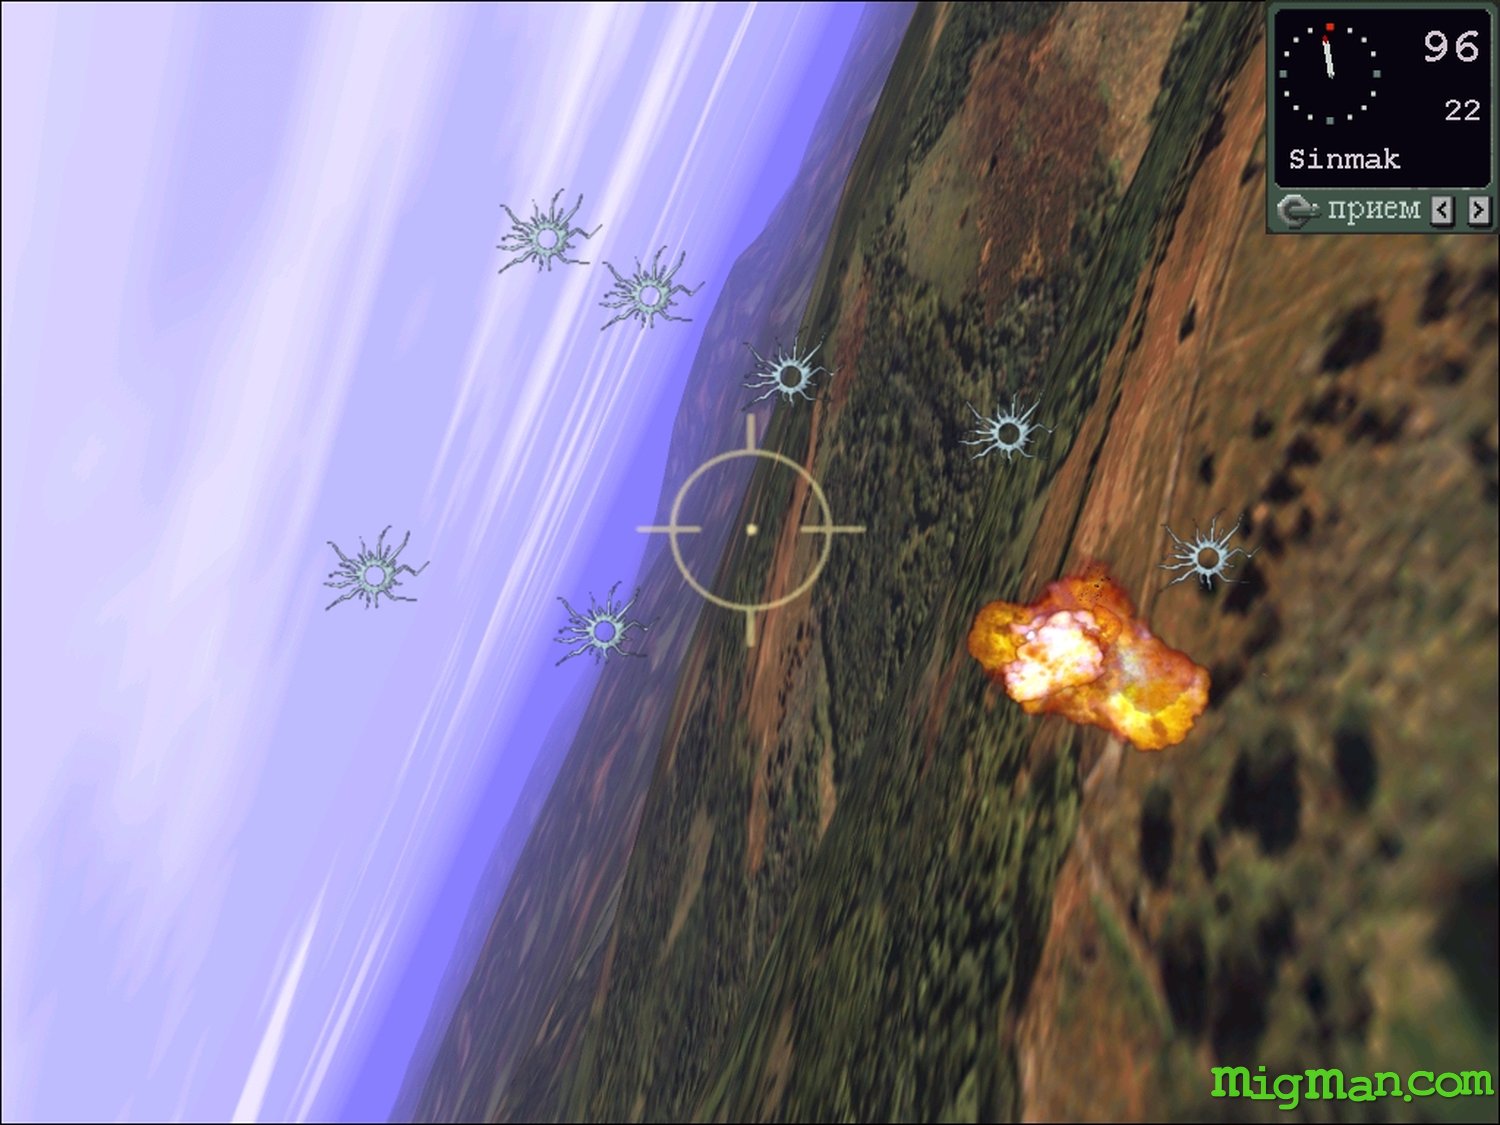
MiG-15 007: Evacuation
The Navy Strike Force has hit hard at P'Yonggang airfield, and with the imminent advance of US ground forces, you have been given orders to evacuate to Sinmak.
Your flight of four MiG-15's take-off from the busy airfield, currently in the midst of the evacuation process. You'll see a line of trucks crossing the end of the runway, a Po-2 biplane off to your left and four Yak-9s ahead of you, all travelling to their own destinations.
You turn east to Sinmak, and on your way to waypoint 1, you will spot a force of 8 US tanks heading towards P'Yonggang. You can easily take these out with a rocket pass, but be careful of their firepower, which is deadly.
At some point between waypoints 1 and 2 you will encounter four F-80 Shooting Stars, and dogfight them. Your advantage over these aircraft is your ability to turn tighter circles, so you should have no difficulty getting on their six. Depending on the length of time you take covering this leg of the journey, there is a possibility that the Yak-9s who left P'Yonggang ahead of you may well join in the fight.
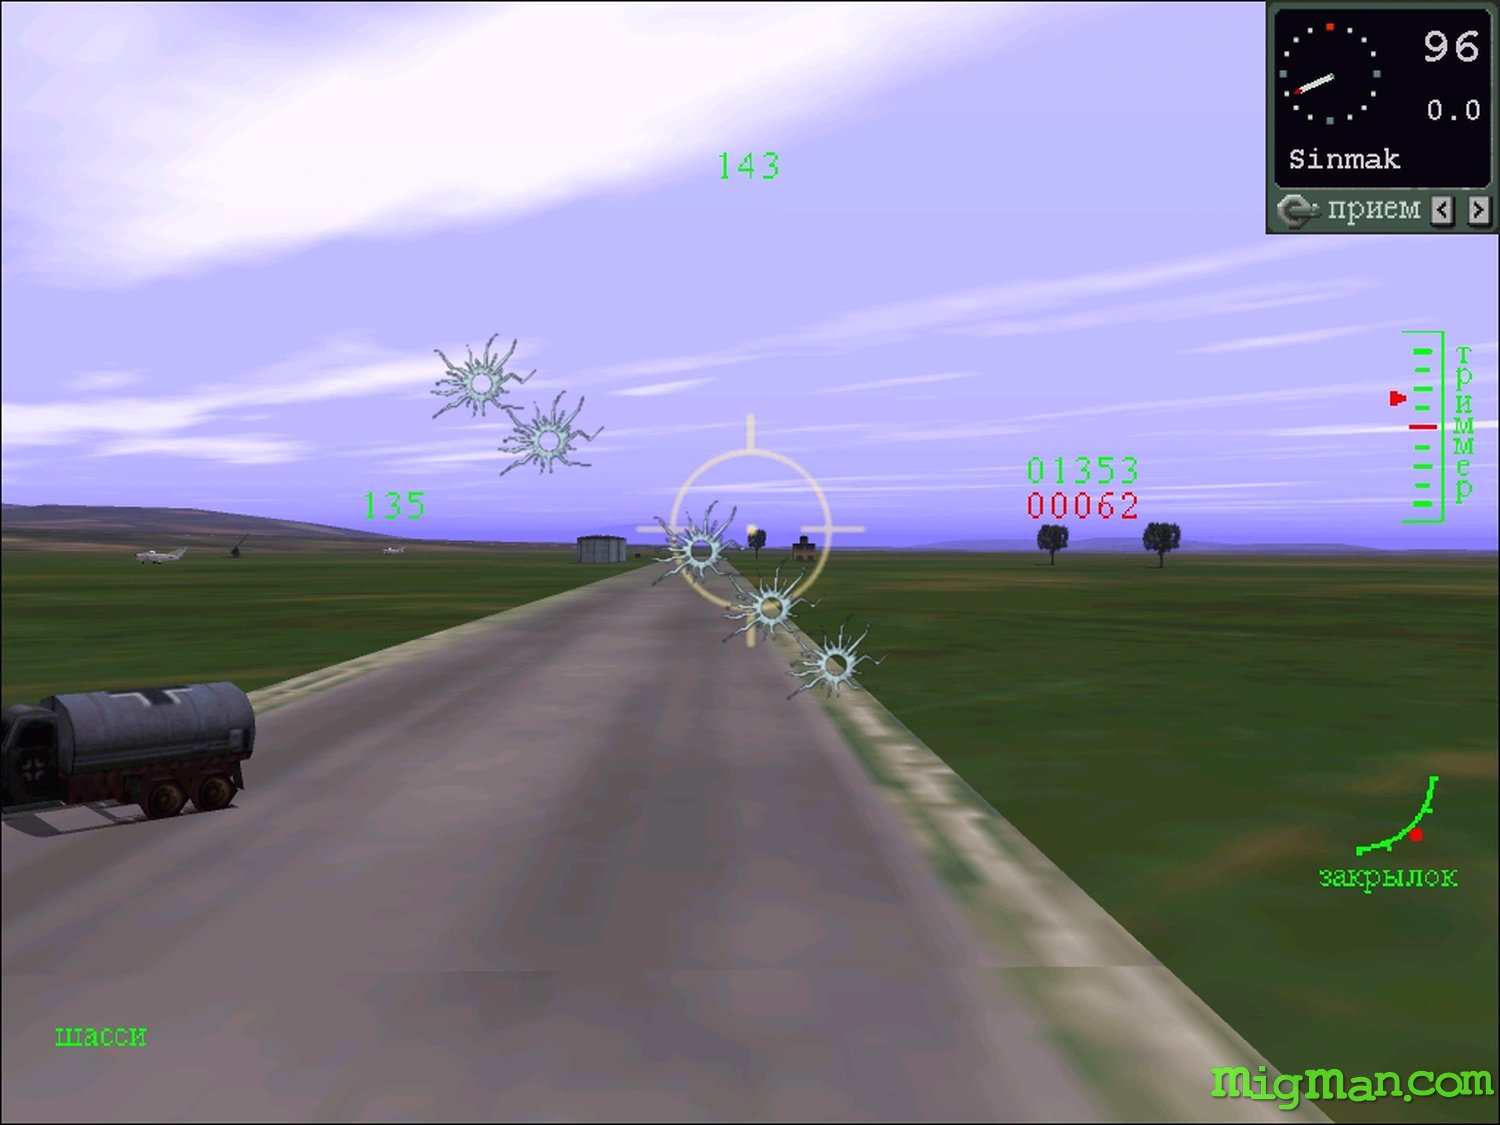
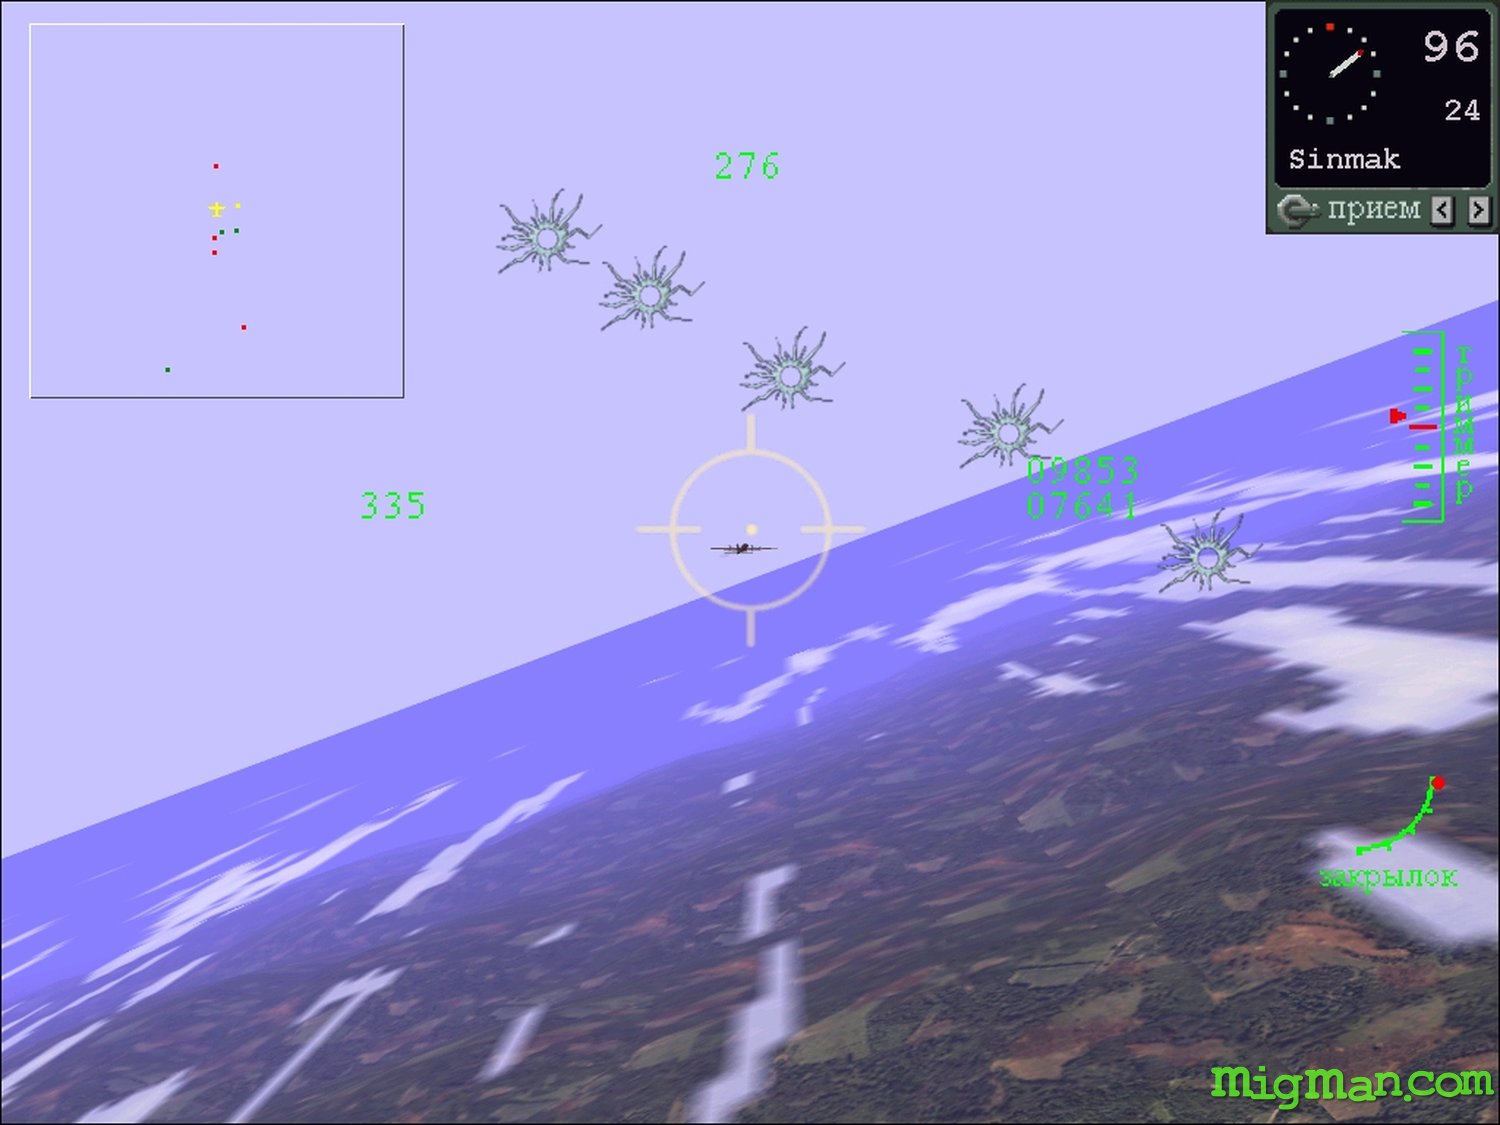
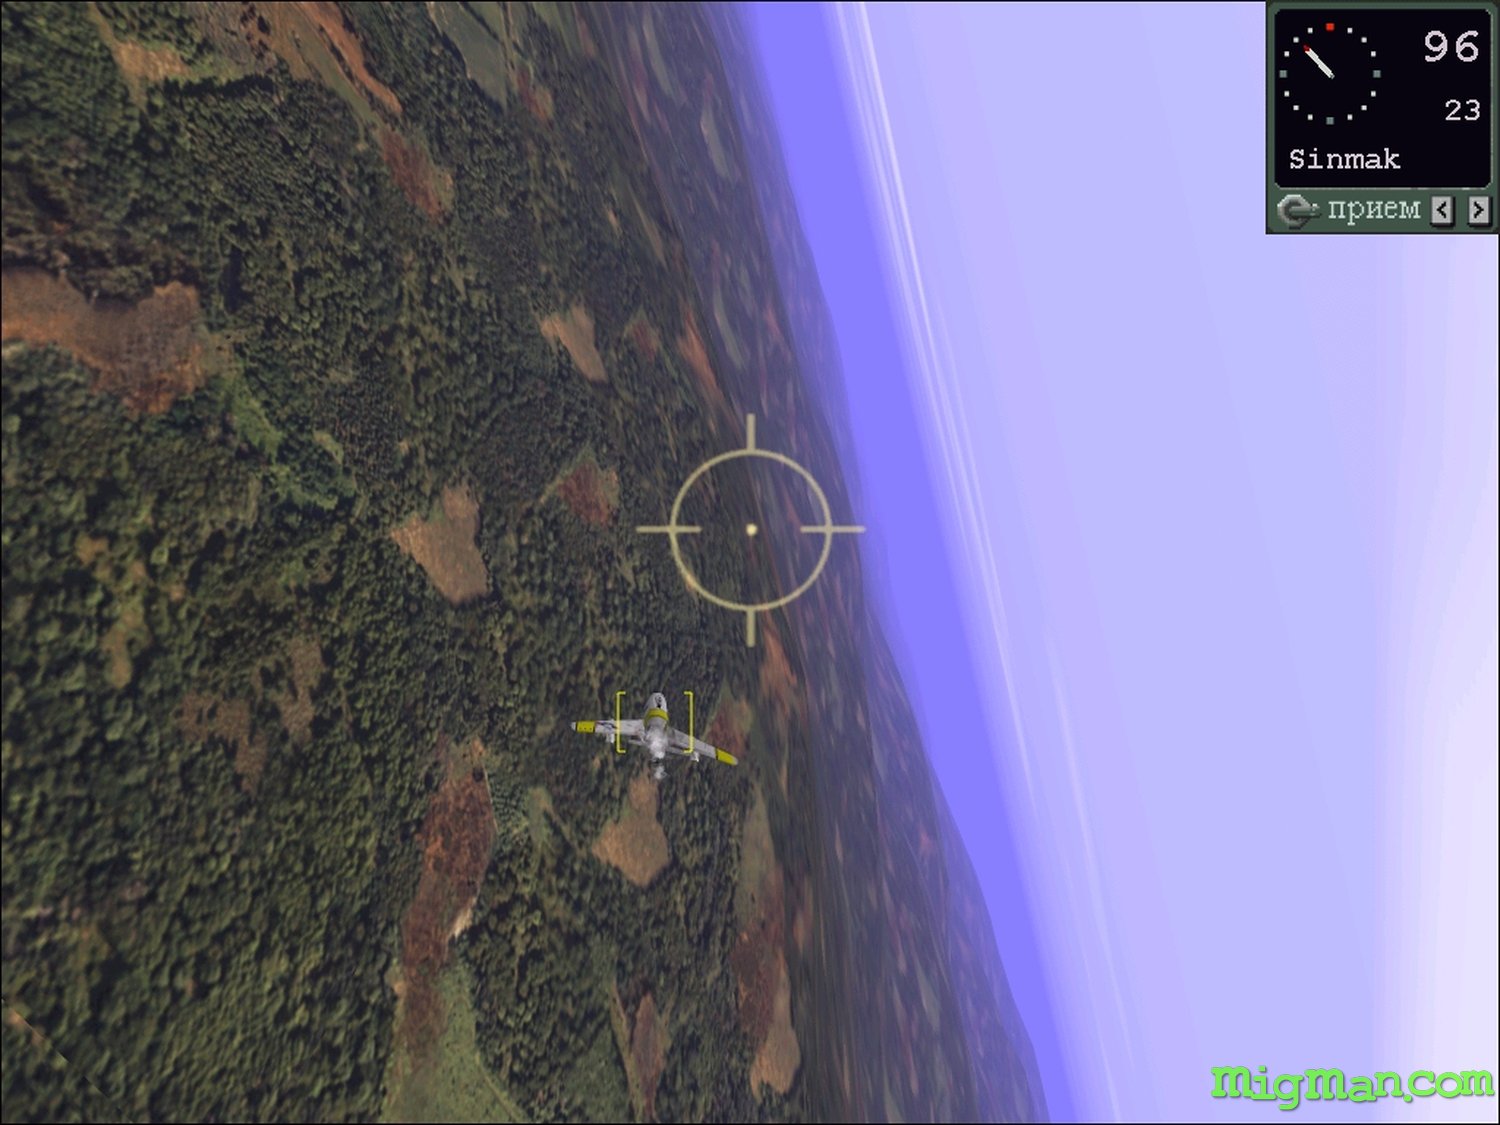
Once the F-80s have been downed, the mission is over, and you may either continually Press X to end the Mission, or follow your waypoint route to Sinmak. Waypoint 2 "Contact Tower" will turn you towards the airfield, and waypoint 3 "Final Descent" will line you up with the runway. Sinmak can be called up on the ADF at slot 96. The altitude is 1292 feet, and the runway headings are 314 and 134.
❞
❝
MiG-15 008: Intercept
A formation of six B-26 Bombers plus escort of four F-84e Thunderjets has been spotted heading towards the large fuel dump to the southeast of your airfield.
Your flight of four MiG-15s is to take off and intercept the Bomber formation before they can deliver the strike package, and you will get a visual on the flight almost as soon as you've left the runway. Two Yak-9s are already in the air, tasked with disrupting the bombers, and will probably engage first. Your wingmen are also tasked with hitting the Bombers, but will defend themselves against the fighters if attacked.
It's your choice as to how to play this one. You really don't have to worry too much about the bombers, because you've already got five planes targeting them, but those planes are in serious danger from the Thunderjets if they get too fixated on the Bombers and don't watch their Artificially Intelligent sixes. You might like to try a one-shot disrupting pass on the Bombers and then turn your attention to dogfighting the Thunderjets. Just go with the flow.
Once all the enemy planes in the vicinity are downed, you may continue to waypoint 1 just in case there are any Bombers lucky enough to have escaped unscathed, and then either press X several times to end the Mission, or continue your waypoint route, and land at Sinmak. Your last waypoint this time is waypoint 2 "Contact Tower", after which you are on your own, so I suggest you call up the ADF, tune into slot 96, and get in the groove.
(The reason that there is no "final descent" waypoint in this mission is that because the enemy aircraft pass so near to your airfield on their bombing run, there is a danger that you would cross your final waypoint before reaching your first waypoint. I believe there's a little Microsoft bug that can't handle you hitting waypoints in the wrong order, and I'd hate you to be dumped to the desktop almost before your wheels have stopped spinning.)
❞
❝
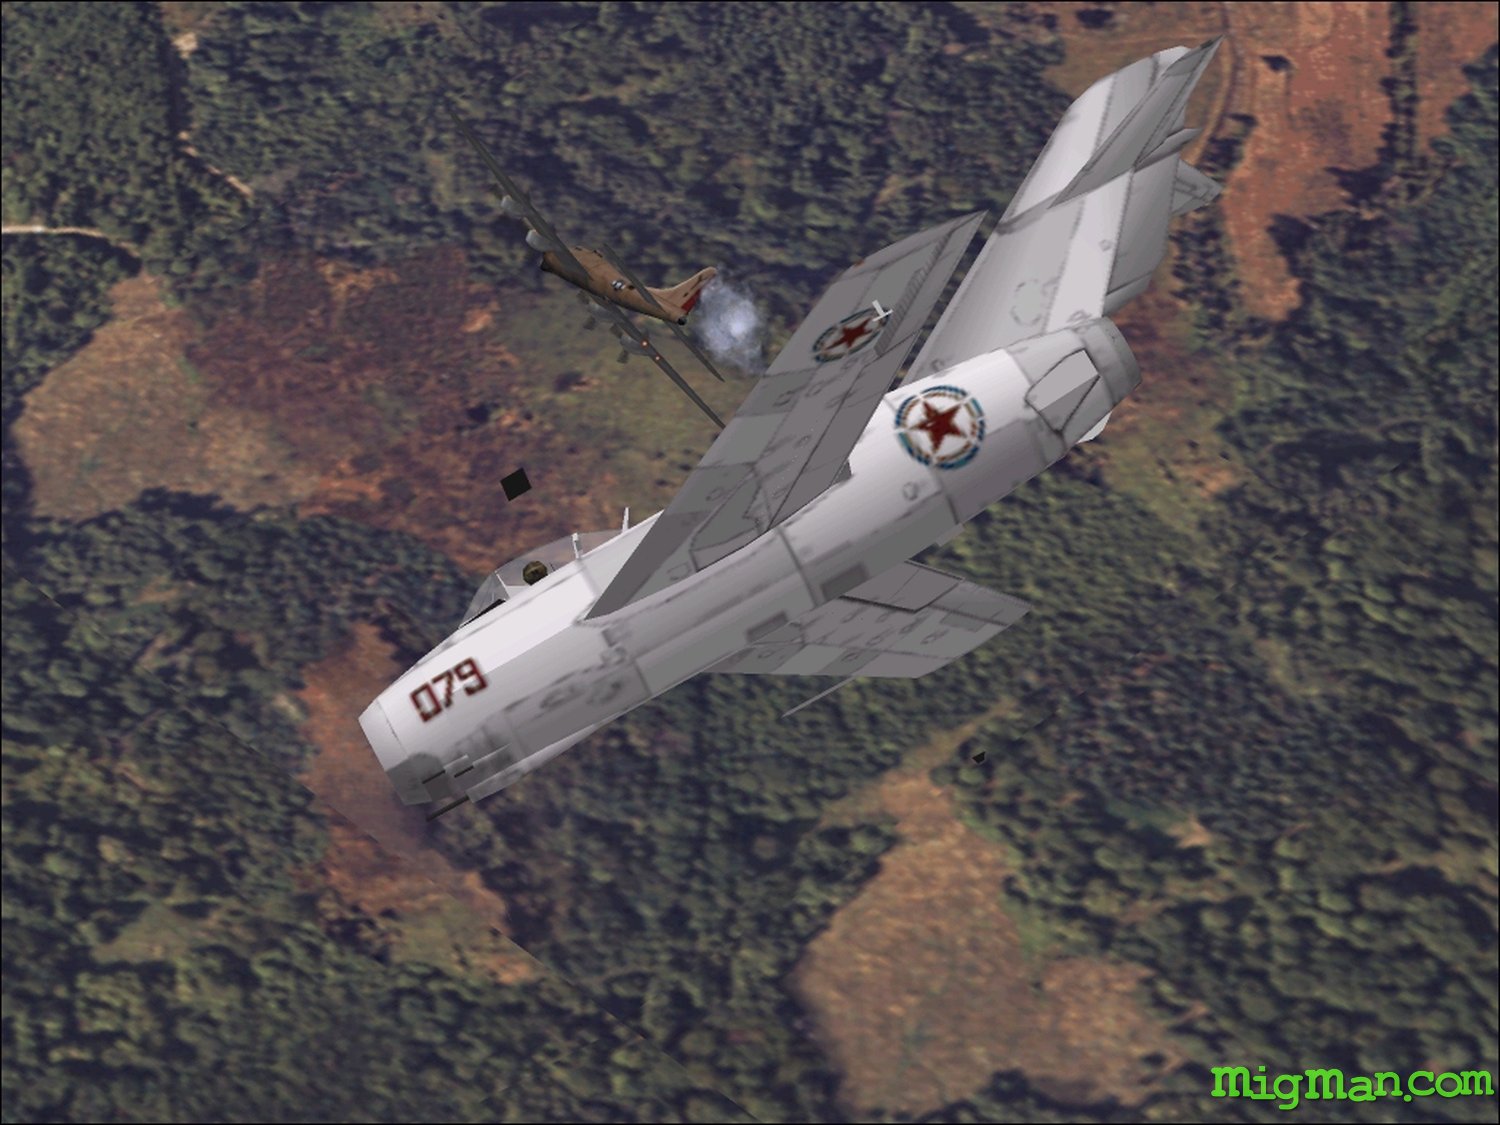
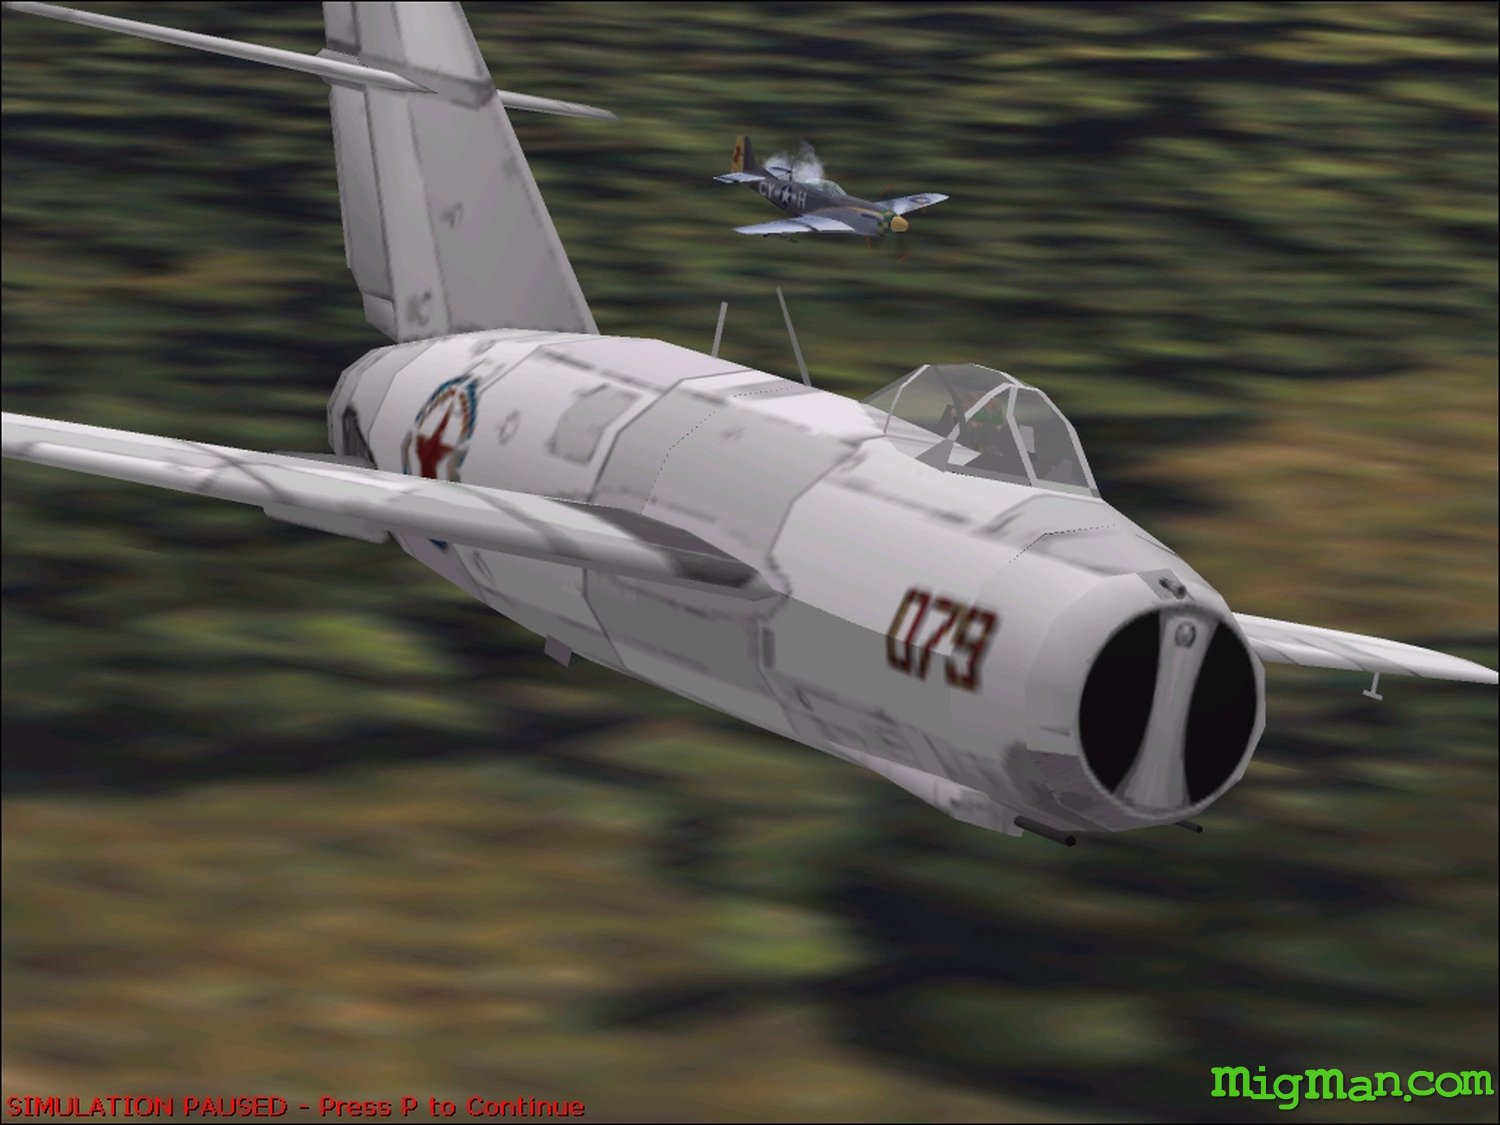
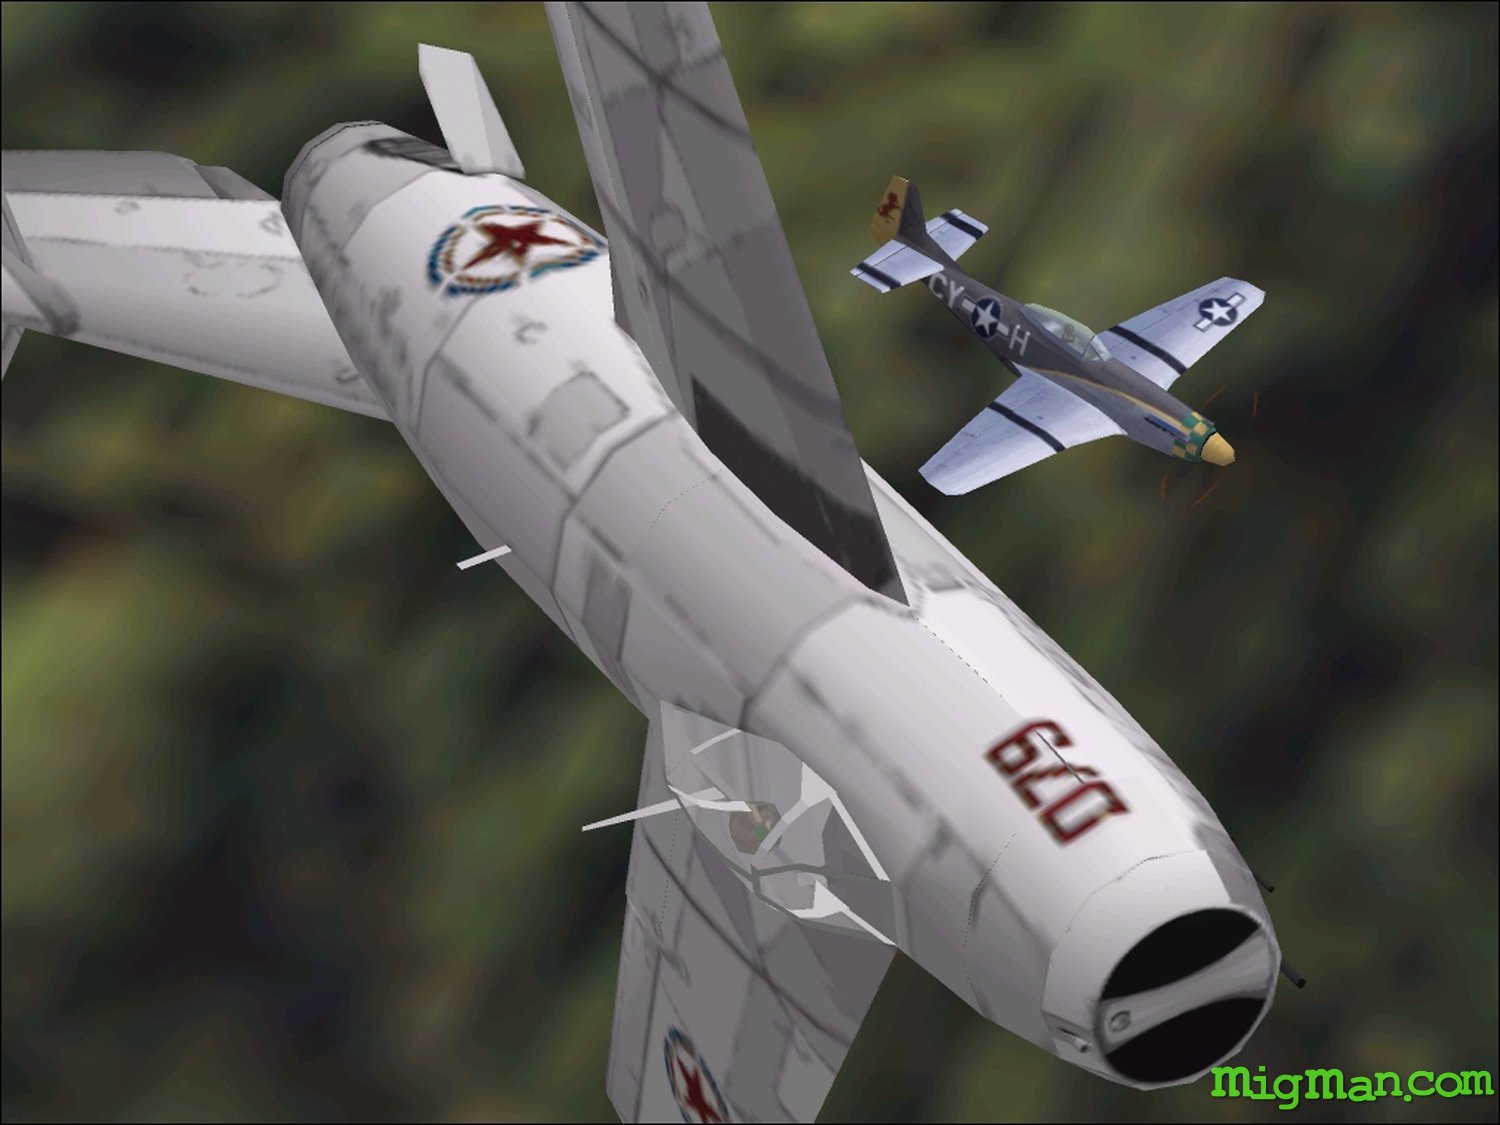
MiG-15 009: Intercept
Intelligence sources have alerted your High Command to the possibility that General Glenn Barcus is travelling to Kimpo on a morale-boosting visit. The General is known to travel in a specially outfitted B-17, and you are to seek out and destroy this aircraft. Your flight of four takes off from Sinmak, heading south to intercept the suspected flight path of the General and his escort.
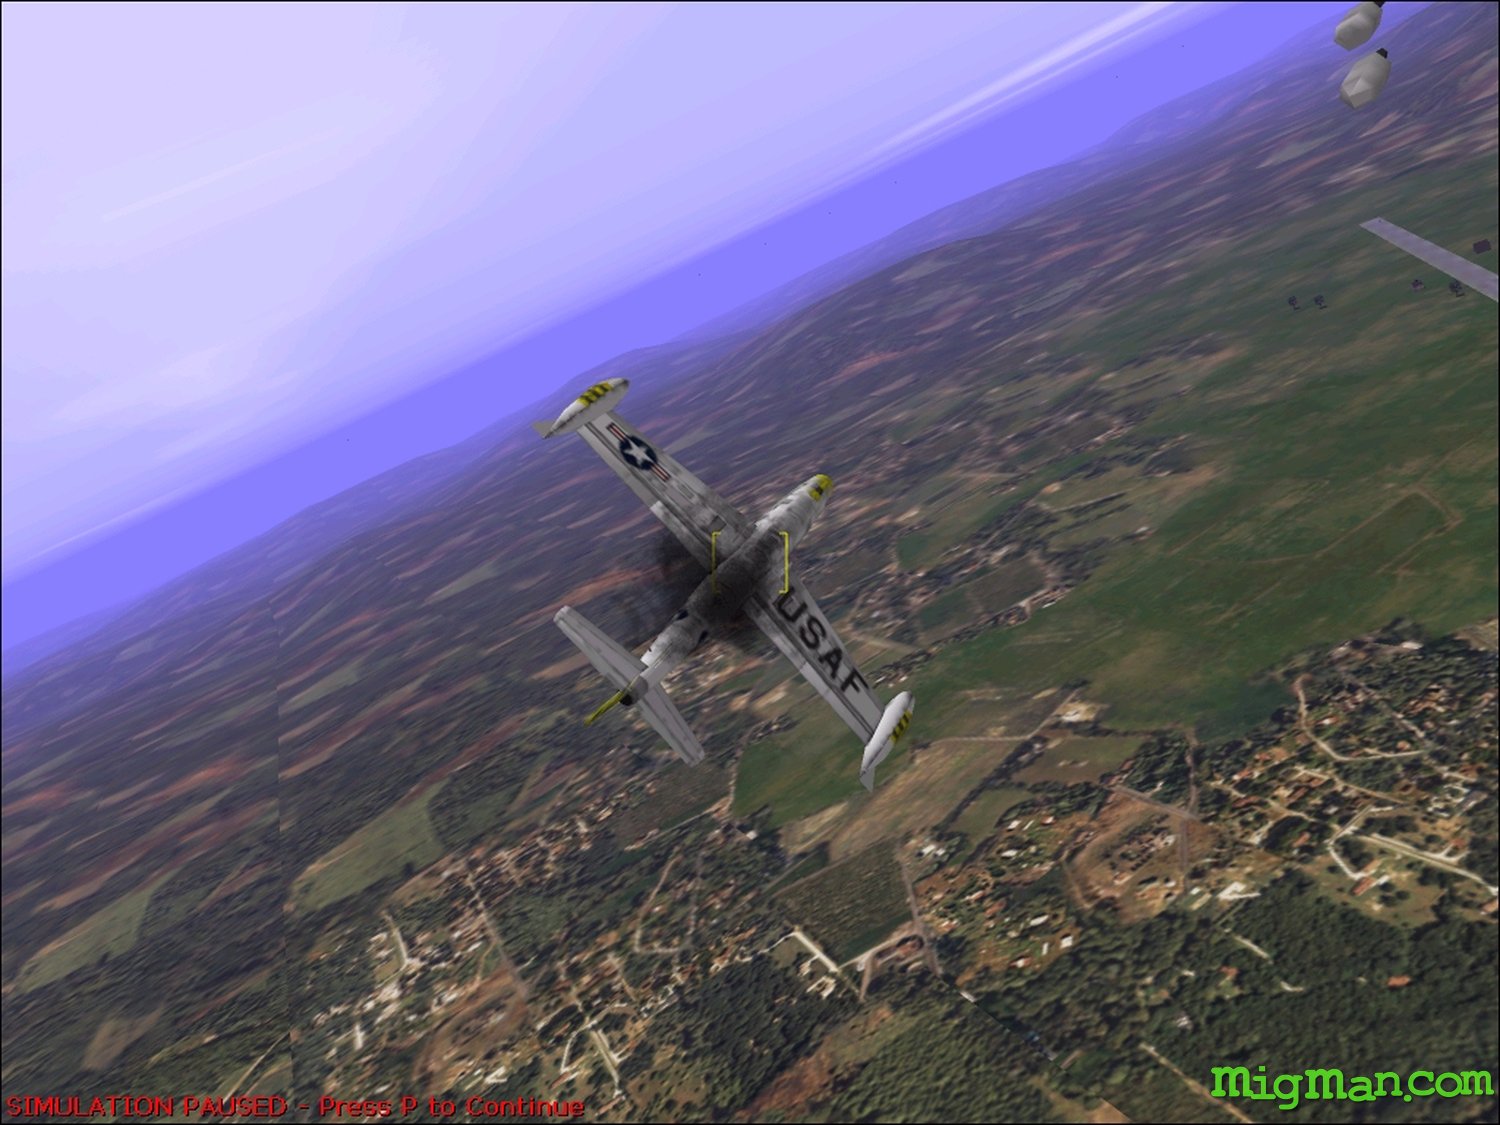
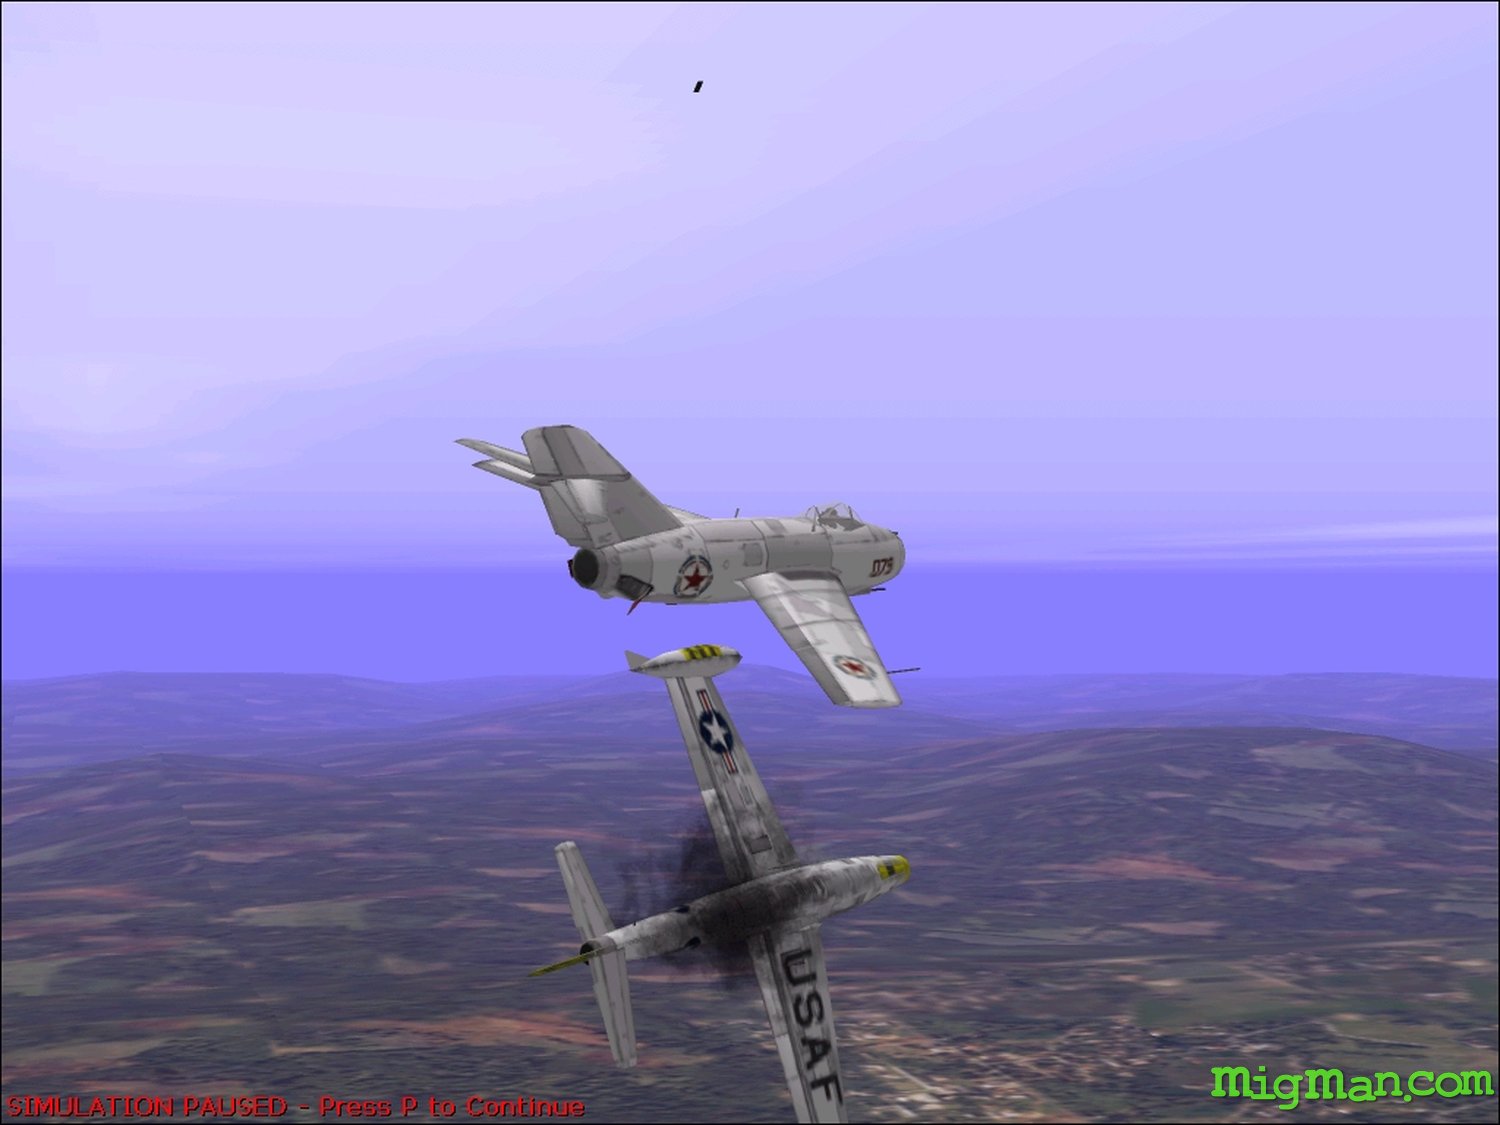
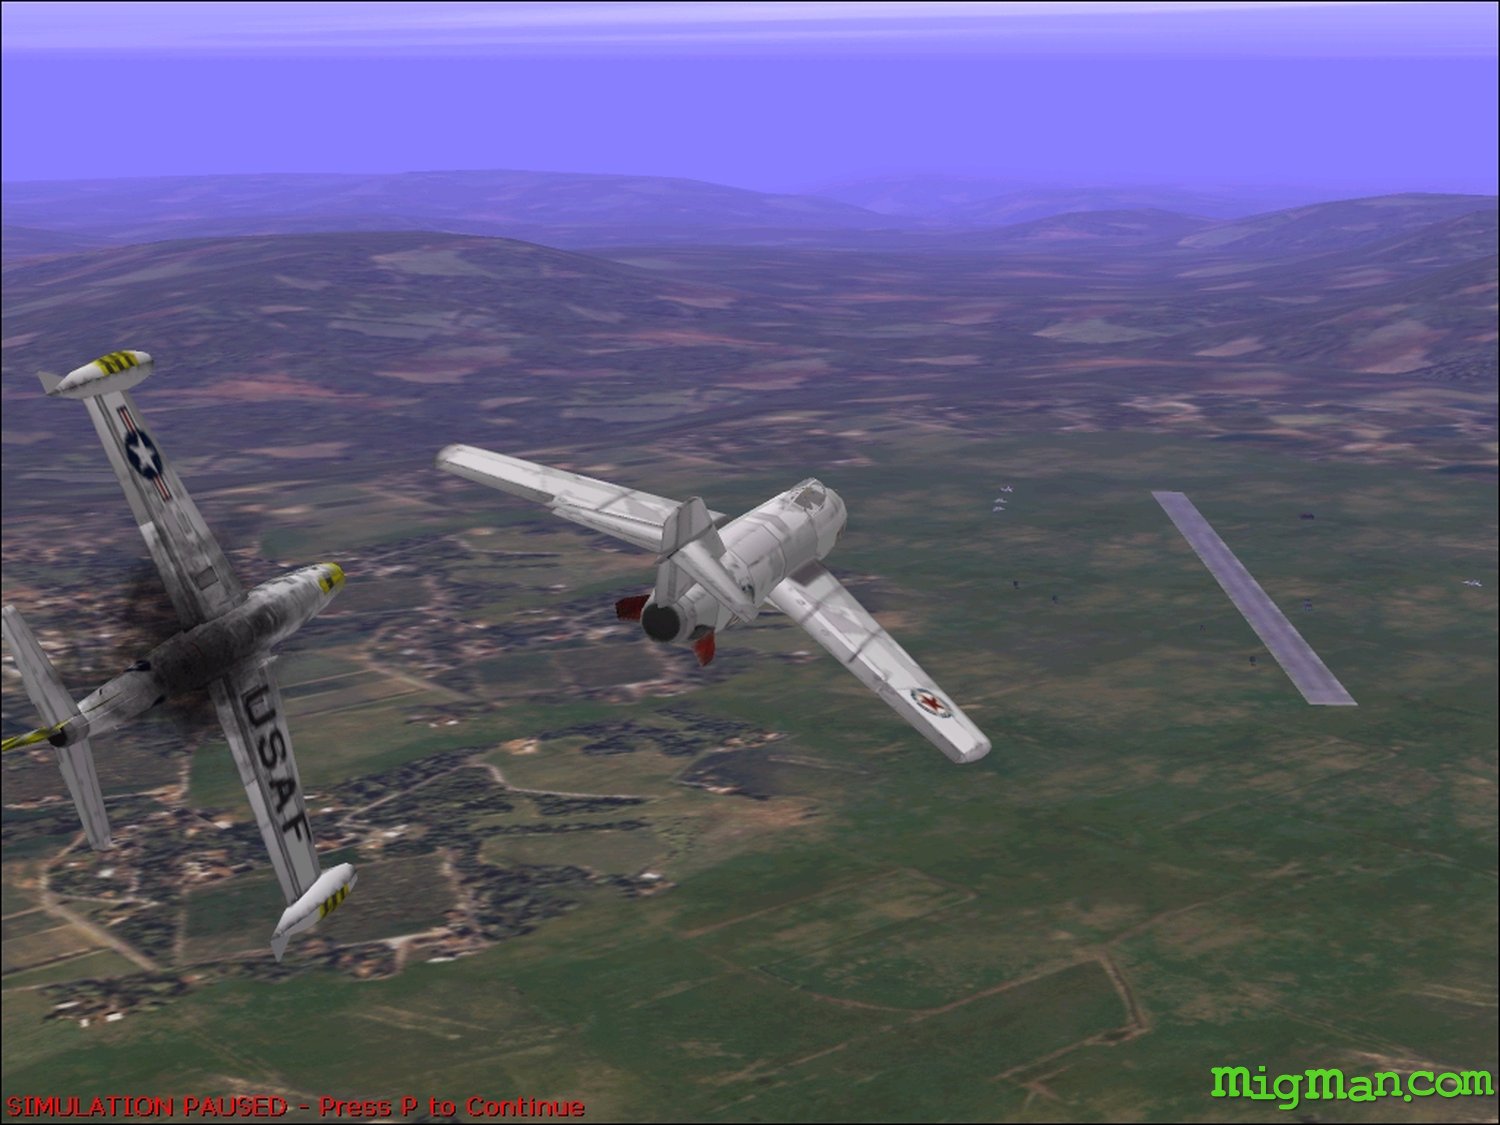
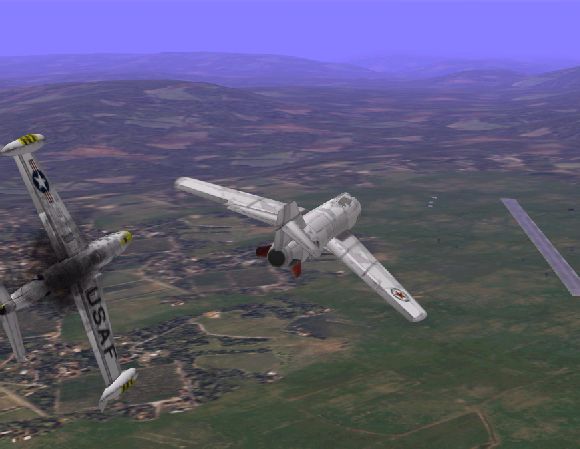
Unfortunately, the well-laid plans are disrupted by the sudden appearance of two F-86 Sabre Jets, who proceed to attack your flight.
These aircraft are agile and deadly: They are faster than your MiG, turn almost as well as you do, and have a fantastic roll rate, so you're going to have your work cut out to contain them. Depending on how long it takes for you to get the better of these aircraft, you will either down them and proceed to your next waypoint to encounter the General and his escort, or the General and his escort will stumble across you fighting the F-86 Sabre Jets.
If this happens, you personally must disengage from the Sabres, and go straight for the General's B-17, which to your surprise has all gun turrets fully working and pumping out lead in your direction.
You may take some hits, but you must get the B-17, then you can turn your attention to the escort of four F-80 Shooting Stars, and finish off the Sabres.
Once the B-17 has been downed, and all other enemy aircraft are destroyed or have left the area, you may press X repeatedly to end the mission, or continue through your waypoints to land at Sinmak as previously described.
❞
❝
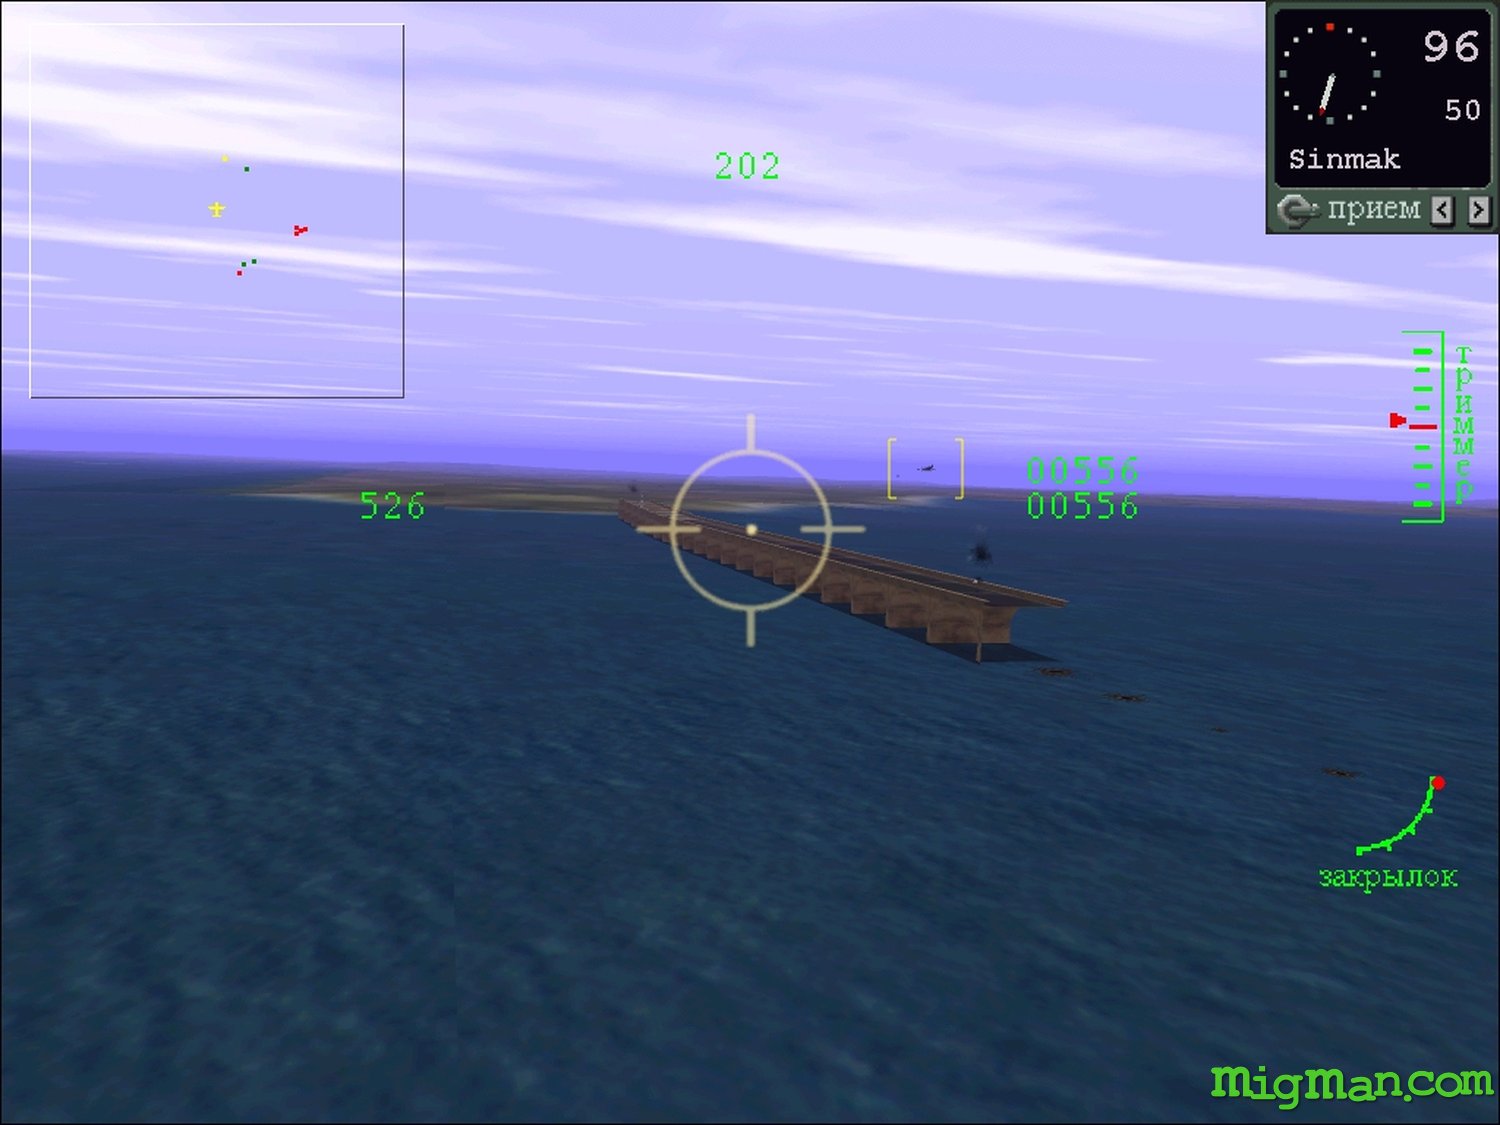
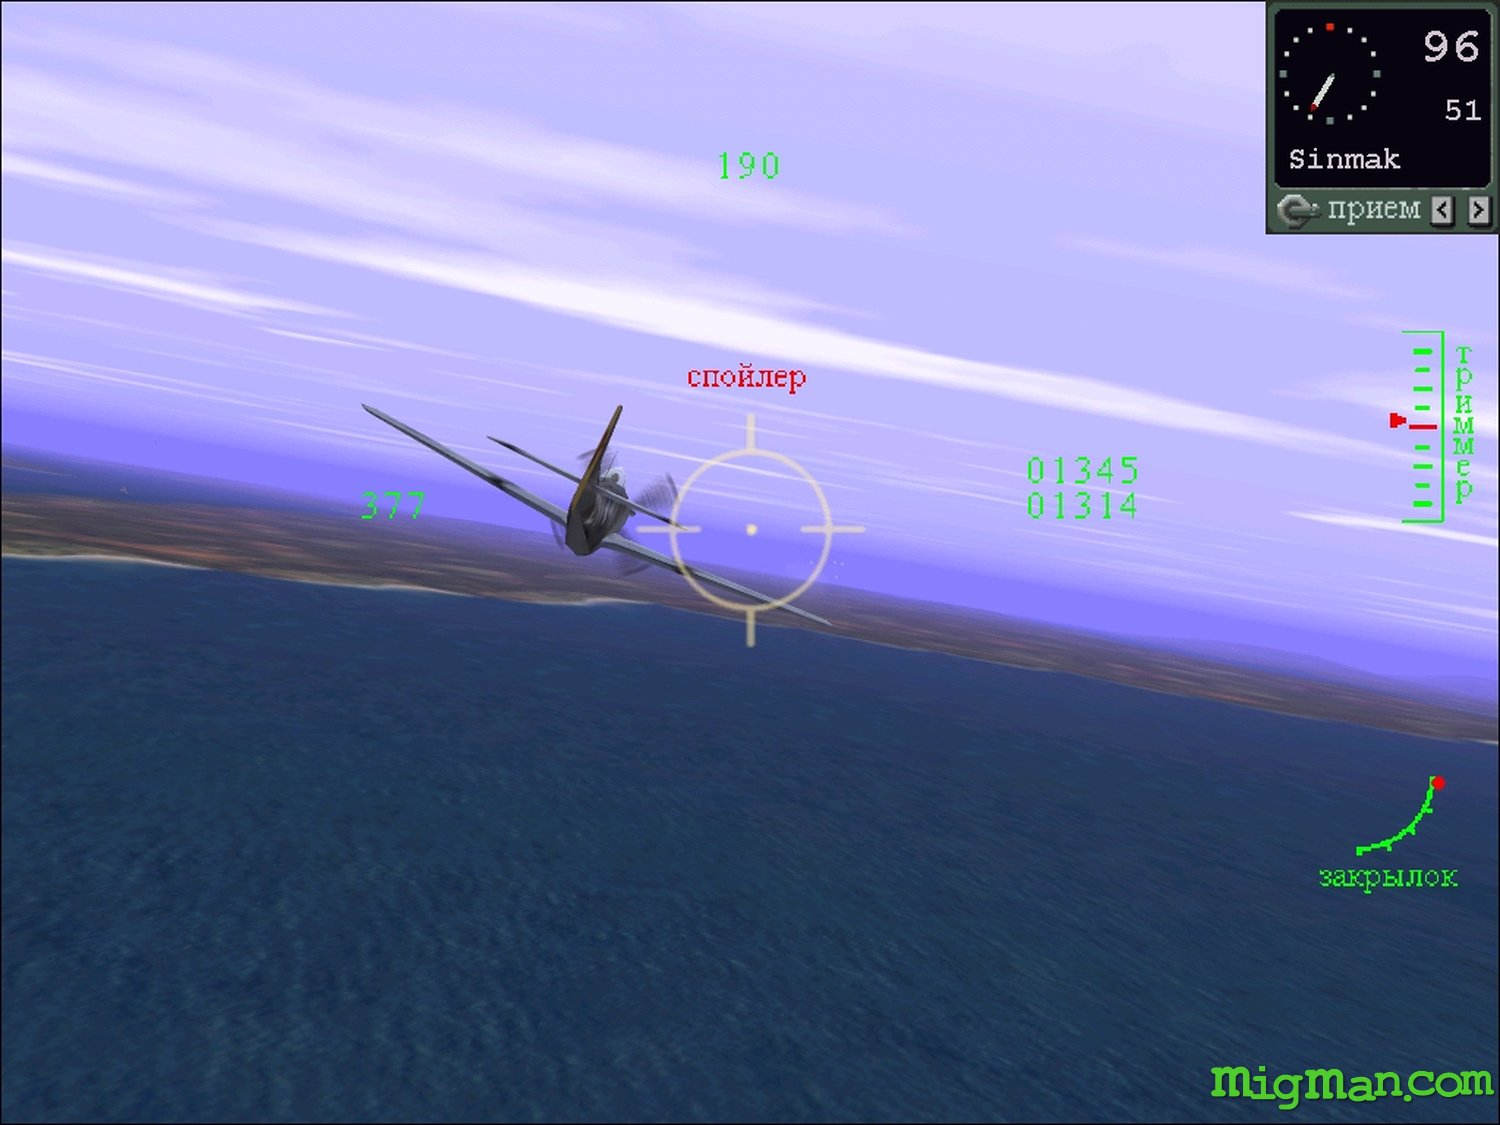
MiG-15 010: Close Air Support
The North Korean forces have a large convoy of tanks and trucks heading towards the bridge at Kumch'on. Your mission is to provide top cover and prevent any attempts by the enemy to bomb the bridge or attack the convoy.
Your flight of four takes off from Sinmak and flies uneventfully south to Kumch'on bridge. Make sure you get to around 10,000ft to conserve fuel and don't waste any time getting there. Time is of the essence: A few seconds here or there can make the difference between whether or not the bridge is still standing when you arrive. Just before the bridge, you'll spot the convoy off to your right, but your attention will probably be grabbed by the flight of six F-51 Mustang bombers heading for the bridge and subsequently the convoy.
You shouldn't have too much trouble taking out the F-51's, four of them are configured as Bombers, so they will stay in formation and be sitting ducks - just throttle back, get on their six and watch them rip apart. However, two of them are configured as fighters and will peel off and dogfight you, but providing you watch your speed, it shouldn't take too much effort on your part to destroy them.
Flushed with success, you'll then continue your waypoint path back to the airfield, but will be jumped by two fearless Sabre Jet pilots who will try and run rings round you. Let's hope you've been conserving fuel, and have enough left to take on these killer jets.
Once the two Sabres have been downed, you may press X repeatedly to end the mission, or continue through your waypoints to land at Sinmak as previously described.
❞
❝
MiG-15 011: Combat Air Patrol
Moscow is very interested in the new F-86 Sabre Jet that you have been encountering recently, and would like to get it's hands on one. You are being sent out on Combat Air Patrol in the hope that you can ambush one, and get it to make a forced landing in order that it can be inspected.
Your Flight of four takes off from Sinmak, and soon after turning south at Waypoint 1, you spot a lone F-86. Unfortunately, it is soon joined by five others, putting you and your three comrades on the defensive. You'll have to fight hard to sort this lot out, never mind persuade one to land, so give it all you've got and just shoot them down. If the fight drags on too long, you will be rescued by four more MiGs that stumble into the dogfight, so try not to give them the satisfaction of taking too many kills off you and your elite comrades.
Once all six Sabres have either fled or been destroyed, you may press X repeatedly to end the mission, or continue through your waypoints to land at Sinmak as previously described.
❞
❝
MiG-15 012: Capture
Moscow has been clamouring for an intact Sabre and you've just been handed one on a plate.
Separated from your wingman, you stumble on a lone Sabre, and discover that he is flying top cover to protect his downed buddy. A convoy of our own vehicles is in the vicinity, and the downed jet looks intact. This could be exactly what Moscow needs.
Naturally, you've radioed the situation to your base, so all you have to do is shoot down the patrolling Sabre Jet, and then stay on top cover until reinforcements arrive.
You start in the air alone heading south, with the patrol Sabre ahead of you. Beyond him is the downed Sabre, and a convoy of vehicles heading towards it.
You're on the flying Sabre's tail, but he spots you straight away, and circles around to meet you, and since he's an ace, you're going to have some fun trying to take him down.
However, you shouldn't waste any time, because within five minutes, two F-80 Shooting Stars called up from Kimpo will arrive, and that'll make three of them onto you if you haven't already downed the Sabre Ace. What is more, they may split up and make an attempt to strafe the convoy, or even bomb their own aircraft to prevent it being captured.
Fortunately, even if you can't get all three aircraft single-handed, at least if you can stay alive for about ten minutes, there will be four MiGs arriving to relieve you, and then you can head for home.
On the way back, two F-84e Thunderjets bounce you, and you have no back-up, so you'll have to take them out on your own. This shouldn't be too difficult, having just had some practice duelling with an Ace Sabre pilot.
Once the Thunderjets are downed, you may press X repeatedly to end the mission, or continue through your waypoints to land at Sinmak as previously described.
Well done Comrade, Moscow will be proud of you, and there's bound to be a cabinet-full of Medals for you now that this tour of duty is over!
❞